Einleitung
This guide uses a Dr. Dre Beats Studio 2 Wireless is an example for cushion replacements.
These headphones were very popular with teens, as their Bluetooth feature paved the path to wireless headphones widely used today. It becomes a hardship having to buy a new expensive pair because of the damaged cushions.
In reality, the cushions of the wireless headphones are designed to be replaceable, especially if storage conditions were not ideal and harmed the leather material of the cushions. Sometimes the cushions fall off pretty easily due to excessive usage or by the same storage conditions.
For that, inexpensive and replaceable cushions were made available for the installment of an average person, with no special skills needed.
Was du brauchst
-
-
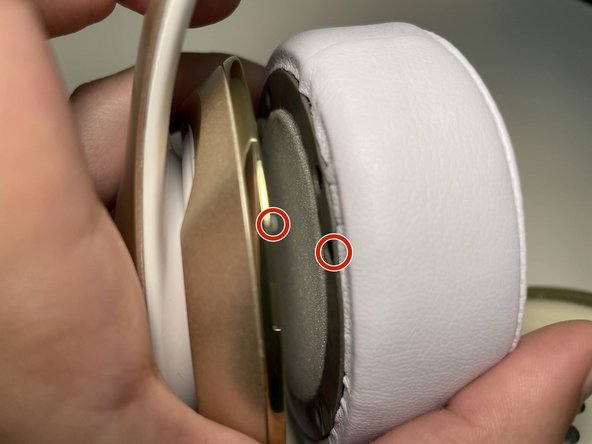
Insert a spudger between the plastic part of the headphone and the ear cushion.
-
-
-
Insert the spudger from different angles until the cushion is removed.
-
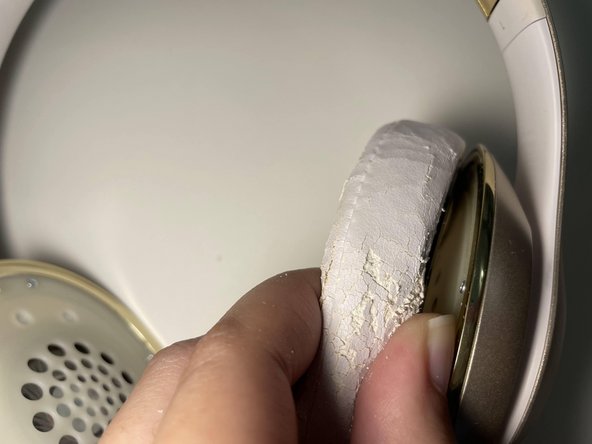
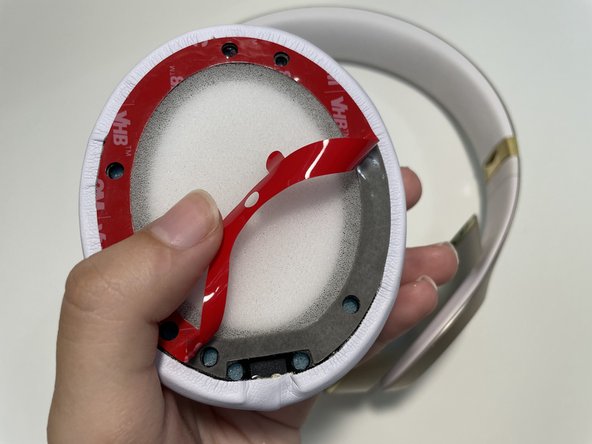
Pull the rest of the cushion away from the adhesive with your hands.
-
-
-
-
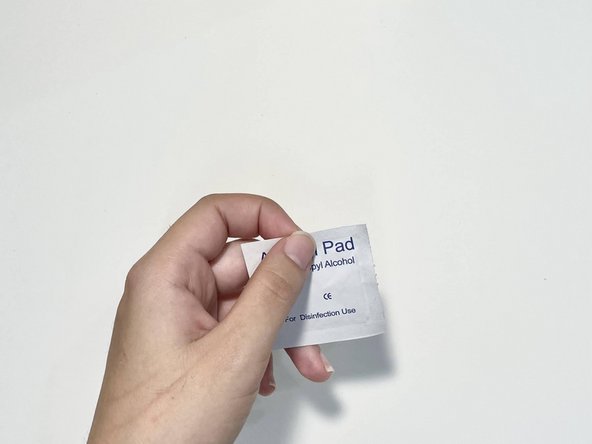
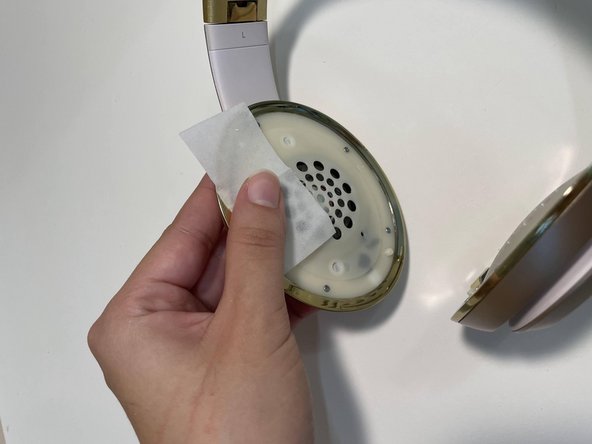
Remove any excess adhesive and clean the surface with alcohol wipes.
-
Wait for the surface to completely dry before proceeding.
-
-
-
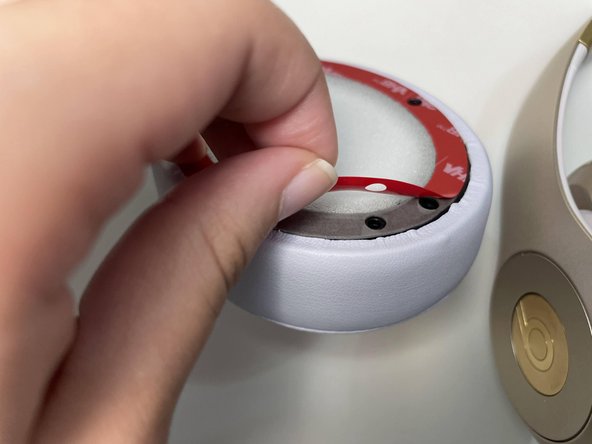
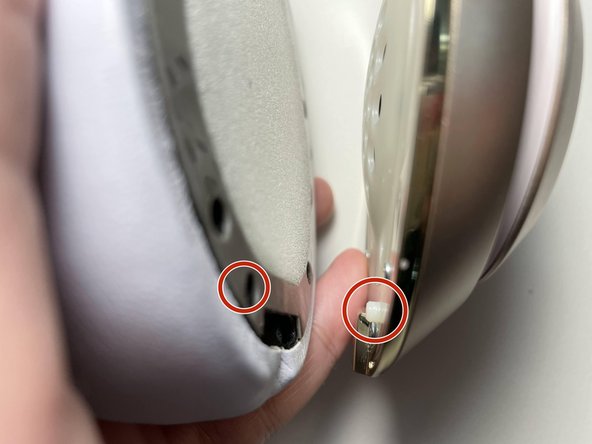
Align one cushion to the dowels on one side of the headphones, working from top to bottom.
-
Apply pressure to the cushion and dowel once attached.
-
-
-
Align the new cushion to the dowels on the other side of the headphones, working from top to bottom.
-
-
-
Apply pressure to the cushion and dowel once attached.
-
Leave the headphones pressured to a shoe box overnight, for a more secure adhesive.
-


Rückgängig: Ich habe diese Anleitung nicht absolviert.
Ein:e weitere:r Nutzer:in hat diese Anleitung absolviert.

Team

University of Puerto Rico Mayagüez, Team 2-10, Cools Stephens Fall 2021 Mitglied von University of Puerto Rico Mayagüez, Team 2-10, Cools Stephens Fall 2021
UPRM-COOLS STEPHENS-F21S2G10
1 Mitglied
2 Anleitungen geschrieben