Einleitung
This guide will help you to change your storage drive for Lenovo ThinkPad E470 in an easy and safe way.
Storage drives is used for sorting and retrieving data. Due to personal use or work requirement people needs more storage and faster read and write speed for their computer, change to a larger SSD will be a faster and cheaper choice than connect to a portable hard drive all day. We will show people how to restore the SSD to working order.
The hard drive could be replaced with any SATA hard drive with 2.5" wide, 7m high.
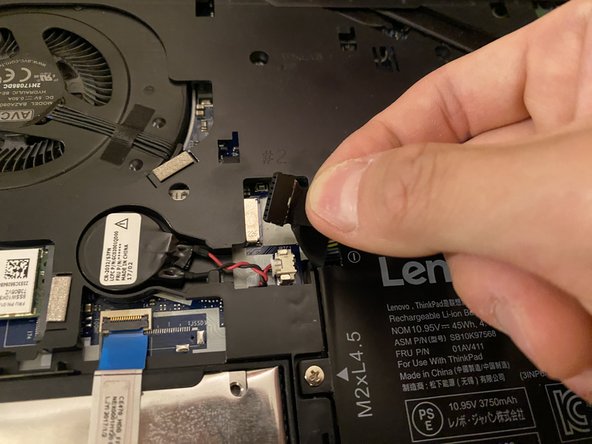
Before starting, you need to disconnect all power sources while operating and must follow the guide to disable the built-in battery.
Back up your hard drive is highly recommended before replace.
Was du brauchst
-
-
Restart the computer and press F1 button rapidly to enter BIOS.
-
Select “Config,” then select “Power,” and press Enter.
-
Select “Disable Build-in Battery” and press "Enter."
-
-
-
Place the laptop upside down to access the back panel.
-
Loosen the three screws on the back panel using a Phillips #00 screwdriver.
-
Remove the back panel.
-
-


To reassemble your device, follow these instructions in reverse order. Remember to push back the lid on the SATA connector.
To reassemble your device, follow these instructions in reverse order. Remember to push back the lid on the SATA connector.
Rückgängig: Ich habe diese Anleitung nicht absolviert.
2 weitere Nutzer:innen haben diese Anleitung absolviert.
Team

York University, Team A-10, Allen Summer 2023 Mitglied von York University, Team A-10, Allen Summer 2023
YORK-ALLEN-SU23SAG10
1 Mitglied
1 Anleitung geschrieben