Einleitung
Has your computer performance diminished? Try replacing the RAM card.
Was du brauchst
-
-
Remove the indicated nine M2 x 6 mm nylon-coated screws using a Phillips head screwdriver.
-
-
-
After removing all of the screws, gently lift up on all covers to remove the back plate and reveal the interior of the device.
-
-
-
-
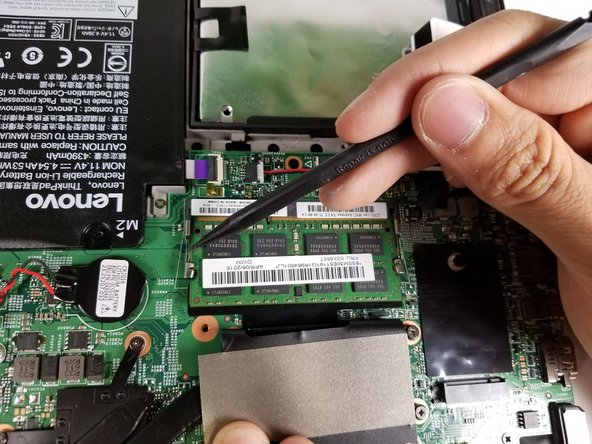
The RAM is hidden behind the black piece of plastic. Pull the plastic back.
-
-
-
The RAM is held in place by two metal pieces on both sides.
-
Use the spudger to push off both metal pieces to release the RAM.
-


To reassemble your device, follow these instructions in reverse order.
To reassemble your device, follow these instructions in reverse order.
Rückgängig: Ich habe diese Anleitung nicht absolviert.
3 weitere Nutzer:innen haben diese Anleitung absolviert.
Team

Cal Poly, Team S14-G2, Banghart Spring 2017 Mitglied von Cal Poly, Team S14-G2, Banghart Spring 2017
CPSU-BANGHART-S17S14G2
5 Mitglieder
6 Anleitungen geschrieben