


Mein Problem
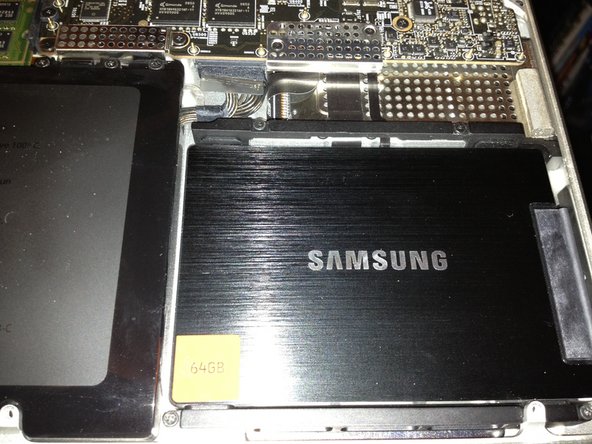
My Early 2009 MacBook Pro was growing more and more sluggish as my system disk became filled to capacity. After having taken painstakingly good care of my prized slab of aluminum despite the fact that it had even traveled to Iraq (a land of fine sand particles that could destroy most notebooks innards) and back with no problems, signs of age were apparent. From overheating issues to a failed optical drive, it became clear that something had to be done or my Mac's days were numbered. Having never opted for Apple Care protection and seeing a dramatic price drop in solid state disks, I figured that now would be as good a time as ever to upgrade. Little did I know Apple secures their proprietary drives with retaining brackets that are nearly impossible to remove without the proper tools. I tried using a generic "precision screw driver set" and stripped the screws that held the bracket in place then ended up having to go to a big box retailer to have them assist me in the removal.
Meine Reparatur
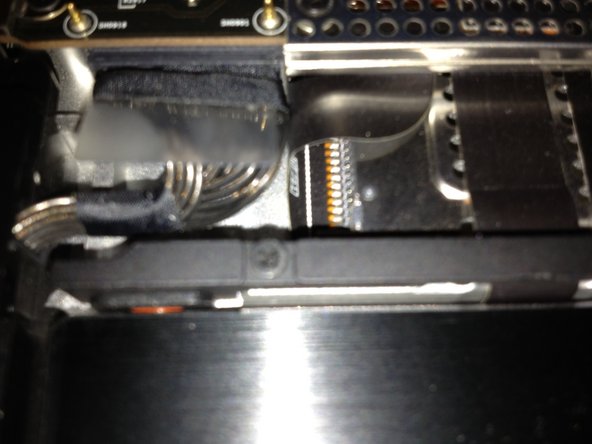
Once I got the iFixit tools in hand the process of upgrading was quick and easy. While performing the SSD installation I opted additionally to swap my flawed optical drive for a secondary drive enclosure giving me more than enough internal storage. Initially the price of the Pro Tech Base Toolkit seemed a bit steep but having a set of quality tools that will last a lifetime is worth the expense. Had I known about iFixit from the start I would have saved a lot of time, effort and money and the kit would have paid for itself.
Mein Rat
Do your research on JIS screws! If you own a MacBook, chances are you may have JIS screws lurking inside of your machine. Even though they look almost identical to philips screws they can be stripped by a philips bit with minimal effort. The Pro Tech Base Toolkit includes JIS bits that were required to remove the stock hard disk from my MBP without damaging the mounting components.
0 Kommentare