Einleitung
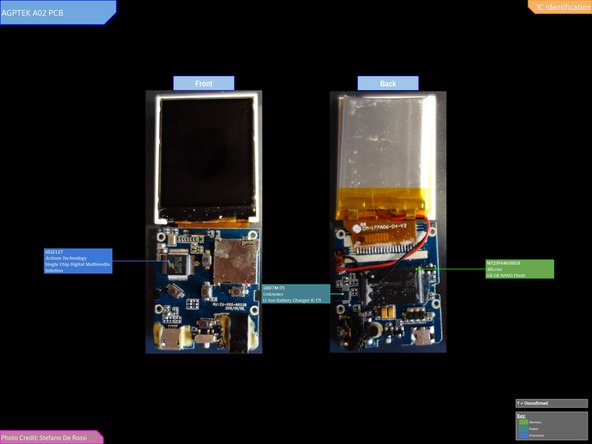
PDF manual here: AGPTEK A02 Manual
Was du brauchst
-
-
Remove the microSD card, if present. You can use a flat side of a spudger
-
-
-
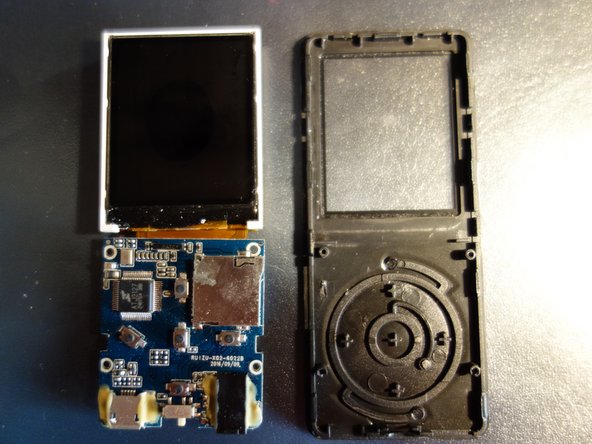
With a Pick, insert the tool and split the two parts that make the shell of the mp3 player
-
Use Jimmy, if the pick is too flexible for you
-
-
-
-
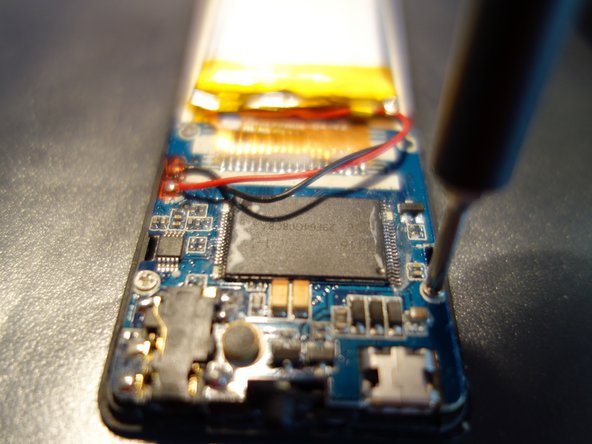
That's all. The screen is welded and coated with glue.
-
command bottons
-
usb port
-
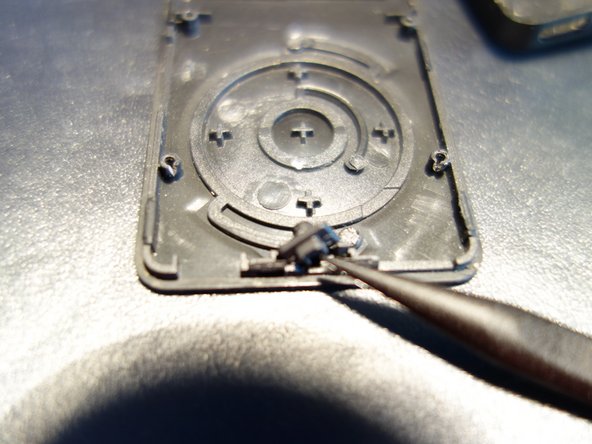
the switch
-
SD card holder
-