Zum Hauptinhalt wechseln

Was du brauchst

Dieser Teardown ist keine Reparaturanleitung. Um dein Apple Magsafe Power Adapter zu reparieren, verwende unsere Fehlerbehebungsseite.

  1. Apple Magsafe Power Adapter Teardown, The Power Adapter: Schritt 1, Bild 1 von 1
    • Here is the product that will be the focus of the teardown.

  2. Apple Magsafe Power Adapter Teardown, Top Case Removal: Schritt 2, Bild 1 von 1
    • One part of the outer casing (referred to as the top part of the case) is removed revealing an aluminum wrapping.

  3. Apple Magsafe Power Adapter Teardown, Unwrapping: Schritt 3, Bild 1 von 2 Apple Magsafe Power Adapter Teardown, Unwrapping: Schritt 3, Bild 2 von 2
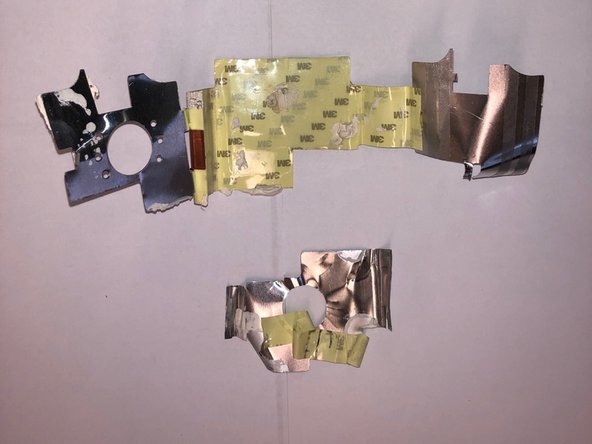
    • Unwrapping the aluminum allows the internal components to be accessed.

    • The aluminum and the 3M film shown act as a heat sink and EM shield for the internal components.

  4. Apple Magsafe Power Adapter Teardown, Bottom Case Removal: Schritt 4, Bild 1 von 2 Apple Magsafe Power Adapter Teardown, Bottom Case Removal: Schritt 4, Bild 2 von 2
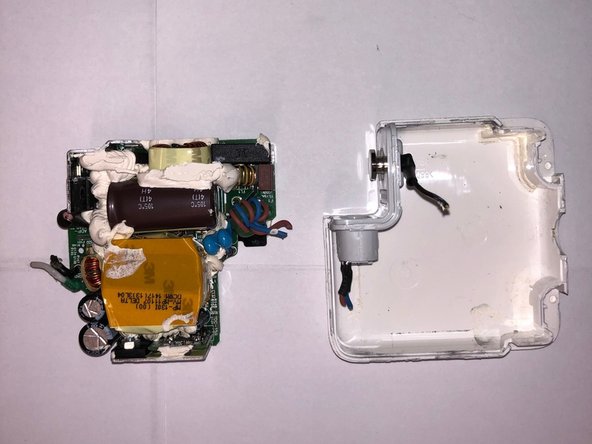
    • The second half of the outer casing is removed to isolate the board. Note the white paste on the board used to thermally isolate the components.

    • The second picture shows the bottom of the circuit board (left) after removing the support (right). Here, too, we see use of paste but for the purpose of binding the support and circuit.

  5. Apple Magsafe Power Adapter Teardown, Paste Removal: Schritt 5, Bild 1 von 1
    • The paste can be picked off of the board to get a better look at the circuit components it covers up.

  6. Apple Magsafe Power Adapter Teardown, Another Angle: Schritt 6, Bild 1 von 1
    • The large capacitor on the circuit board can be bent upright to show more components underneath it.

    Make sure that this cap is discharged !!

    Pointless making a repair guide as I’ve found that there is only one common failure.

    You’ve already dismantled the unit … now look for a 22uf 50v capacitor in the primary circuit. Replace it and your unit will be working again.

    Mal - Antwort

Mauricio Gomez

Mitglied seit: 03/08/18

173 Reputation

1 Anleitung geschrieben

2 Kommentare

Fixed loads of these - usually the startup cap, but I always check/replace all the caps.

Mal - Antwort

pretty good for your first guide! I would recommend getting a counterfeit charger and compare it with a genuine one.

Aiden - Antwort

Kommentar hinzufügen

Seitenaufrufe:

Letzte 24 Stunden: 1

Letzte 7 Tage: 12

Letzte 30 Tage: 34

Insgesamt: 8,930