Zum Hauptinhalt wechseln

Was du brauchst

Dieser Teardown ist keine Reparaturanleitung. Um dein Bicycle Columbia Flame Rider zu reparieren, verwende unsere Fehlerbehebungsseite.

  1. Bicycle Columbia Flame Rider Teardown, Start The Teardown: Schritt 1, Bild 1 von 2 Bicycle Columbia Flame Rider Teardown, Start The Teardown: Schritt 1, Bild 2 von 2
    • The first step, and the most obvious, is to get your bicycle.

    • Then flip over the bicycle.

  2. Bicycle Columbia Flame Rider Teardown, The Front Wheel: Schritt 2, Bild 1 von 3 Bicycle Columbia Flame Rider Teardown, The Front Wheel: Schritt 2, Bild 2 von 3 Bicycle Columbia Flame Rider Teardown, The Front Wheel: Schritt 2, Bild 3 von 3
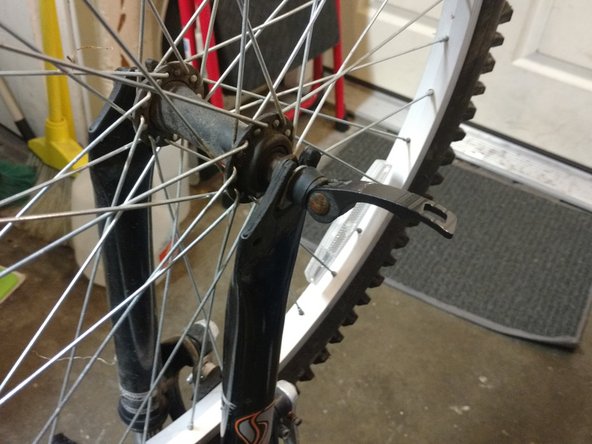
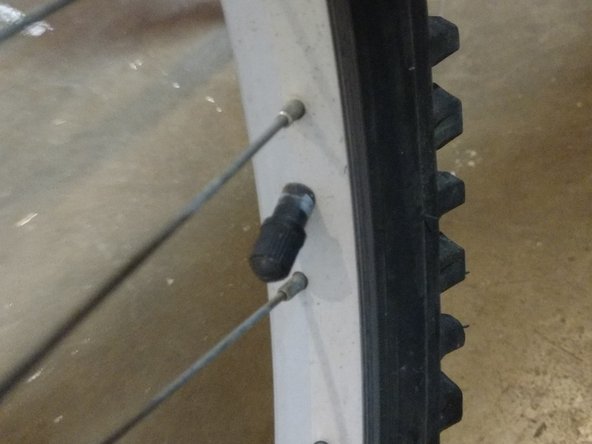
    • We are going to start with taking the front wheel off.

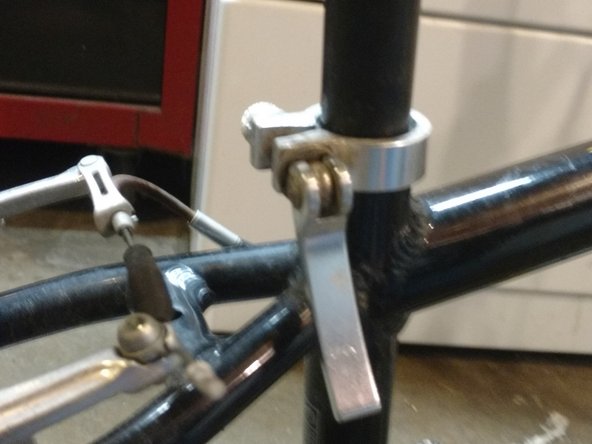
    • To start you are going to need to undo this clamp , It can be very tight but it does become undone.

    • Once loosened unscrew the opposite sides nut.

  3. Bicycle Columbia Flame Rider Teardown, Taking the Wheel Off: Schritt 3, Bild 1 von 2 Bicycle Columbia Flame Rider Teardown, Taking the Wheel Off: Schritt 3, Bild 2 von 2
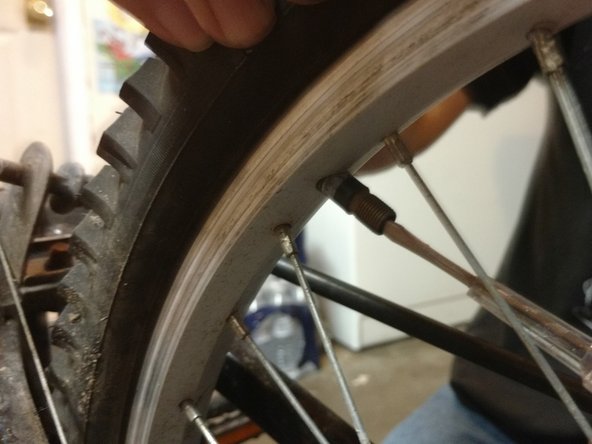
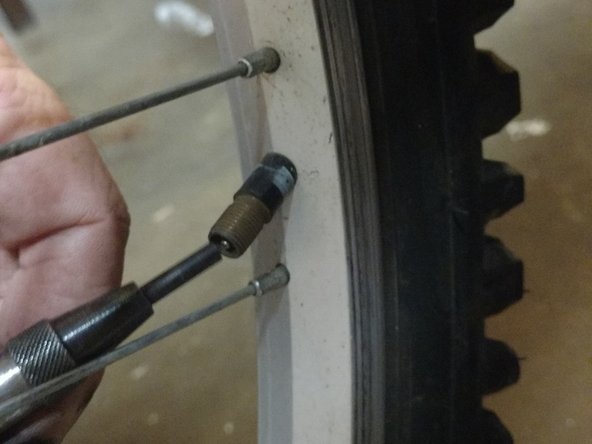
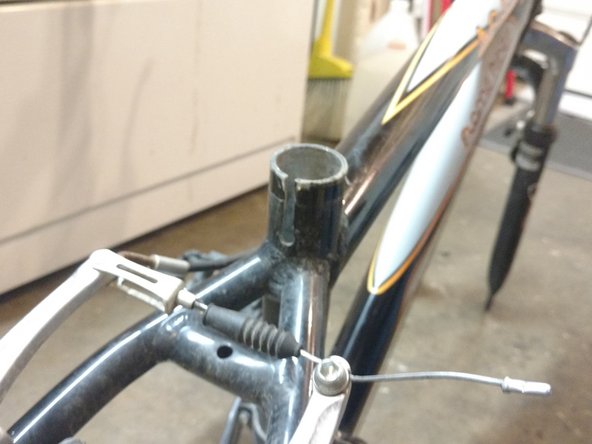
    • Once Unscrewed the wheel will slide off ( You might need to lower air pressure in the tires to allow them through the break pads). Put the wheel to the side.

  4. Bicycle Columbia Flame Rider Teardown, The Back Wheel: Schritt 4, Bild 1 von 3 Bicycle Columbia Flame Rider Teardown, The Back Wheel: Schritt 4, Bild 2 von 3 Bicycle Columbia Flame Rider Teardown, The Back Wheel: Schritt 4, Bild 3 von 3
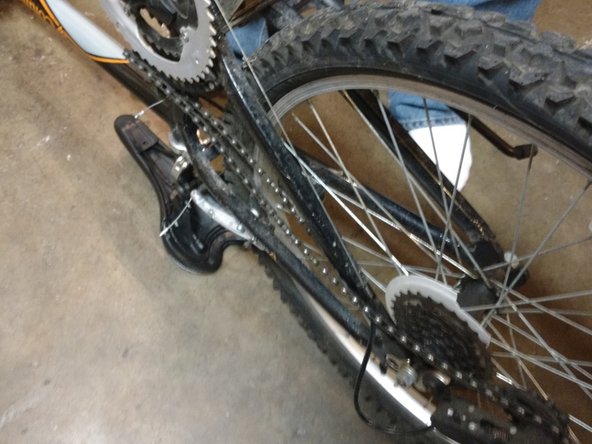
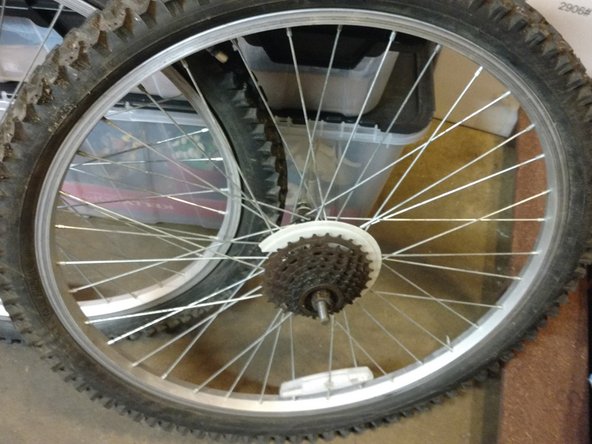
    • Once the front wheel is put away you start on the back wheel.

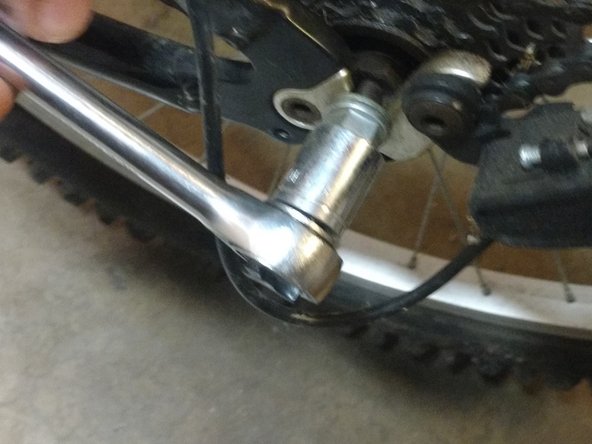
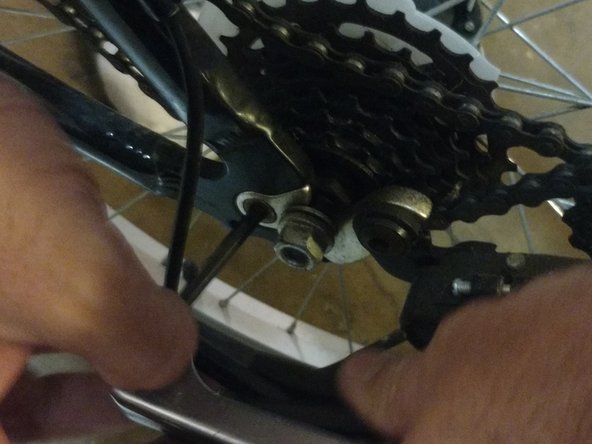
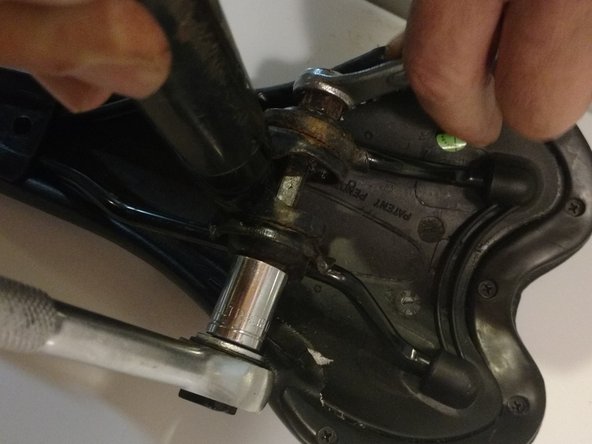
    • Start by undoing the nut and bolts on both sides.

  5. Bicycle Columbia Flame Rider Teardown, Removing The Chain To get to The Wheel: Schritt 5, Bild 1 von 3 Bicycle Columbia Flame Rider Teardown, Removing The Chain To get to The Wheel: Schritt 5, Bild 2 von 3 Bicycle Columbia Flame Rider Teardown, Removing The Chain To get to The Wheel: Schritt 5, Bild 3 von 3
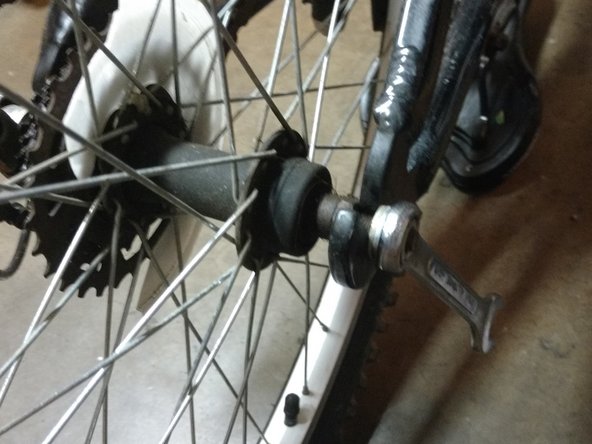
    • Undo the nut right next to the bolt on the left side.

    • Then completely take off the bolts.

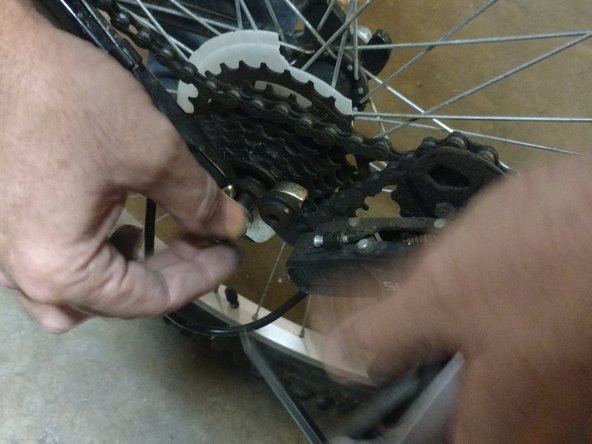
    • Once taken off you can remove the chain off of the tire. Be careful and do not pull to hard.

  6. Bicycle Columbia Flame Rider Teardown, Remove The Wheel: Schritt 6, Bild 1 von 3 Bicycle Columbia Flame Rider Teardown, Remove The Wheel: Schritt 6, Bild 2 von 3 Bicycle Columbia Flame Rider Teardown, Remove The Wheel: Schritt 6, Bild 3 von 3
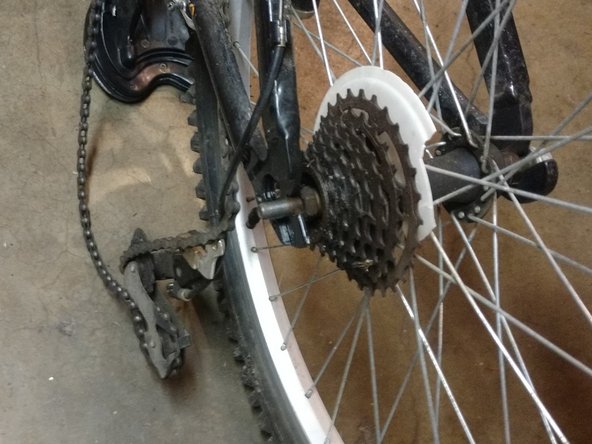
    • Once again remove the air from the tire and pull the tire out slowly

  7. Bicycle Columbia Flame Rider Teardown, Remove The Kickstand: Schritt 7, Bild 1 von 2 Bicycle Columbia Flame Rider Teardown, Remove The Kickstand: Schritt 7, Bild 2 von 2
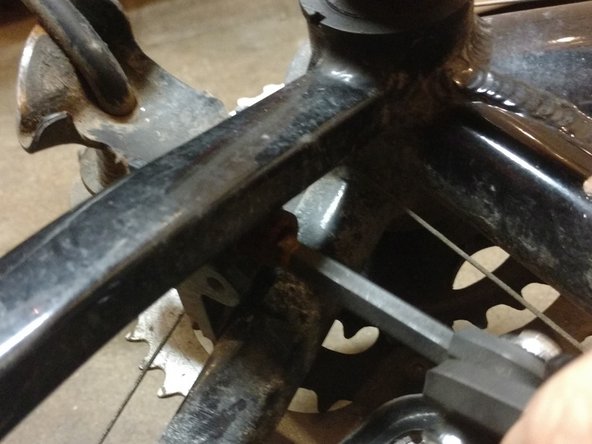
    • Unscrew the bolt and the kickstand will be removed.

    • Replace the bolt back in for safe keeping.

  8. Bicycle Columbia Flame Rider Teardown, Removing The Seat.: Schritt 8, Bild 1 von 3 Bicycle Columbia Flame Rider Teardown, Removing The Seat.: Schritt 8, Bild 2 von 3 Bicycle Columbia Flame Rider Teardown, Removing The Seat.: Schritt 8, Bild 3 von 3
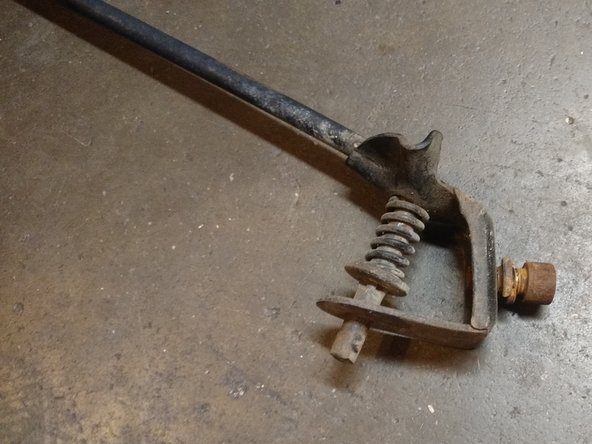
    • Undo the clamp and unscrew it to loosen it

    • Pull the bar and seat off Also remove the clamp part.

    • Separate the seat from the bar.

  9. Bicycle Columbia Flame Rider Teardown, Remove The Handle Bar: Schritt 9, Bild 1 von 2 Bicycle Columbia Flame Rider Teardown, Remove The Handle Bar: Schritt 9, Bild 2 von 2
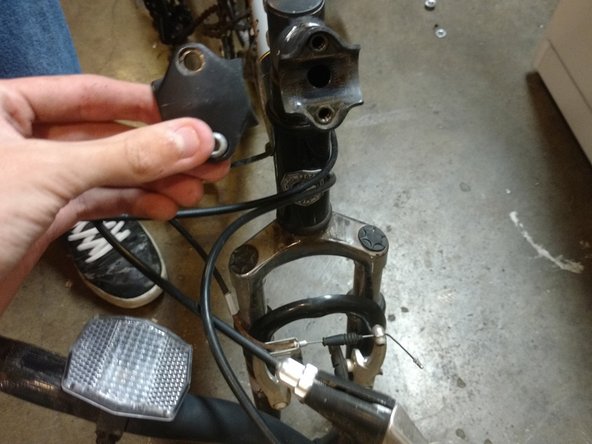
    • Unscrew the two screws and pop off the case.

    • Hold the handle bars while doing this so they don't drop to fast and break

  10. Bicycle Columbia Flame Rider Teardown, Finished!: Schritt 10, Bild 1 von 1
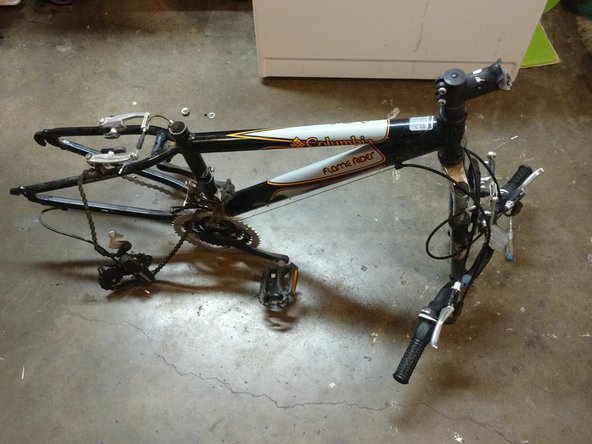
    • You have officially torn down the bike!

    • To rebuild it do the steps in reverse order.

Payton Harty

Mitglied seit: 11/02/16

296 Reputation

2 Anleitungen geschrieben

0 Kommentare

Kommentar hinzufügen

Seitenaufrufe:

Letzte 24 Stunden: 0

Letzte 7 Tage: 0

Letzte 30 Tage: 3

Insgesamt: 689