Was du brauchst
-
Dieser Schritt ist noch nicht übersetzt. Hilf mit, ihn zu übersetzen!
-
an original ipaq from compaq not hp
-
the teardown is realatively simple (PS: simply is not always easy)
-
-
Dieser Schritt ist noch nicht übersetzt. Hilf mit, ihn zu übersetzen!
-
There are four torx screws here
-
-
Dieser Schritt ist noch nicht übersetzt. Hilf mit, ihn zu übersetzen!
-
Gently pry around the edges to release the cover
-
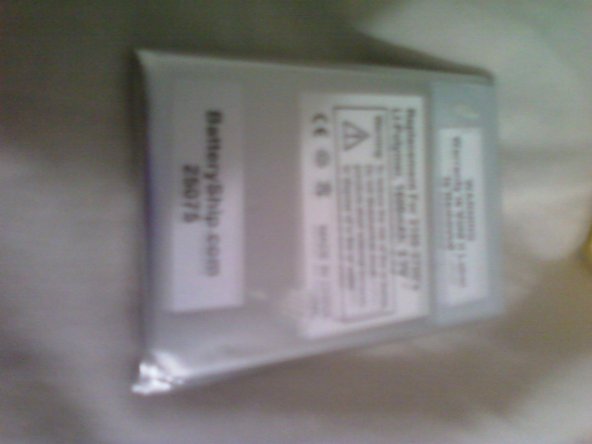
fold the back under the front panel and carefully remove the battery connector
-
-
-
Dieser Schritt ist noch nicht übersetzt. Hilf mit, ihn zu übersetzen!
-
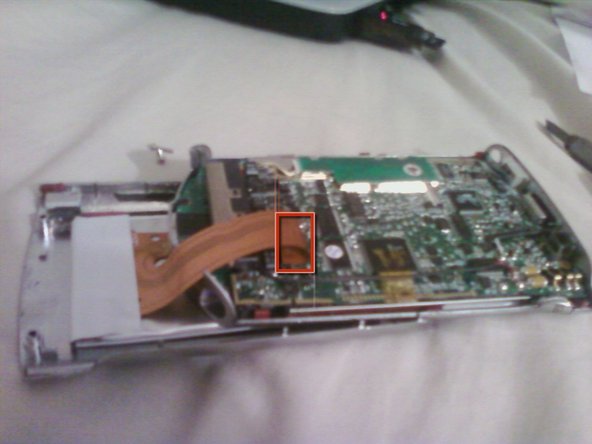
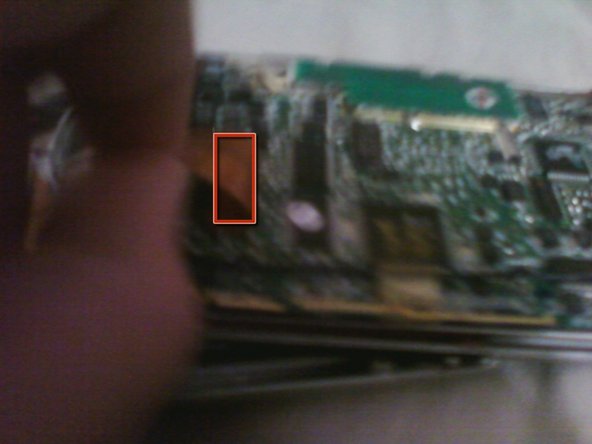
Disconnect the backlight
-
from the inverter
-
here is an Htc branded processor
-
be sure to pop up the black wire
-
remove the stylus ejector
-
-
Dieser Schritt ist noch nicht übersetzt. Hilf mit, ihn zu übersetzen!
-
Gently pull on the top face while lifting the logic board (will require some force)
-
Be careful of the black wire running along the board
-
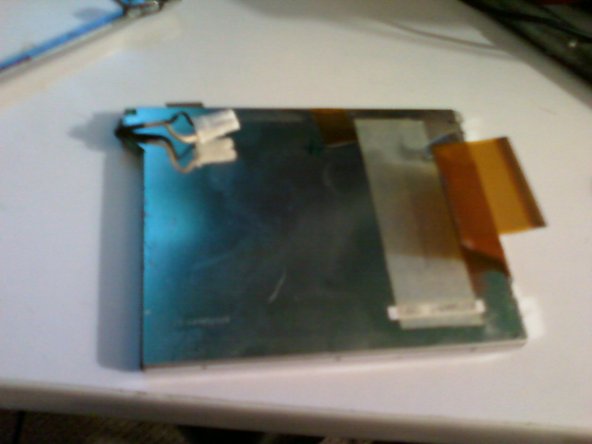
Disconnect the screen and digitizer cables being careful not to damage the cable or connector
-
-
Dieser Schritt ist noch nicht übersetzt. Hilf mit, ihn zu übersetzen!
-
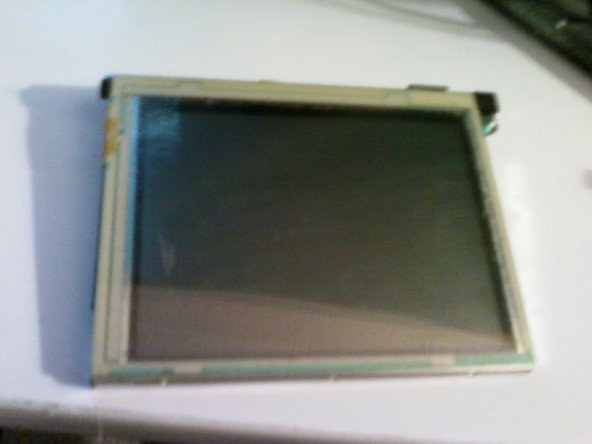
again putting pressure on the top panel lift the display out of the case
-
-
Dieser Schritt ist noch nicht übersetzt. Hilf mit, ihn zu übersetzen!
-
an htc branded control board
-
(funny I thought it said compaq on the front?)
-
-
Dieser Schritt ist noch nicht übersetzt. Hilf mit, ihn zu übersetzen!
-
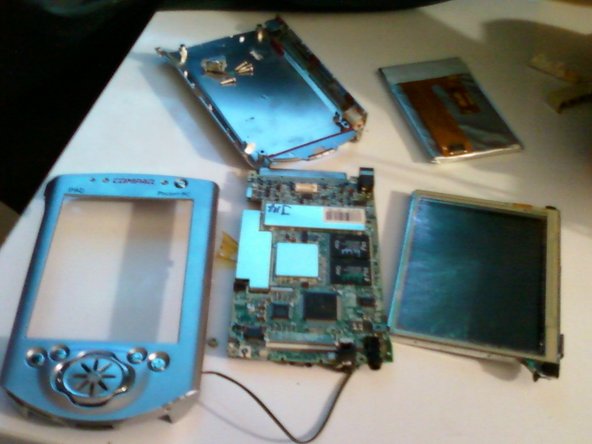
The final product (destroyed that is)
-
I used NO anti-static precautions, reassembled the device and after finaly getting the video cable to lock in it worked fine
-
PS: the touch panel worked But when i fixed the video cable i knocked it loose and didnt realize it and now i have to fix it (sigh)
-