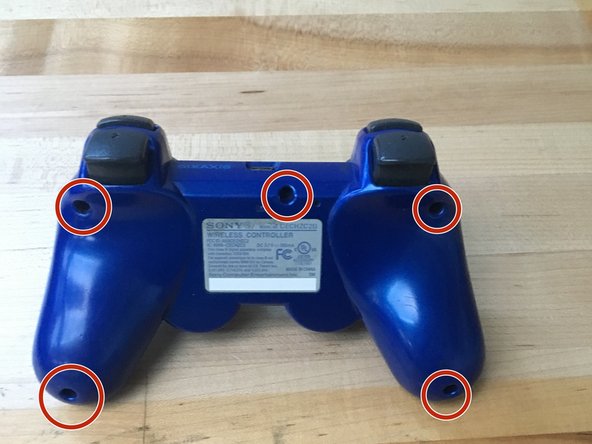
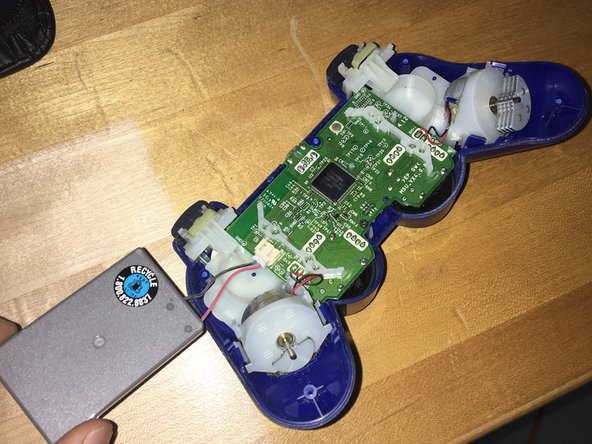
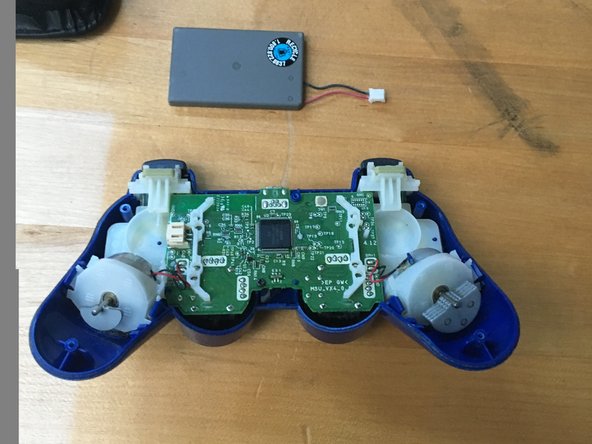
Zum Hauptinhalt wechseln
Archivierte Anleitung
Diese Anleitung wurde ausschließlich für historische Zwecke erhalten. Verwende die aktualisierte Version dieser Anleitung, um deine Reparatur durchzuführen.

Was du brauchst

Dieser Teardown ist keine Reparaturanleitung. Um dein DualShock 3 zu reparieren, verwende unsere Fehlerbehebungsseite.

  1. DualShock 3 Teardown, DualShock 3 Teardown: Schritt 1, Bild 1 von 1
    • PS3 controller

  2. DualShock 3 Teardown: Schritt 2, Bild 1 von 3 DualShock 3 Teardown: Schritt 2, Bild 2 von 3 DualShock 3 Teardown: Schritt 2, Bild 3 von 3
    • First take the screws of with a screw driver.

    • They are 5 screws.

  3. DualShock 3 Teardown: Schritt 3, Bild 1 von 3 DualShock 3 Teardown: Schritt 3, Bild 2 von 3 DualShock 3 Teardown: Schritt 3, Bild 3 von 3
    • When your in you can take the battery out easily with your hands.

  4. DualShock 3 Teardown: Schritt 4, Bild 1 von 3 DualShock 3 Teardown: Schritt 4, Bild 2 von 3 DualShock 3 Teardown: Schritt 4, Bild 3 von 3
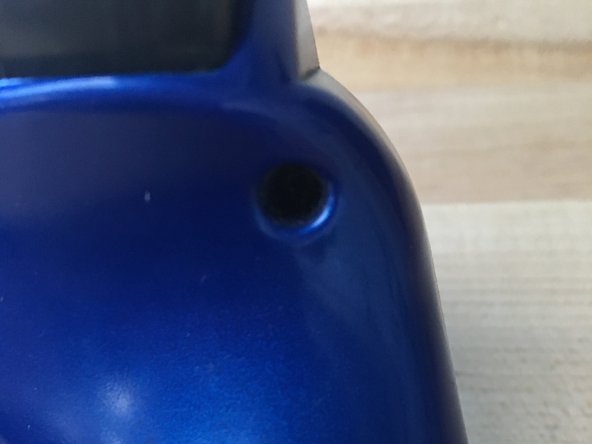
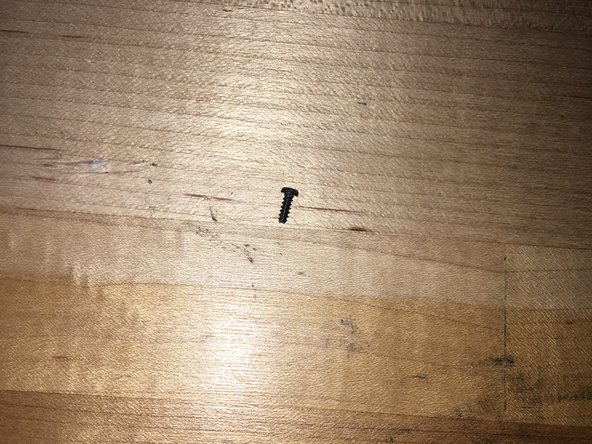
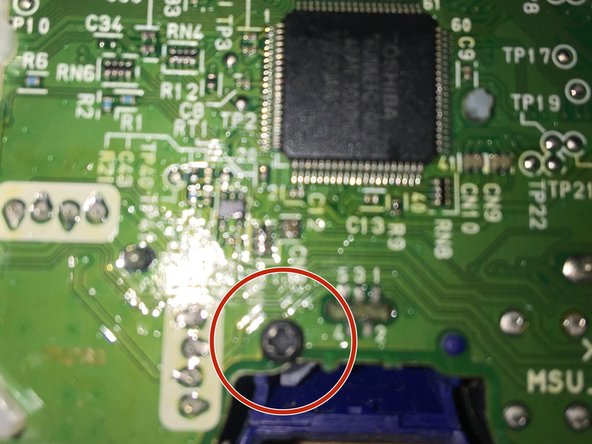
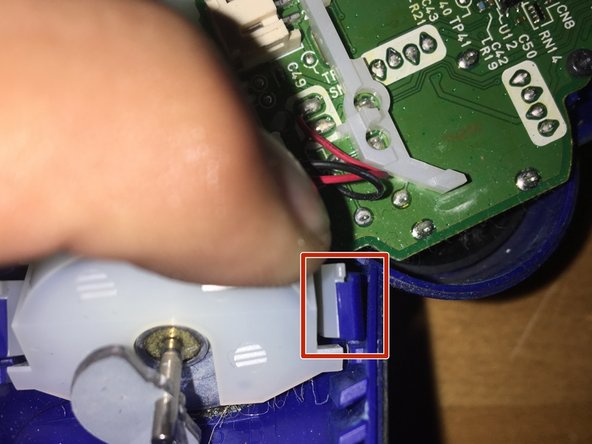
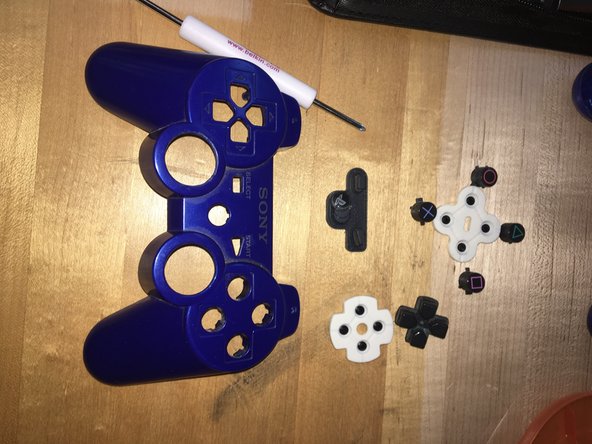
    • Take this screw out before you try to take out your buttons.

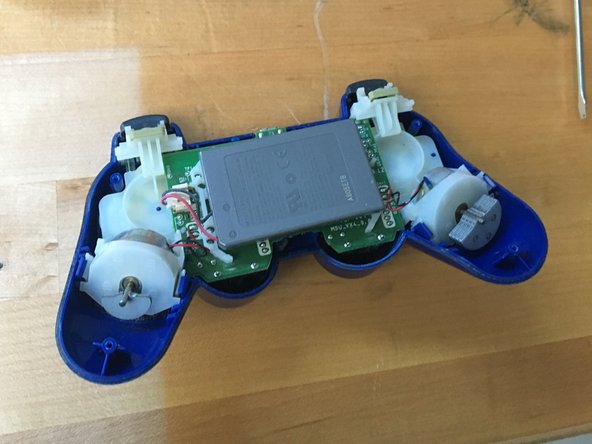
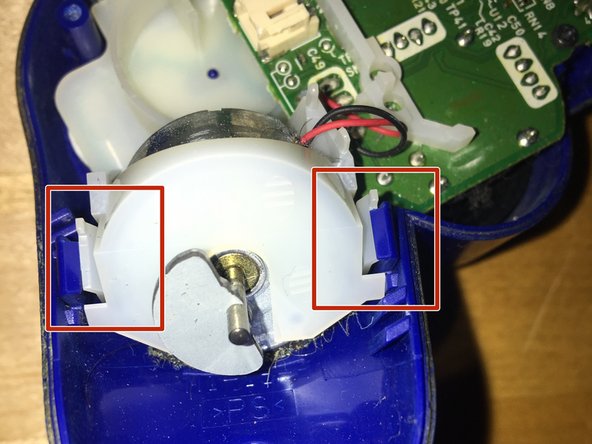
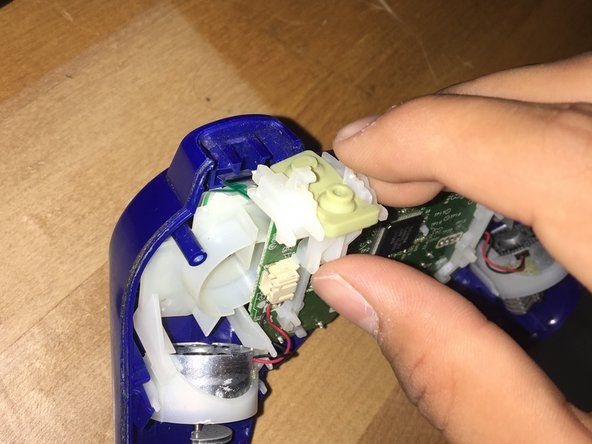
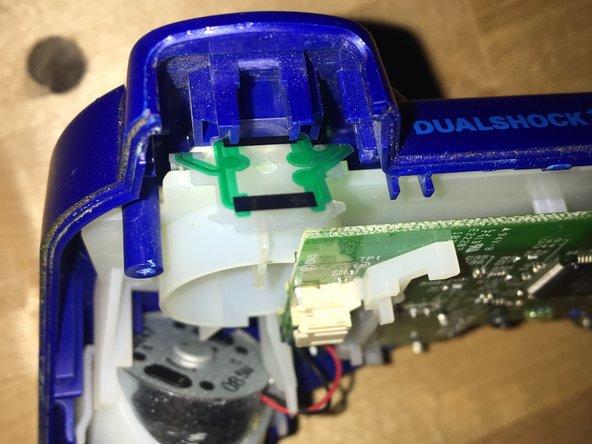
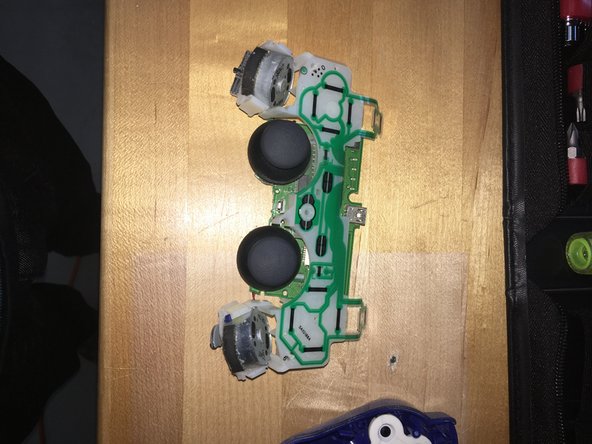
    • In order to take off the mother board you have to move those two white things away from the blue.

  5. DualShock 3 Teardown: Schritt 5, Bild 1 von 2 DualShock 3 Teardown: Schritt 5, Bild 2 von 2
    • It is really easy to take the buttons off you just slide it off easily.

  6. DualShock 3 Teardown: Schritt 6, Bild 1 von 3 DualShock 3 Teardown: Schritt 6, Bild 2 von 3 DualShock 3 Teardown: Schritt 6, Bild 3 von 3
    • This is how it looks when your done with the ps3 controller,

Manuel Cerda

Mitglied seit: 10/24/16

258 Reputation

1 Anleitung geschrieben

0 Kommentare

Kommentar hinzufügen

Seitenaufrufe:

Letzte 24 Stunden: 0

Letzte 7 Tage: 0

Letzte 30 Tage: 0

Insgesamt: 1,881