Einleitung
Eine schnelle Demontage einer industriellen Flir A600 Wärmebildkamera; zum allgemeinen Verständnis. Ein zehn Jahre altes Modell mit noch älteren internen Teilen.
Es ist das erste Mal, dass ich diese Plattform benutze. Die endgültig geposteten Bilder wurden stärker komprimiert als gedacht.
Was du brauchst
-
-
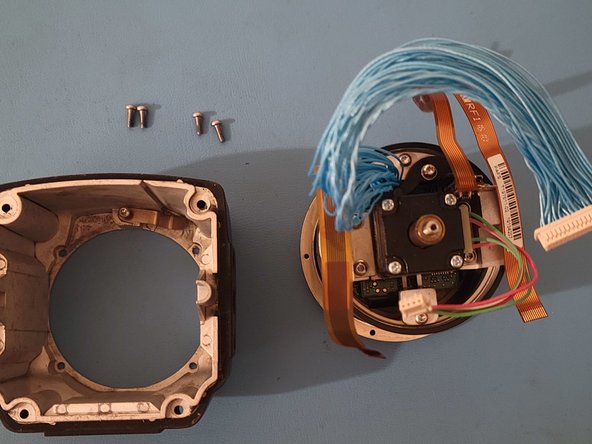
Komplettes Gerät.
-
Alle Schrauben haben Torx #6. Die anderen Schraubendreher sind zum hebeln gedacht.
-
-
-
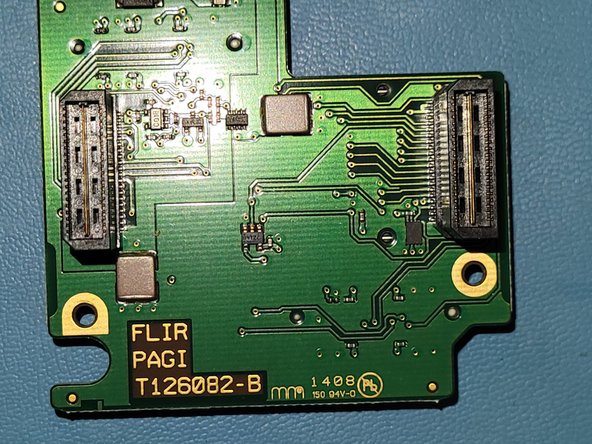
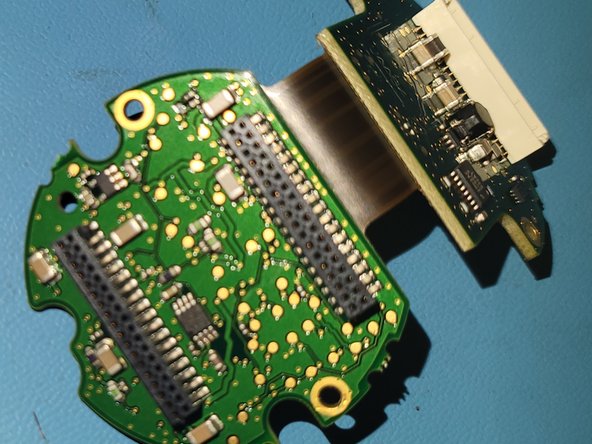
Steuerungseinheit; Ich arbeite zum ersten Mal mit dieser Plattform. Das Zuschneiden der Bilder ist ein Problem.
-
-
-
-
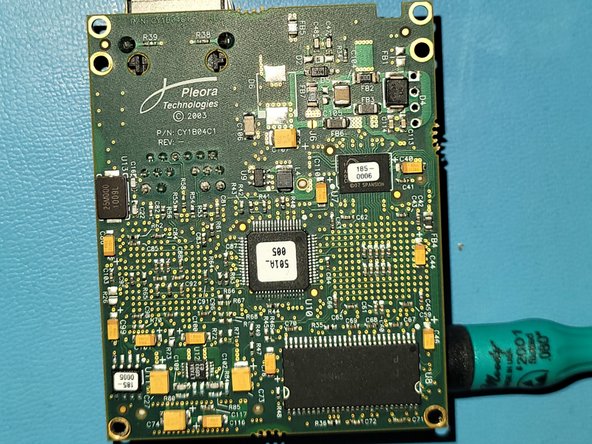
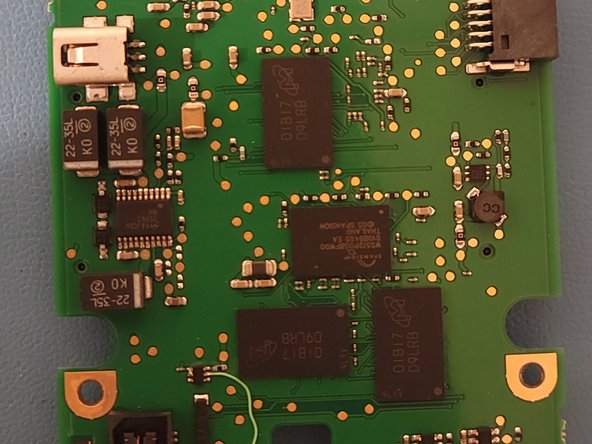
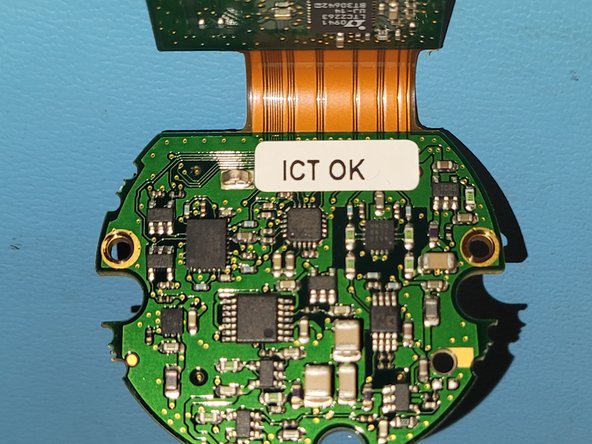
Hauptplatine. Wieder Probleme beim Zuschneiden aber alle wichtige Chips sind auf den Bildern zu sehen.
-


Besonderer Dank geht an diese Übersetzer:innen:
100%

GoXxTrer hilft uns, die Welt in Ordnung zu bringen! Wie kann ich mithelfen?
Hier starten ›