Zum Hauptinhalt wechseln

Was du brauchst

Dieser Teardown ist keine Reparaturanleitung. Um dein Fnatic STREAK65 zu reparieren, verwende unsere Fehlerbehebungsseite.

  1. Fnatic STREAK65 Teardown, Disconnect the USB-C cable: Schritt 1, Bild 1 von 2 Fnatic STREAK65 Teardown, Disconnect the USB-C cable: Schritt 1, Bild 2 von 2
    • Disconnect the USB-C cable that powers the keyboard

  2. Fnatic STREAK65 Teardown, Remove the keycaps: Schritt 2, Bild 1 von 2 Fnatic STREAK65 Teardown, Remove the keycaps: Schritt 2, Bild 2 von 2
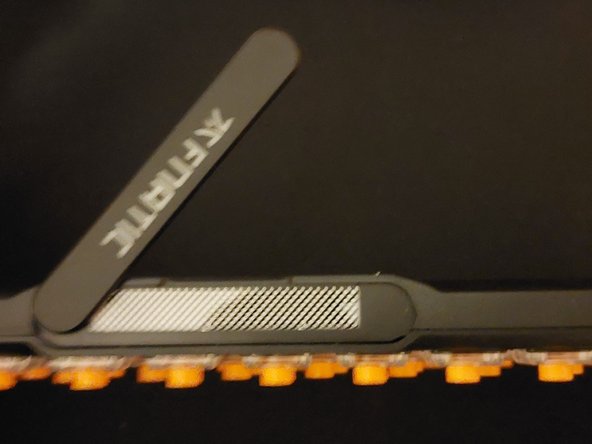
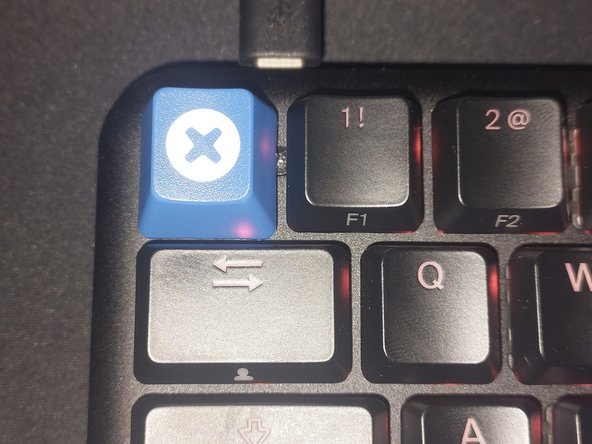
    • Remove the keyboard keycaps either with special tools or simply with your fingers

  3. Fnatic STREAK65 Teardown, Remove the 13 Phillips #00 screws: Schritt 3, Bild 1 von 1
    • Unscrew the 13 Phillips #00 screws that secure the upper cover to the lower body

  4. Fnatic STREAK65 Teardown, Remove the light bar: Schritt 4, Bild 1 von 2 Fnatic STREAK65 Teardown, Remove the light bar: Schritt 4, Bild 2 von 2
    • Remove the light bar with a nail or a spudger

  5. Fnatic STREAK65 Teardown, Remove the upper cover: Schritt 5, Bild 1 von 2 Fnatic STREAK65 Teardown, Remove the upper cover: Schritt 5, Bild 2 von 2
    • Remove the top cover to free the motherboard with the soldered switches

  6. Fnatic STREAK65 Teardown, Reassemble everything: Schritt 6, Bild 1 von 2 Fnatic STREAK65 Teardown, Reassemble everything: Schritt 6, Bild 2 von 2
    • Follow the instructions in reverse order to reassemble the keyboard.

    • P.S You can replace one of your keyboard keys with the awesome official keycap from iFixit

Andrea Alfani

Mitglied seit: 04/20/22

7.697 Reputation

5 Anleitungen geschrieben

Team

Kid fixers Mitglied von Kid fixers

Community

162 Mitglieder

300 Anleitungen geschrieben

0 Kommentare

Kommentar hinzufügen

Seitenaufrufe:

Letzte 24 Stunden: 4

Letzte 7 Tage: 23

Letzte 30 Tage: 92

Insgesamt: 724