Was du brauchst
-
Dieser Schritt ist noch nicht übersetzt. Hilf mit, ihn zu übersetzen!
-
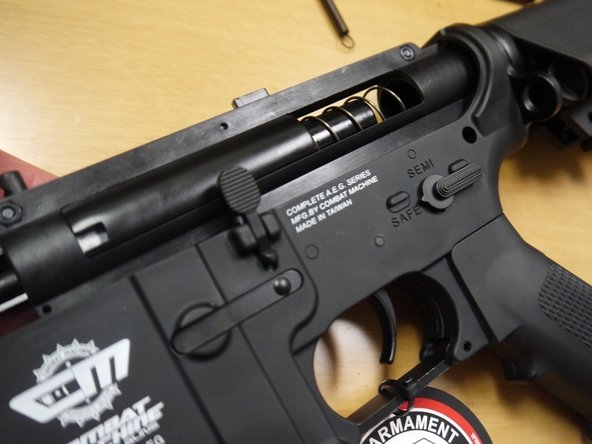
Push out the front receiver-takedown pin, but do not completely remove.
-
Slide the upper receiver-takedown pin forward, separating it from the lower piece. Gently pulling back on the charging handle can make this easier.
-
-
Dieser Schritt ist noch nicht übersetzt. Hilf mit, ihn zu übersetzen!
-
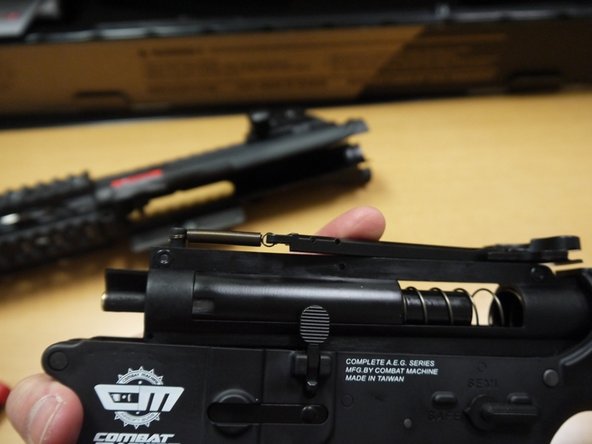
Once the two receiver-takedown pin have been separated, unhook the charging handle from the spring.
-
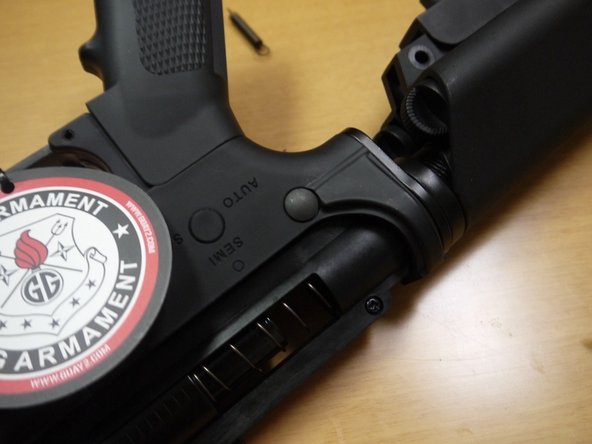
Punch out the rear takedown pin from the lower receiver. These pieces should fully separate in the rear piece, but will not fully separate in the front piece.
-
Lift the bolt assembly from the lower receiver.
-
-
Dieser Schritt ist noch nicht übersetzt. Hilf mit, ihn zu übersetzen!
-
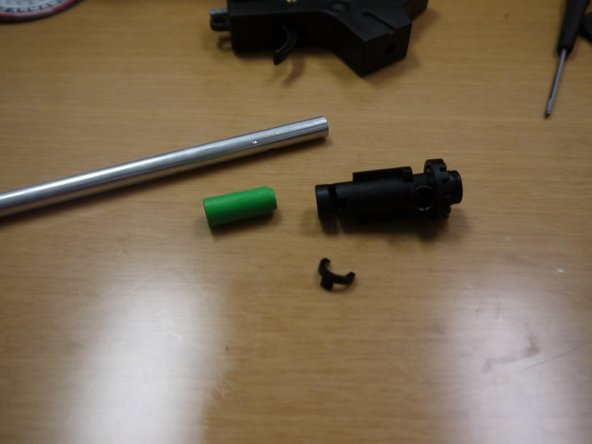
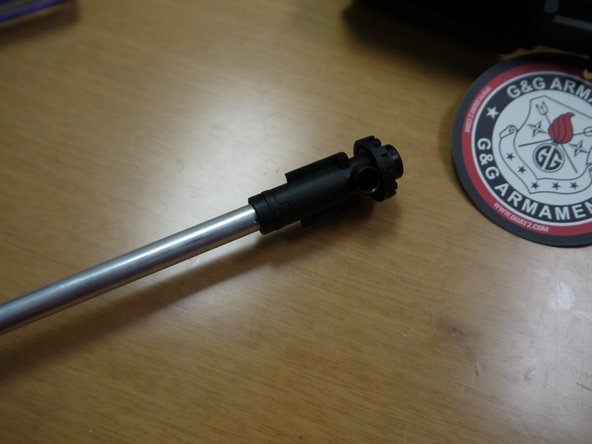
Remove the clip that secures the barrel to the hop-up unit.
-
Pull out the barrel and remove the hop-up bucking.
-
-
Dieser Schritt ist noch nicht übersetzt. Hilf mit, ihn zu übersetzen!
-
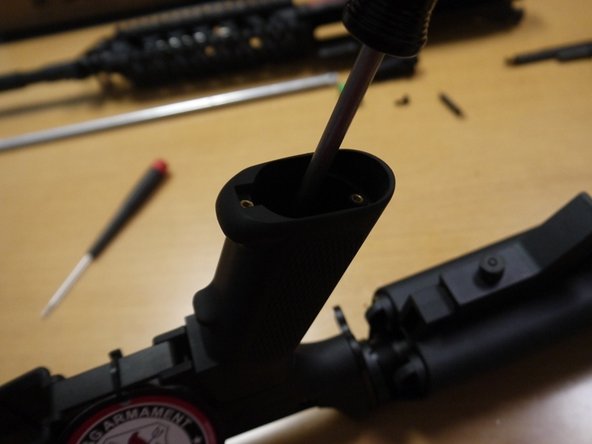
Using a Phillips screwdriver, remove the screw securing the pistol grip to the gun.
-
Remove the pistol grip from the gun.
-
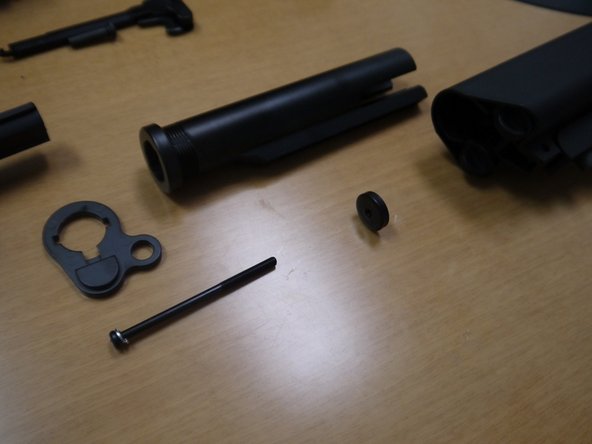
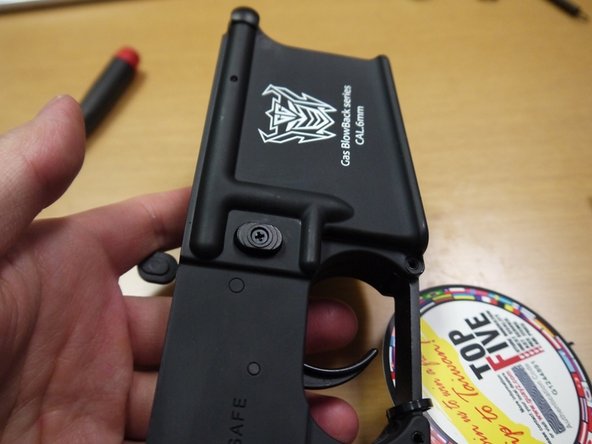
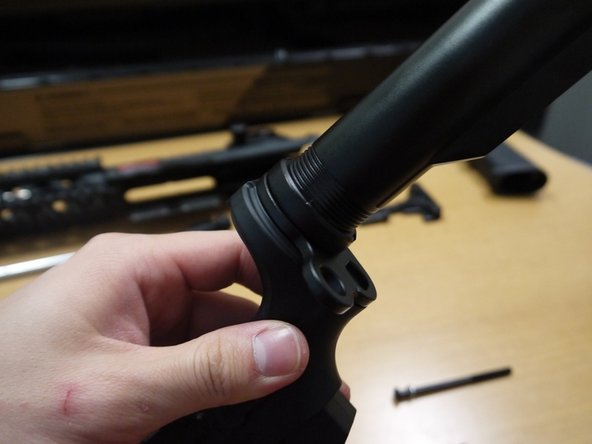
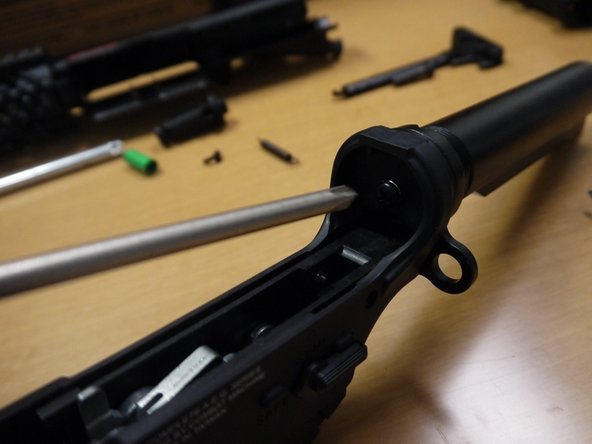
Optional: remove the screw securing the buffer tube to the gun, then remove the buffer tube/stock assembly. A round nut should fall out of the buffer tube after the assembly is removed (shown in third picture).
-
-
Dieser Schritt ist noch nicht übersetzt. Hilf mit, ihn zu übersetzen!
-
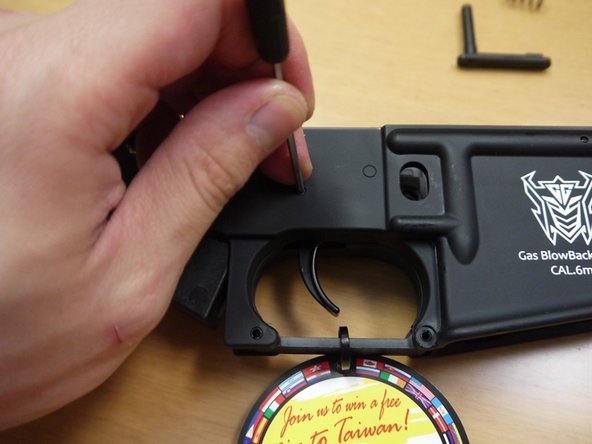
Remove the screw from the magazine catch. After the screw is removed, the magazine catch assembly should come apart in four pieces (screw, button, spring, arm).
-
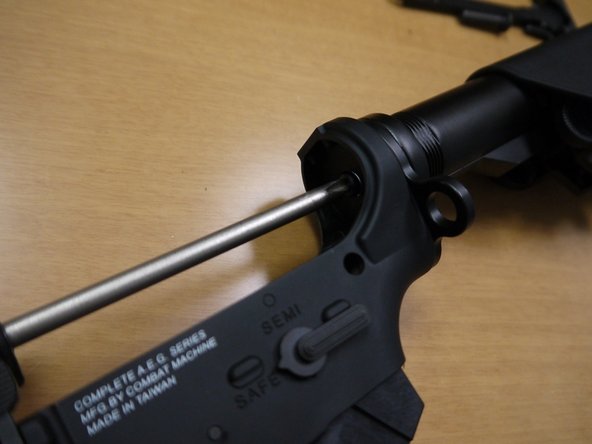
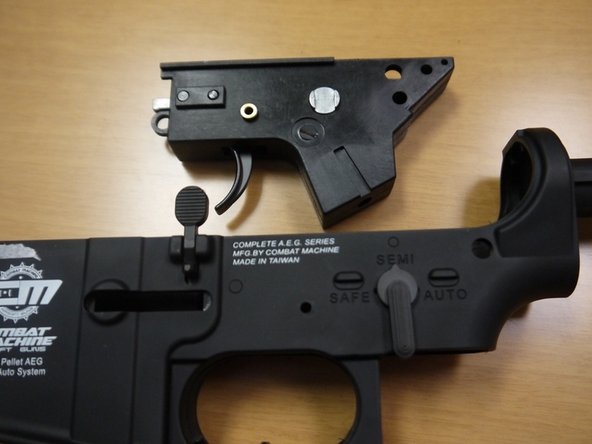
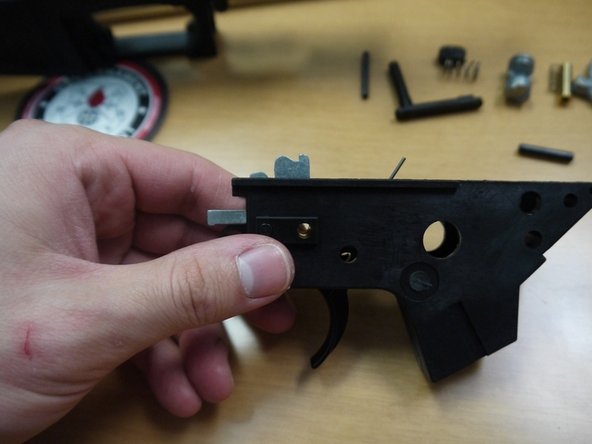
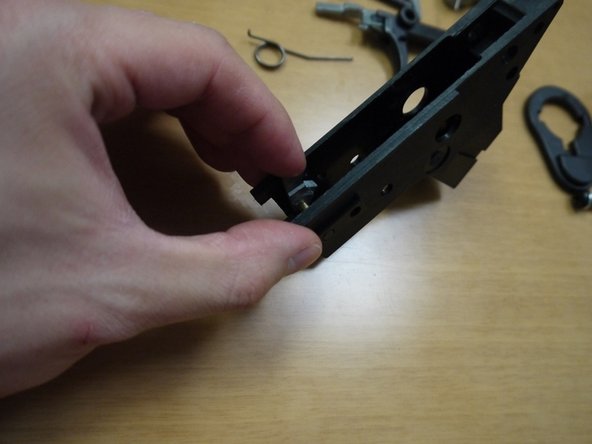
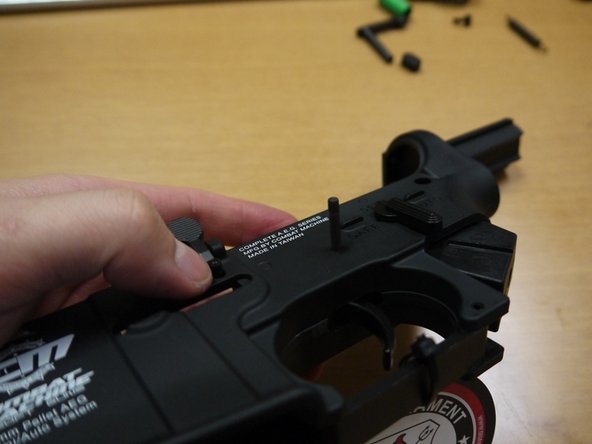
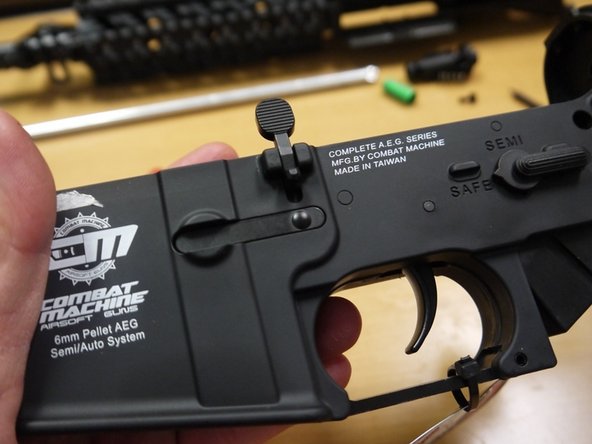
Punch out the small receiver pin from the right side of the gun (see picture). It is important that you do not try to do this from the right side. One end of the pin is textured to prevent it from coming loose, and pushing this end through the receiver may cause minor damage.
-
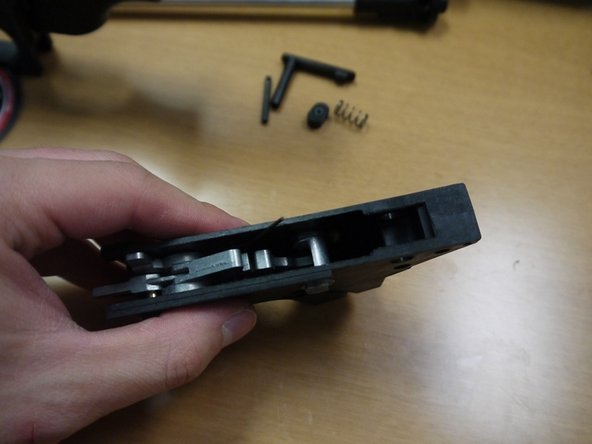
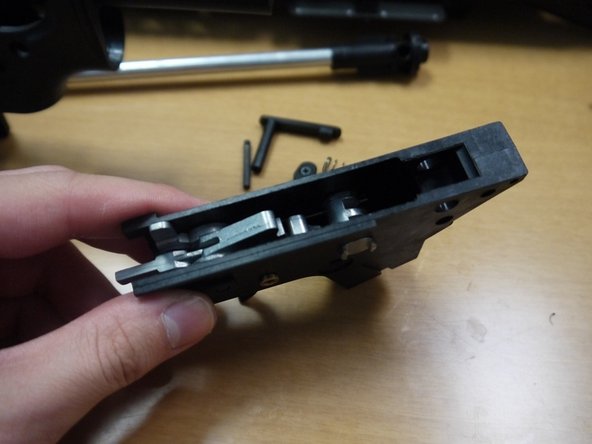
Set the selector to "semi" and remove the fire control assembly from the lower receiver.
-
-
Dieser Schritt ist noch nicht übersetzt. Hilf mit, ihn zu übersetzen!
-
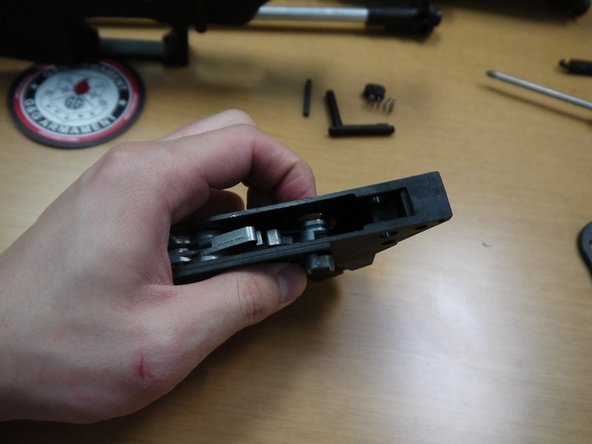
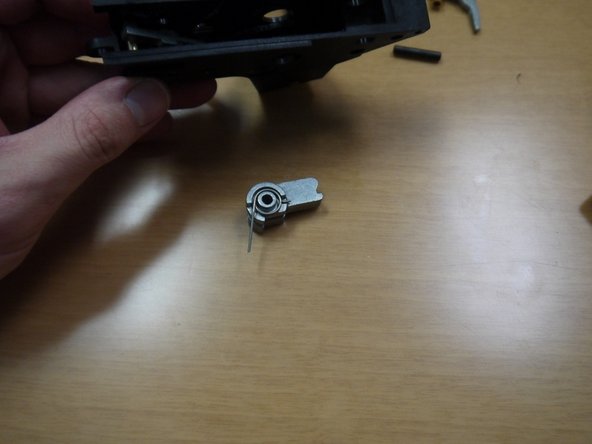
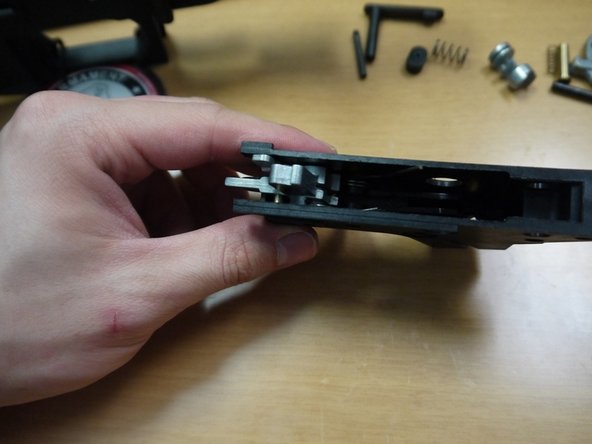
Push the selector drum (as shown in the second picture) and unhook the leg of the spring holding it in place.
-
Once the spring is unhooked, remove the selector drum.
-
-
Dieser Schritt ist noch nicht übersetzt. Hilf mit, ihn zu übersetzen!
-
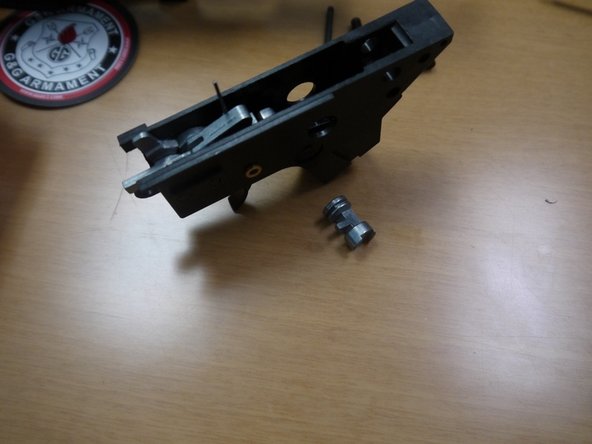
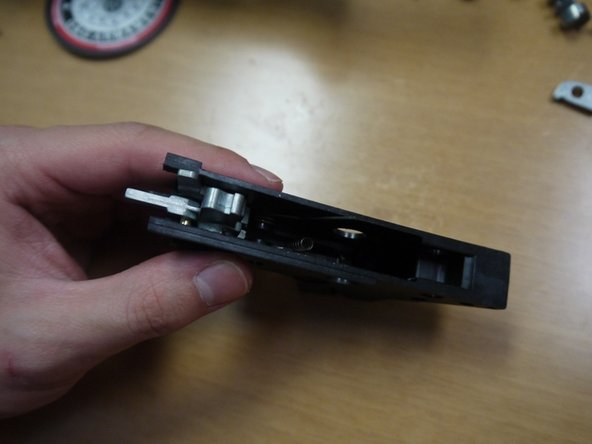
Pull the brass trigger pin out from the left side; the disconnector and spring will proceed to fall out.
-
Set the trigger aside to use later.
-
-
Dieser Schritt ist noch nicht übersetzt. Hilf mit, ihn zu übersetzen!
-
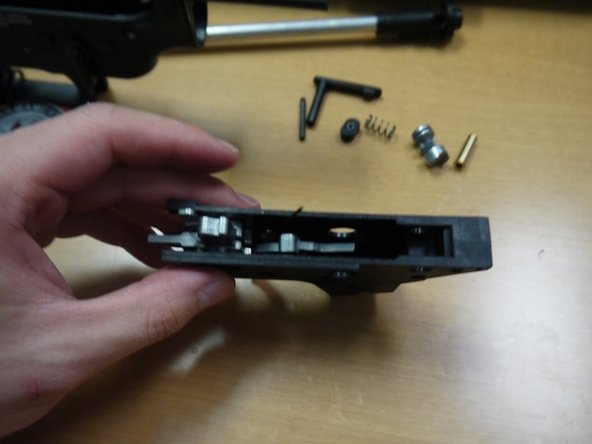
Push out the hammer/striker pin.
-
Remove the hammer.
-
-
-
Dieser Schritt ist noch nicht übersetzt. Hilf mit, ihn zu übersetzen!
-
Remove the trigger and striker from the gun. The striker will be attached to the trigger with a small spring. Note the positioning of the trigger and the spring.
-
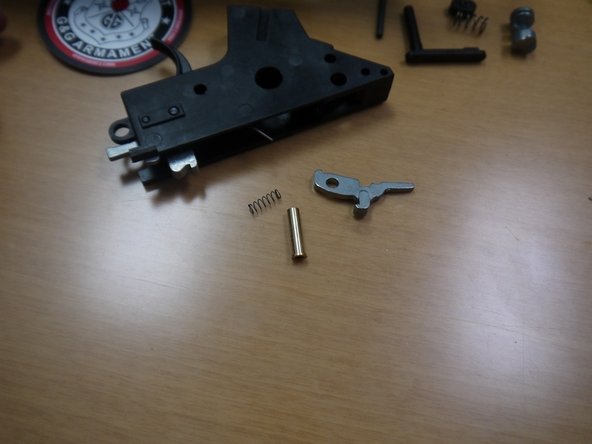
Push out the auto sear pin. The auto sear assembly should proceed to come out in three parts: sear, spring, and brass spacer.
-
-
Dieser Schritt ist noch nicht übersetzt. Hilf mit, ihn zu übersetzen!
-
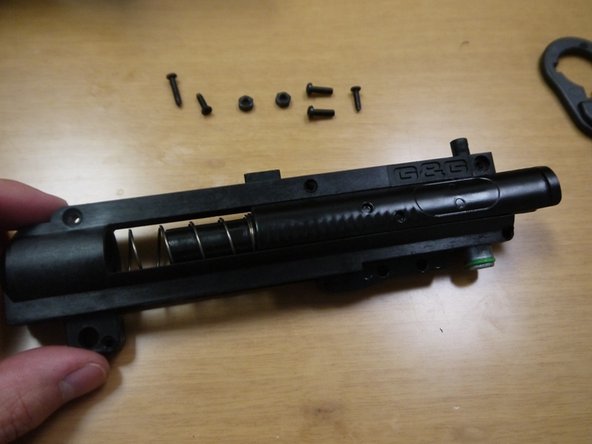
Unhook the charging-handle spring from the top of the bolt assembly.
-
Remove the five screws on the bolt assembly.
-
-
Dieser Schritt ist noch nicht übersetzt. Hilf mit, ihn zu übersetzen!
-
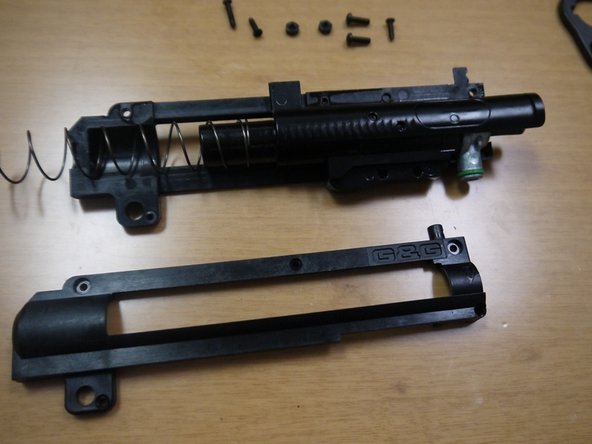
Pull the bolt backwards, and separate it from the plastic shell.
-
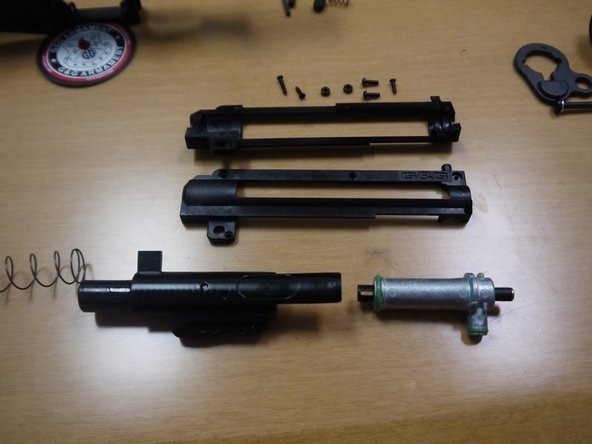
Remove the bolt, recoil spring, and nozzle assembly from the shell.
-
-
Dieser Schritt ist noch nicht übersetzt. Hilf mit, ihn zu übersetzen!
-
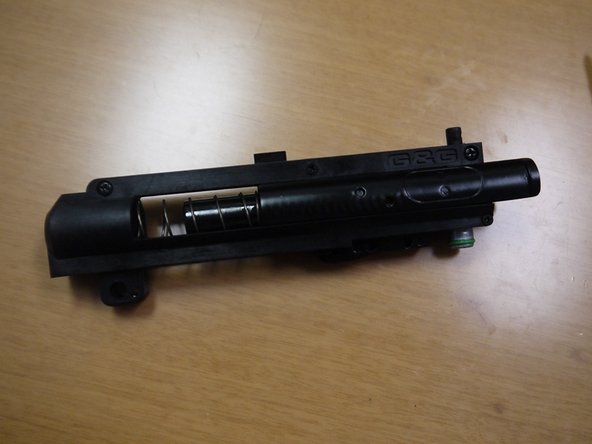
Insert the bolt and nozzle assembly back into the plastic shell.
-
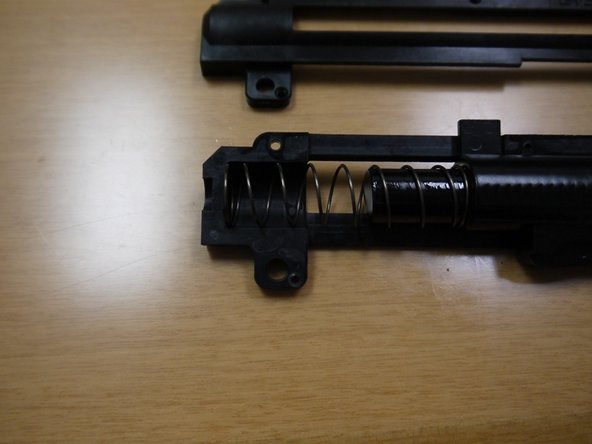
Tuck the recoil spring in the shell.
-
Reassemble the shell and reinstall the screws.
-
-
Dieser Schritt ist noch nicht übersetzt. Hilf mit, ihn zu übersetzen!
-
Place the auto sear spring back in place as shown in the first picture.
-
Insert the pin and brass spacer halfway in, then place the auto sear in as shown in the second picture. Push the pin all the way in. The spring leg that sticks out should point towards the FRONT of the gun.
-
Put the trigger back in place, with the front of the striker resting on top of the brass spacer. Be sure to install the trigger spring properly. Place the hammer over the striker and install the pin through hammer and striker.
-
-
Dieser Schritt ist noch nicht übersetzt. Hilf mit, ihn zu übersetzen!
-
Insert the disconnector spring in round slot on the trigger. Put the disconnector back in the trigger and insert the brass trigger pin through the trigger and the disconnector.
-
-
Dieser Schritt ist noch nicht übersetzt. Hilf mit, ihn zu übersetzen!
-
Insert the selector drum and rotate the leg from the trigger spring downwards so that it locks in the underside of the selector drum.
-
-
Dieser Schritt ist noch nicht übersetzt. Hilf mit, ihn zu übersetzen!
-
Turn the selector switch and the selector drum to the semi auto position.
-
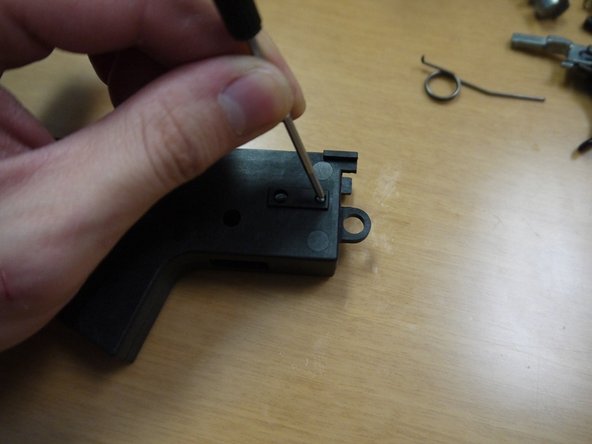
Insert the receiver pin from the left side with the textured end on top (refer to picture).
-
Insert the mag catch arm in its slot.
-
-
Dieser Schritt ist noch nicht übersetzt. Hilf mit, ihn zu übersetzen!
-
Slide the mag catch spring over the shaft and reinstall the button.
-
-
Dieser Schritt ist noch nicht übersetzt. Hilf mit, ihn zu übersetzen!
-
Drop the round nut in the buffer tube with the slotted side facing up. Be sure it is still facing this way once it hits the bottom.
-
Reinstall the buffer tube and buffer tube plate on the receiver
-
Insert the screw and tighten it.
-
-
Dieser Schritt ist noch nicht übersetzt. Hilf mit, ihn zu übersetzen!
-
Reinstall the stock.
-
Reinstall the pistol grip and tighten the screw.
-
-
Dieser Schritt ist noch nicht übersetzt. Hilf mit, ihn zu übersetzen!
-
Slide the hop-up bucking onto the barrel, making sure to line up the protrusion in the bucking with the slot in the barrel.
-
Slide the barrel into the hop-up unit with the hop-up window facing up. Pop the clip back in place.
-
-
Dieser Schritt ist noch nicht übersetzt. Hilf mit, ihn zu übersetzen!
-
Slide the barrel into the upper receiver.
-
-
Dieser Schritt ist noch nicht übersetzt. Hilf mit, ihn zu übersetzen!
-
Insert the bolt assembly into the lower receiver, starting with the rear end first. Pull the bolt back slightly while lowering the front.
-
Reinstall the rear takedown pin.
-
-
Dieser Schritt ist noch nicht übersetzt. Hilf mit, ihn zu übersetzen!
-
Hook the larger end of the charging handle spring on the nub on top of the bolt assembly.
-
Hook the charging handle onto the other end of the spring.
-
-
Dieser Schritt ist noch nicht übersetzt. Hilf mit, ihn zu übersetzen!
-
Slide the upper receiver back onto the lower receiver.
-
Push the front takedown pin back in.
-


2 Kommentare
Really helpful, and informative!
thank you,