Einleitung
This is my teardown of the Game boy colour.
Was du brauchst
-
-
Take the Game boy and notice the way that it has been injection molded using two tools on the injection molder. The first thing to do is to separate these parts.
-
-
-
Remove the Game Boys battery case from the back of the game boy and take out any batteries that are inserted. this will leave you with the back panel.
-
-
-
The Two screws at the top of the back panel can be unscrewed using a Y-triwing screwdriver.
-
-
-
The other small screws in the back panel are very hard to get to you need to drill these out but be careful not to damage the gameboy because this can crack the back panel.
-
You can use a triwing tip instead.
I don't really get why you will drill out the screws! They are special screws, and ofcourse there's also a screwdriver for them, called Tri-wing - used in many parts, including Nintendo and Apple. Look it up at Wikipedia: http://en.wikipedia.org/wiki/Tri-Wing
I've bought one myself on eBay - that's better than screwing your Game Boy up ;)
Buuuh!!! Why are you using an electrical screwdriver!
That's cheating man!
Do not use a drill or phillips head screwdriver, use a tri-wing screwdriver. This step should be edited to reflect the proper procedure.
-
-
-
The two panels are snap fitted so you will need to pop them part use something to wedge the crack open.
-
-
-
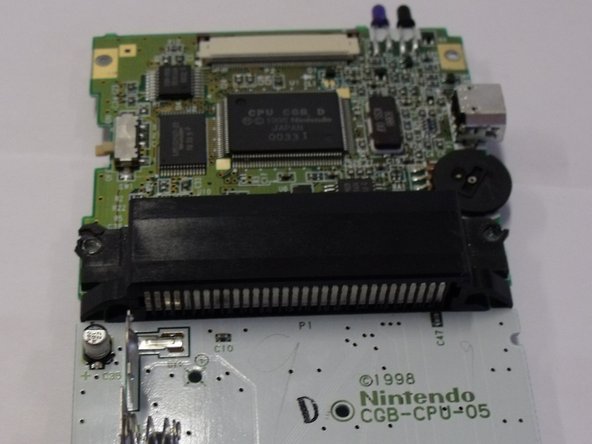
To remove the main board just remove the 4 screws in the back doing this will mean you can take the board out of the abs plastic sections.
-
-
-
-
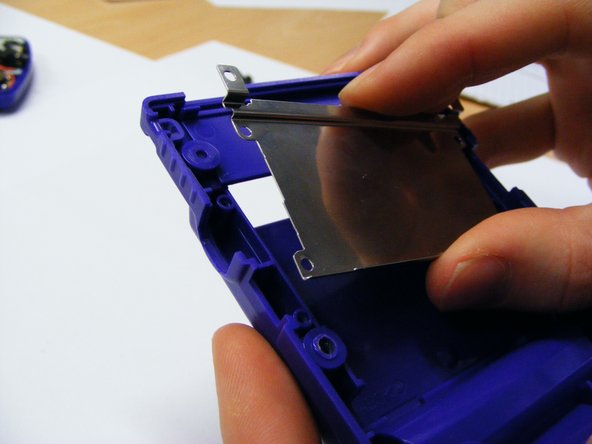
The metal cassette holder on the back plastic panel can be removed by simply using a small screw driver in all four corners this should mean it pops off.
What does the metal cassette holder do? Does it have any specific purpose?
-
-
-
The small plastic switch should just fall out of the plastic case make sure not to lose this when opening up the game boy.
-
-
-
You can simply pull the foam off the back of the screen pulling off the glue try not to tear the foam this makes things easier later.
-
-
-
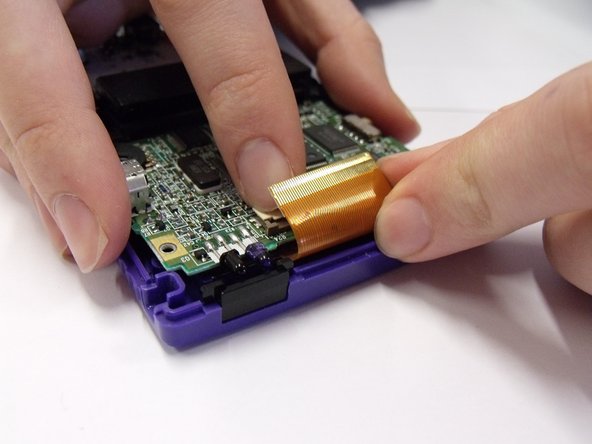
Once the foam is off you can pull the main connection of the screen out this is the brown part of plastic sheeting it simply slides out.
-
-
-
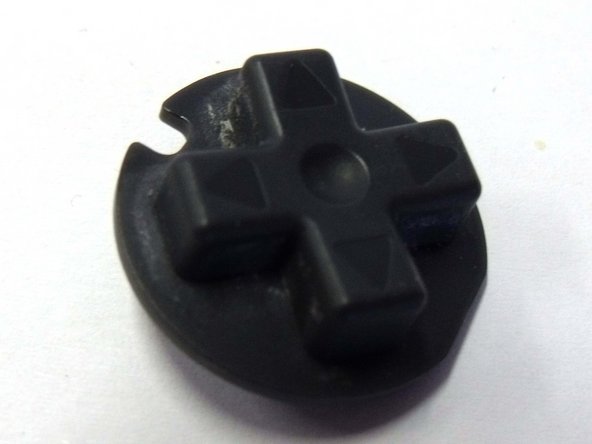
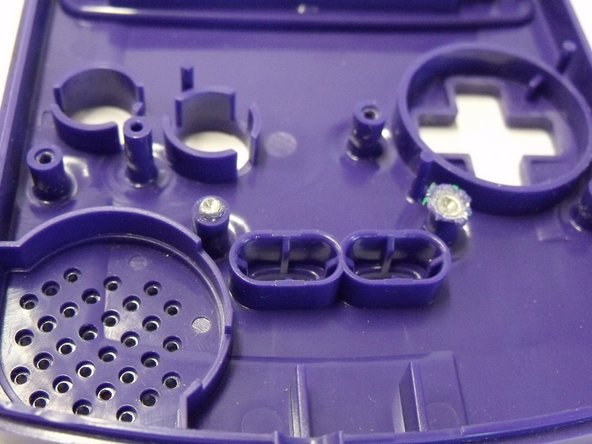
The rubber buttons can easily be pulled off they are not held in but will need a little pull.
-
-
-
All the other buttons should just fall out. Be careful not to drop or lose these parts because they will come loose.
-
-
-
Pull the screen out of the game boy and take the front panel of plastic away and move it to the side.
-
-
-
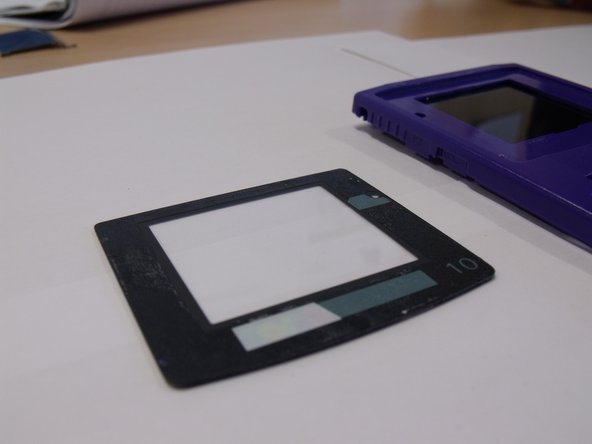
Peel of the protective film on the LCD screen and remove the LCD screen from the casing.
-
-
-
The metal on the screen can be pulled off by getting under it with your fingers this is stuck with a tape.
-
-
-
some parts of the circuit board can also be removed and looked at much closer such as the speakers and the LED lights on the product.
I wish I could take a picture of my situation I've succeeded in pulling out the back cover because I need to clean my corroded battery points. I see only 2 heads on the board what do I do?
-


9 Kommentare
That feel when everything turns out perfectly. ^.^ Thanks a lot for the guide! I was able to switch out a few broken/worn out bits, and now it's working like new! Super hyped! Thank you so much!
(Also, the screws that are mentioned needing a drill are regular phillips screws and, are indeed incredibly tough to get out without a drill. Though, the ones in my Gameboy were somehow already stripped pretty badly.)
DEFINITELY do NOT need to use a drill to open a Gameboy Color!
Exactly! I've watched plenty of repair and restoration videos regarding Gameboy Color systems and NONE of them use a drill
The 6 screws to open the case ARE NOT PHILLIPS! They are Tri-Wing, a Y shaped driver, not + shaped. If you use a phillips head screwdriver, you will strip them quickly, and then you actually will have to drill them out. Use the right tool every time!
I had to open it up once because I forgot to connect the ribbon, but thanks for the guide! It was quite helpful.
Love how this model’s screen comes out relatively easy.
Will this fix my connection issues i was able to trade multiple times to get certain pokemon i stoped for like. Month i came back to do more trading keeps saying my friend is not ready and i have to try to connect atleast 50 times before we can go in the room so we go in and when we try to trade it says connection timed out ????