Einleitung
Hi everyone, here I am with a new guide (teardown/replacement)
Again, you will find little mistakes in my english, but as you know my native language is dutch ...
I hope you will like the guide.
Good luck!
Was du brauchst
-
-
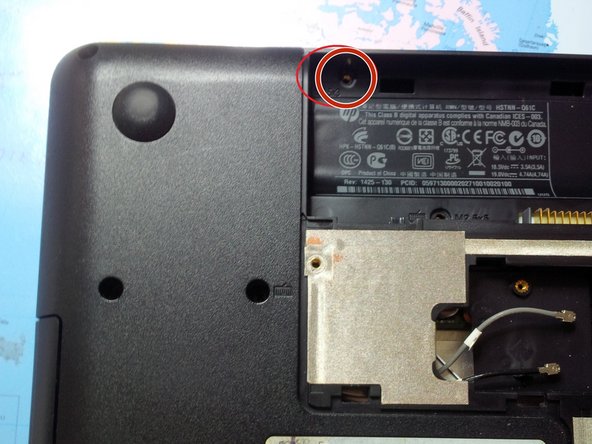
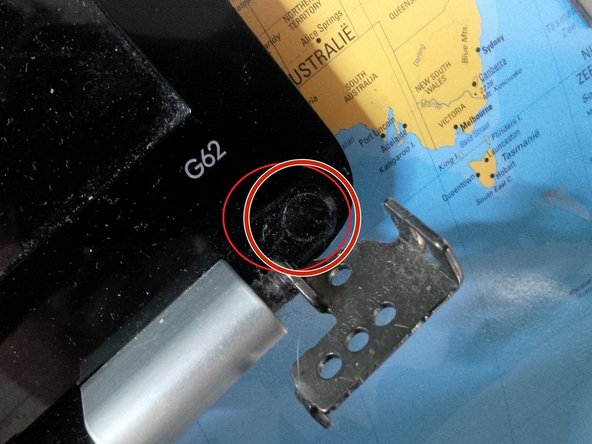
Remove the 2 panels and the battery at the bottom of the laptop.
-
After removing these panels, you'll see the RAM, HDD, and Wi-Fi module.
-
-
-
Carefully remove the Wi-Fi antennas from the mini Pci-e adapter.
-
Note for reassembly: The black antenna attaches to 1 and the gray attaches to 2.
-
Remove the mini Pci-e Wi-Fi adapter by removing the small screw. Lift the screw side gently, then pull out.
-
-
-
Now remove the HDD and the RAM
-
Remove the HDD by removing the three screws and pulling the Sata connector from the motherboard.
-
Remove the RAM by pulling apart the clips on either side of the top stick. The stick should pop up, then pull it out. Repeat for the bottom stick.
-
-
-
Remove the DVD drive bay by prying a little spudger between the case and the drive cover. Then gently pull it out.
-
-
-
Next, we will remove the screws from the rest of the case.
-
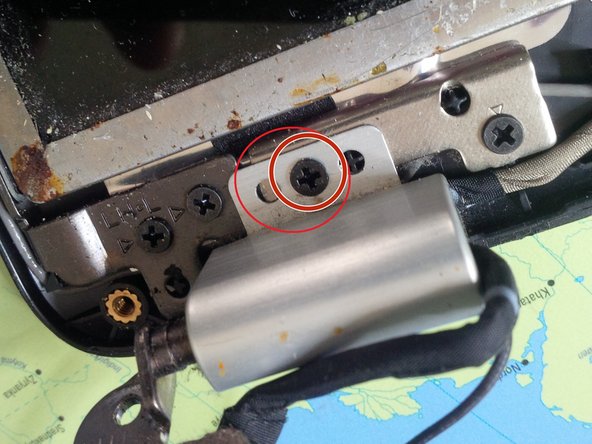
Start by removing the screws hidden in the battery compartment (M2.5x3).
-
-
-
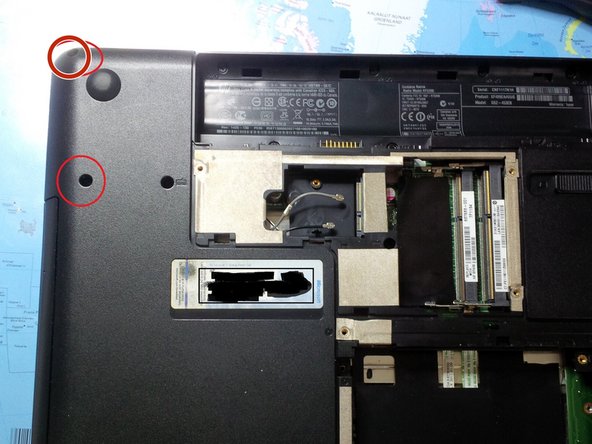
Now remove the 10 remaining case screws (M2.5x6.5).
-
There are 2 hidden screws in the HDD compartment (see last picture).
-
-
-
-
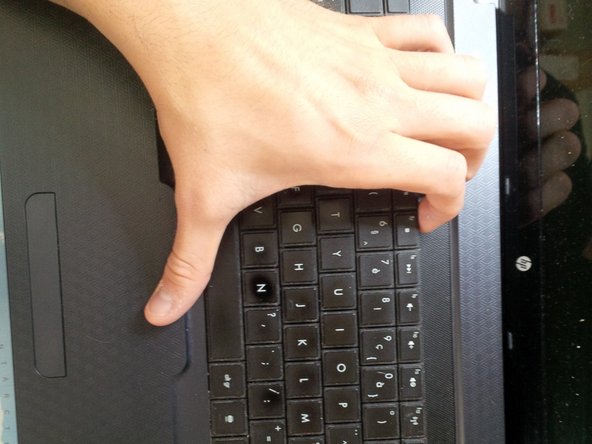
After removing all the screws, we can remove the keyboard.
-
Use a spudger to pry and search for the "locks"
-
use your hand to gently remove the keyboard. You will here clicks.
-
open the socket by clicking it up. pull the connector gently away from the socket.
-
-
-
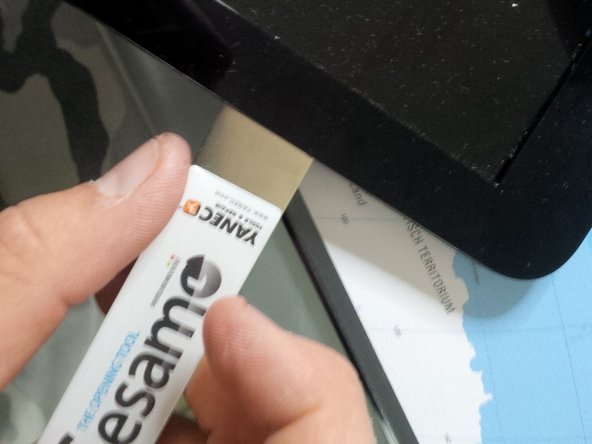
Now gently remove the case with a spudger and a isesamo opener.
-
Gently slide the spudger/opening tool to open the case.
-
You will hear clicks.
-
be careful for the connectors.
-
-
-
After you've removed the case you will see the motherboard.
-
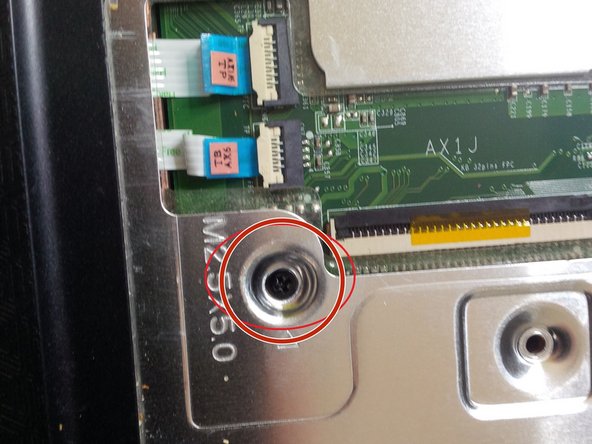
Remove the screws from the motherboard.
-
-
-
remove the connectors of the screen.
-
Remove the sticker ( HP spare) And pull the connector out of the socket.
-
-
-
now we will remove the sata dock from the dvd player.
-
like the other connectors , just pull it out the socket. but be gentle.
-
-
-
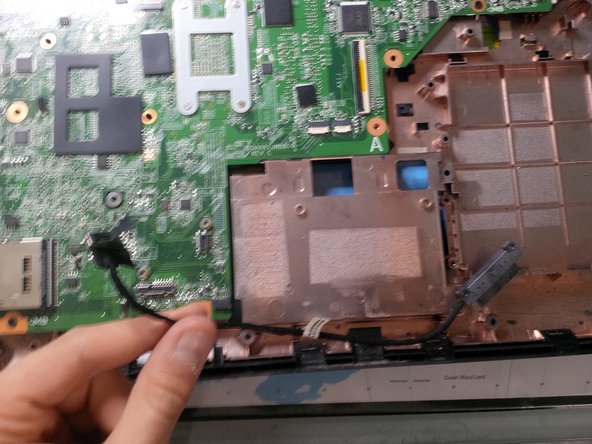
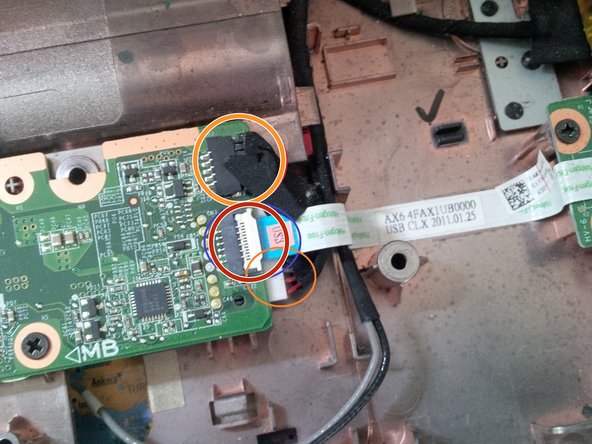
now remove the usb conncetor + the dc jack connector.
-
you can remove the dc jack (head) by pulling it out (sliding). if it's loose, then you can remove the connector from the motherboard.
-
if you remove the usb connector, be careful because the cable is taped to the case. pull gently
-
-
-
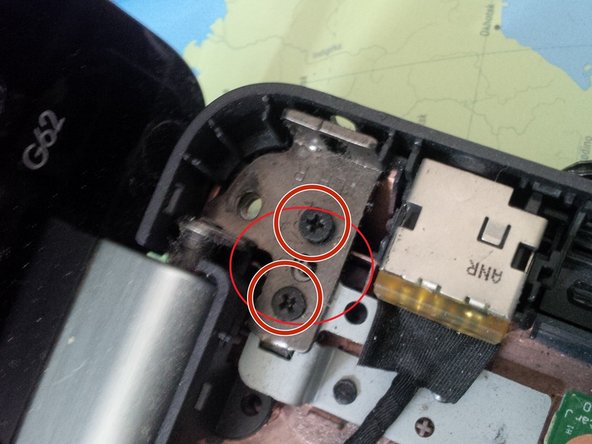
after removing all the cables/ wires and screws, we can remove the screws from the screen hinges.
-
after removing the screws from the hinges, put the entire screen apart.
-
we will remove the motherboard first. see picture 3. you can remove the motherboard by pulling it up and sliding it to the right.
-
-
-
if you have to remove the LCD screen connector you have to remove the case arround the screen. same thing if you have a broken screen..
-
after removing the screws , slide the spudger arround the case, you will hear the clicks
-
-
-
after removing the case. this is the screen internal.
-
above you will see the camera, the wifi antenna's . under you'll see the hinges and at the left the lcd connector.
-
you can remove the grey plastic caps by removing the screw(s), under the plastic cap you will find the cables running trough..
-
-
-
you do the same thing at the other side.
-
At the second picture you see the wires after removing the plastic grey cap. if you have problems with screen failure ( like a black screen or bad connection) its best to check this cable first before buying a new one. The wires are sliding to the cap and sometimes they get cut.
-
-
-
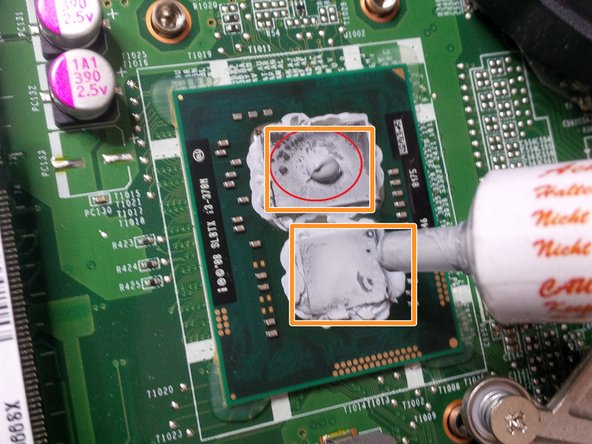
Now the last steps.. we will put some new coolpaste to the soldered CPU and GPU
-
first remove the 4 screws of the cooling socket.
-
remove the socket, be carefull for the little power socket attached at the motherboard, running to the cooling fan.
-
and than put some drop of cooling paste on the CPU/GPU
-


To reassemble your device, follow these instructions in reverse order.
To reassemble your device, follow these instructions in reverse order.
Rückgängig: Ich habe diese Anleitung nicht absolviert.
13 weitere Personen haben diese Anleitung absolviert.

16 Kommentare
Would it be beneficial to remove old CPU and GPU thermal paste?
Show reverse for HP56 Cq notebook
Please put together cq 56 notebookPc
Great instructions thank you!
I reassembled mine but now I cannot turn on the WiFi via the function button.
Everything else works.
I checked the two antenna cable are attached to the correct ones but still cannot turn on WiFi. Any suggestions appreciated