Zum Hauptinhalt wechseln

Was du brauchst

Dieser Teardown ist keine Reparaturanleitung. Um dein Home Essentials Sandwich Press zu reparieren, verwende unsere Fehlerbehebungsseite.

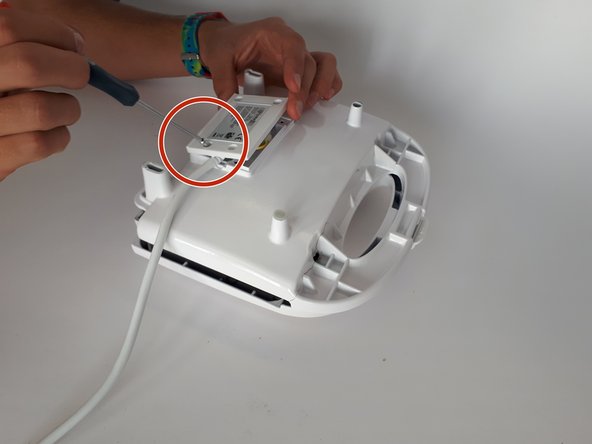
  1. Home Essentials Sandwich Press Teardown, Home Essentials Sandwich Press Teardown: Schritt 1, Bild 1 von 2 Home Essentials Sandwich Press Teardown, Home Essentials Sandwich Press Teardown: Schritt 1, Bild 2 von 2
    • Unscrew the 10mm screws securing the plastic handle cover using a size PH1 screwdriver.

    • These screws are very loose and easy to remove.

  2. Home Essentials Sandwich Press Teardown: Schritt 2, Bild 1 von 3 Home Essentials Sandwich Press Teardown: Schritt 2, Bild 2 von 3 Home Essentials Sandwich Press Teardown: Schritt 2, Bild 3 von 3
    • Unscrew the metal hot plates from the plastic covering using a size PH1 screwdriver.

    • The screws are 12 mm long.

  3. Home Essentials Sandwich Press Teardown: Schritt 3, Bild 1 von 3 Home Essentials Sandwich Press Teardown: Schritt 3, Bild 2 von 3 Home Essentials Sandwich Press Teardown: Schritt 3, Bild 3 von 3
    • Unscrew the plastic handle cover using a Special Key Tri-wing.

    • One screw was very hard to unscrew, so grip paste had to be used.

    • The screws are 9 mm long.

  4. Home Essentials Sandwich Press Teardown: Schritt 4, Bild 1 von 1
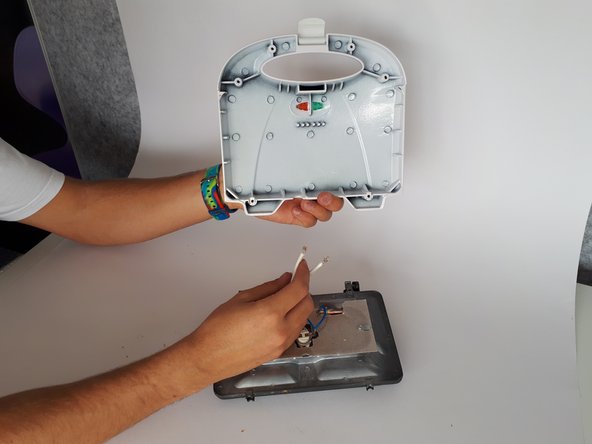
    • Remove the plug-in cord caps using a pair of pliers.

    • The metal caps have to be bent a bit to remove the plug-in cord caps, which means the metal caps will not work anymore.

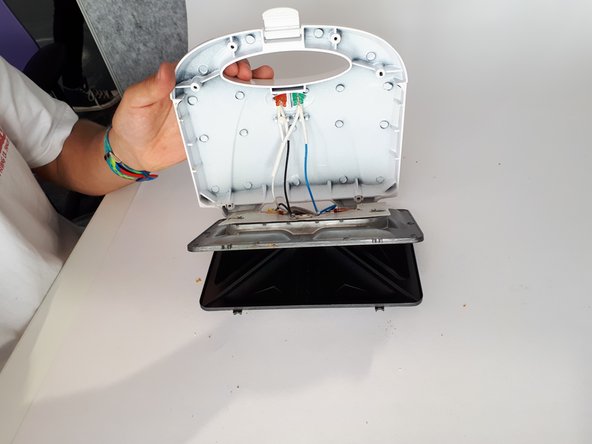
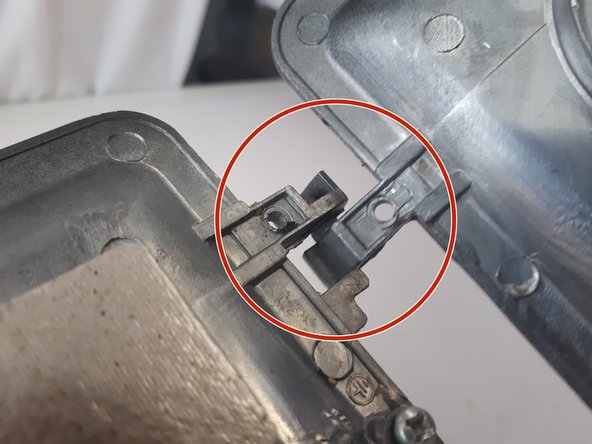
  5. Home Essentials Sandwich Press Teardown: Schritt 5, Bild 1 von 3 Home Essentials Sandwich Press Teardown: Schritt 5, Bild 2 von 3 Home Essentials Sandwich Press Teardown: Schritt 5, Bild 3 von 3
    • Now the metal plates are loose from the plastic cover. The plates need to be moved until the end of their hinge slots to slide them apart.

    • The hinges are very easy to take apart, once it is loose from the plastic cover.

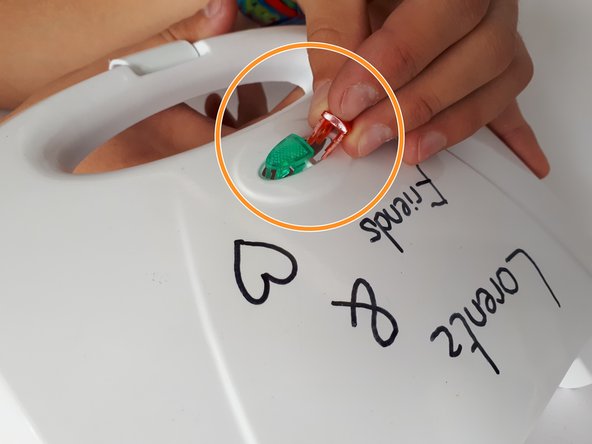
  6. Home Essentials Sandwich Press Teardown: Schritt 6, Bild 1 von 3 Home Essentials Sandwich Press Teardown: Schritt 6, Bild 2 von 3 Home Essentials Sandwich Press Teardown: Schritt 6, Bild 3 von 3
    • Separate the snap fit and remove the light covers.

    • Remove the cords of the lights by pulling them out of their snap fit.

    • Remove the light covers by pushing them out of the plastic cover.

    • The lights are being taken out very easily with not much pressure.

  7. Home Essentials Sandwich Press Teardown: Schritt 7, Bild 1 von 2 Home Essentials Sandwich Press Teardown: Schritt 7, Bild 2 von 2
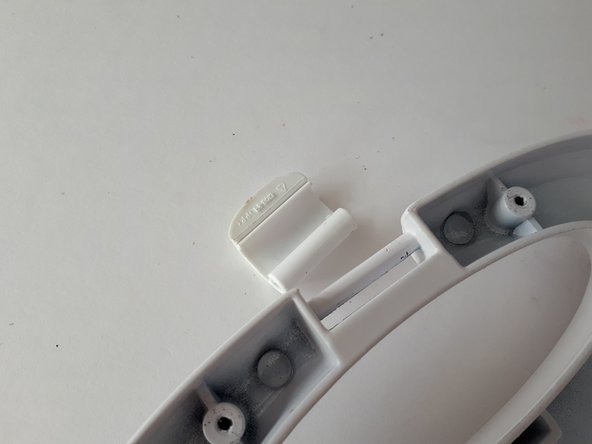
    • Remove the press latch by using a screwdriver; add some pressure to it to get the latch loose.

    • Removing the press latch is hard and requires extra effort.

  8. Home Essentials Sandwich Press Teardown: Schritt 8, Bild 1 von 3 Home Essentials Sandwich Press Teardown: Schritt 8, Bild 2 von 3 Home Essentials Sandwich Press Teardown: Schritt 8, Bild 3 von 3
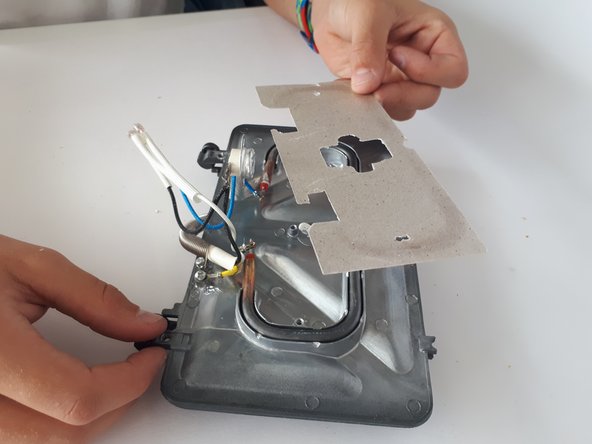
    • Unscrew the heating element covers using a size PH1 screwdriver.

    • Remove the heating element covers from the plates.

    • These screws are very loose and easy to remove

    • The screws are 5 mm long.

  9. Home Essentials Sandwich Press Teardown: Schritt 9, Bild 1 von 3 Home Essentials Sandwich Press Teardown: Schritt 9, Bild 2 von 3 Home Essentials Sandwich Press Teardown: Schritt 9, Bild 3 von 3
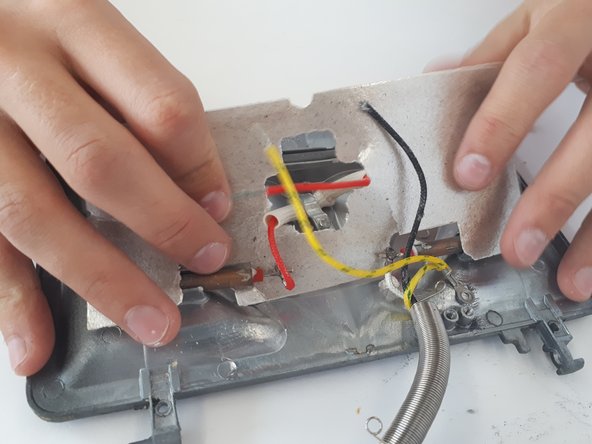
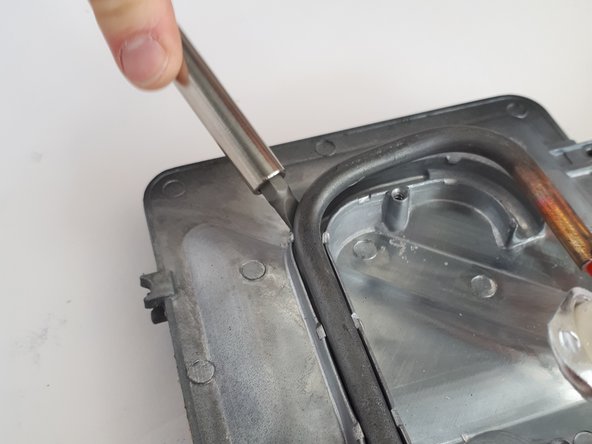
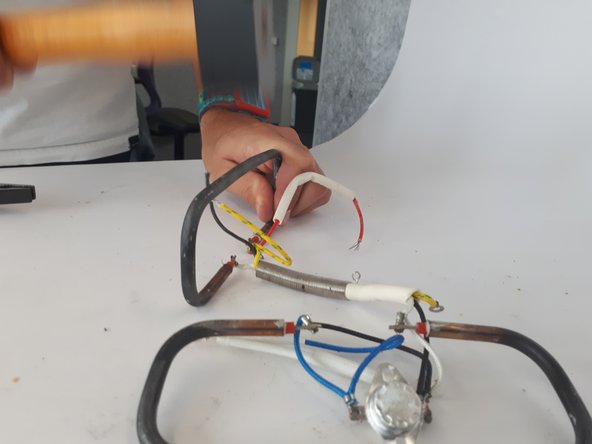
    • Unscrew the heating element wires from the hot plates using a PH1 screwdriver. The screws are 5 mm long.

    • Remove the heating elements using a Phillips head screwdriver, and put this screwdriver under the heating elements.

    • Removing the heating elements requires some more pressure because they are put in with a tight snap fit. The heating element will also deform when removed.

Anna Stapor

Mitglied seit: 03/07/18

169 Reputation

1 Anleitung geschrieben

0 Kommentare

Kommentar hinzufügen

Seitenaufrufe:

Letzte 24 Stunden: 1

Letzte 7 Tage: 5

Letzte 30 Tage: 11

Insgesamt: 682