Was du brauchst
-
Dieser Schritt ist noch nicht übersetzt. Hilf mit, ihn zu übersetzen!
-
Unscrew the screws on the outside.
-
Slide the top cover a bit to the back, and lift it from the enclosure.
-
-
Dieser Schritt ist noch nicht übersetzt. Hilf mit, ihn zu übersetzen!
-
Remove the various pieces holding in the power supply.
-
Remove power cable (already cut of in the photo).
-
Unscrew screws.
-
Disconnect mainboard cables.
-
Remove the power supply from the enclosure.
-
-
-
Dieser Schritt ist noch nicht übersetzt. Hilf mit, ihn zu übersetzen!
-
Disconnect the cables connecting the mainboard to the front panel.
-
With a flathead screwdriver, unclip the 2 topside clips, and 3 clips on the bottom of the enclosure, and the front will detach.
-
-
Dieser Schritt ist noch nicht übersetzt. Hilf mit, ihn zu übersetzen!
-
Unclip the 4 clips from left to right, and remove the panel.
-
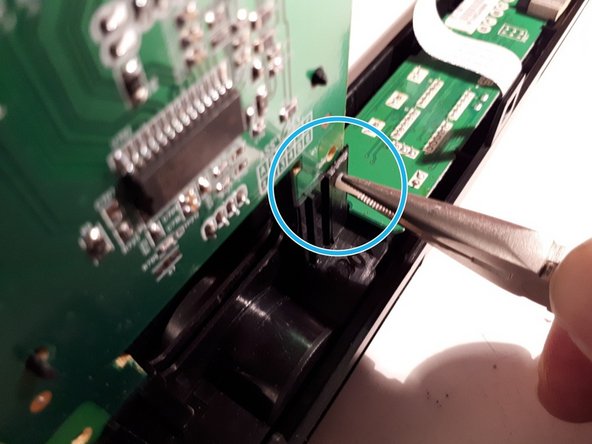
With the pliers, clamp the white connector and push it through.
-
-
Dieser Schritt ist noch nicht übersetzt. Hilf mit, ihn zu übersetzen!
-
Unscrew the screws and remove the mainboard from the case.
-
2 Kommentare
What are those unsoldered pad connectors for? A hard drive?
Don’t know, could be a SCSI drive, there are 68 pins. I included a detail picture in the last step.
knipwim -


