Zum Hauptinhalt wechseln

Was du brauchst

Dieser Teardown ist keine Reparaturanleitung. Um dein LG Xpression C395 zu reparieren, verwende unsere Fehlerbehebungsseite.

  1. LG Xpression C395 Teardown, LG Xpression C395 Teardown: Schritt 1, Bild 1 von 1
    • Remove the back plate and battery

  2. LG Xpression C395 Teardown: Schritt 2, Bild 1 von 2 LG Xpression C395 Teardown: Schritt 2, Bild 2 von 2
    • Remove the 7 Philips screws on the mid frame and un-clip it from the body

  3. LG Xpression C395 Teardown: Schritt 3, Bild 1 von 3 LG Xpression C395 Teardown: Schritt 3, Bild 2 von 3 LG Xpression C395 Teardown: Schritt 3, Bild 3 von 3
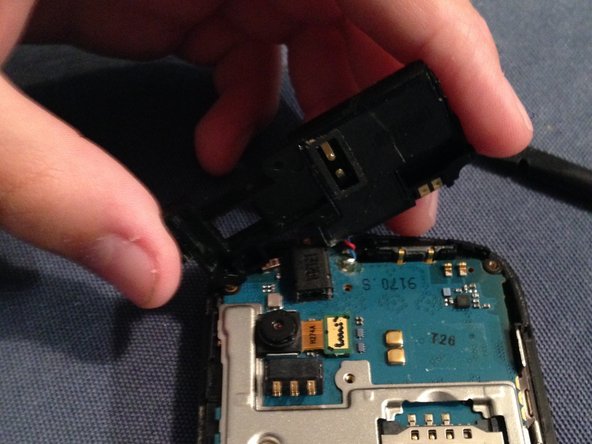
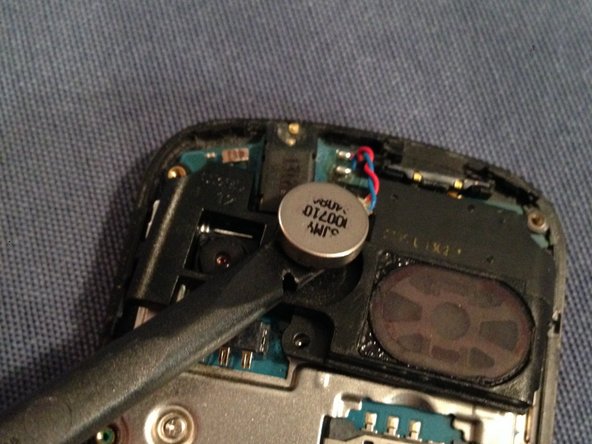
    • Take out the volume rocker daughter board, the black speaker plastic and the vibrate motor.

  4. LG Xpression C395 Teardown: Schritt 4, Bild 1 von 1
    • Remove the 2 Phillips screws and remove the motherboard

    • Remember there is a Ribbon cable under the motherboard

  5. LG Xpression C395 Teardown: Schritt 5, Bild 1 von 1
    • Remove the screen Ribbon cable and the keyboard

  6. LG Xpression C395 Teardown: Schritt 6, Bild 1 von 1
    • Remove the 4 Phillips screws holding in the keyboard plastic

  7. LG Xpression C395 Teardown: Schritt 7, Bild 1 von 2 LG Xpression C395 Teardown: Schritt 7, Bild 2 von 2
    • Remove 4 more Phillips screws and remove the back of the screen

  8. LG Xpression C395 Teardown: Schritt 8, Bild 1 von 3 LG Xpression C395 Teardown: Schritt 8, Bild 2 von 3 LG Xpression C395 Teardown: Schritt 8, Bild 3 von 3
    • Remove the bottom button, earpiece and screen ribbon cable

  9. LG Xpression C395 Teardown: Schritt 9, Bild 1 von 1
    • After all of this you can remove the screen and conclude this teardown

D.H3092

Mitglied seit: 08/28/19

169 Reputation

1 Anleitung geschrieben

Team

Spark repairs Mitglied von Spark repairs

Business

1 Mitglied

1 Anleitung geschrieben

0 Kommentare

Kommentar hinzufügen

Seitenaufrufe:

Letzte 24 Stunden: 0

Letzte 7 Tage: 3

Letzte 30 Tage: 9

Insgesamt: 664