Zum Hauptinhalt wechseln
Gemeinsam reparieren - Jetzt registrieren

Was du brauchst

Dieser Teardown ist keine Reparaturanleitung. Um dein Lennox Y0349 Thermostat zu reparieren, verwende unsere Fehlerbehebungsseite.

  1. Lennox Y0349 Thermostat Teardown, Thermostat: Schritt 1, Bild 1 von 1
    • Here is the Lennox Y0349.

    Frag FixBot

    Kommentar hinzufügen

  2. Lennox Y0349 Thermostat Teardown, Remove the Thermostat from the Wall: Schritt 2, Bild 1 von 1
    • Pushing in at the bottom of the thermostat, pull down and remove the thermostat from the wall. Note: the circuit breaker for the HVAC system MUST be off. Use caution when handling electrical wires.

    Frag FixBot

    Kommentar hinzufügen

  3. Lennox Y0349 Thermostat Teardown, Remove the Back Plate: Schritt 3, Bild 1 von 2 Lennox Y0349 Thermostat Teardown, Remove the Back Plate: Schritt 3, Bild 2 von 2
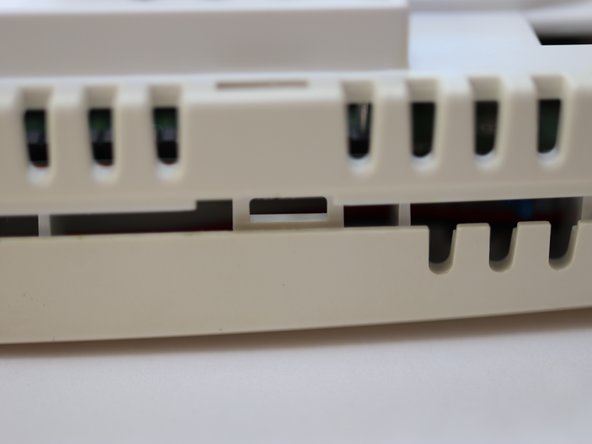
    • Locate the plastic tabs, and using a flat headed screwdriver, push them inward. This may take some force, but the plastic should give fairly easily.

    Frag FixBot

    Kommentar hinzufügen

  4. Lennox Y0349 Thermostat Teardown, Removing the Board and Display: Schritt 4, Bild 1 von 3 Lennox Y0349 Thermostat Teardown, Removing the Board and Display: Schritt 4, Bild 2 von 3 Lennox Y0349 Thermostat Teardown, Removing the Board and Display: Schritt 4, Bild 3 von 3
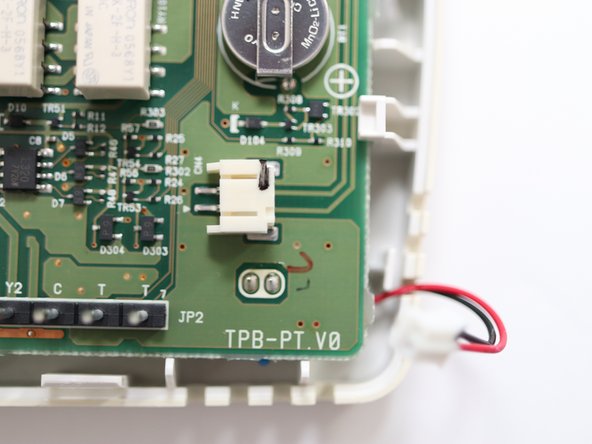
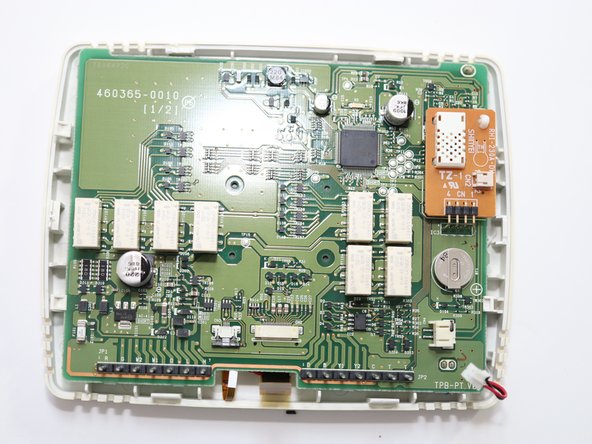
    • The board is exposed! Now simply push back the plastic tabs connecting the board and disconnect the cables

    Frag FixBot

    Kommentar hinzufügen

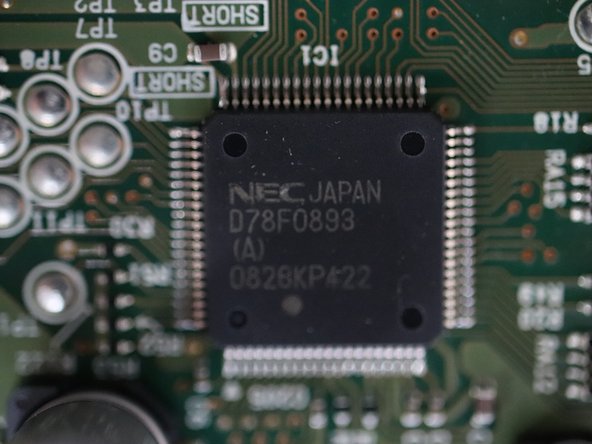
  5. Lennox Y0349 Thermostat Teardown, Board and LCD - Closer Look: Schritt 5, Bild 1 von 3 Lennox Y0349 Thermostat Teardown, Board and LCD - Closer Look: Schritt 5, Bild 2 von 3 Lennox Y0349 Thermostat Teardown, Board and LCD - Closer Look: Schritt 5, Bild 3 von 3
    • Now that the board is removed, we see 8 3 volt relays, the temperature and humidity sensor (on it's own board) a small battery, and the microprocessor.

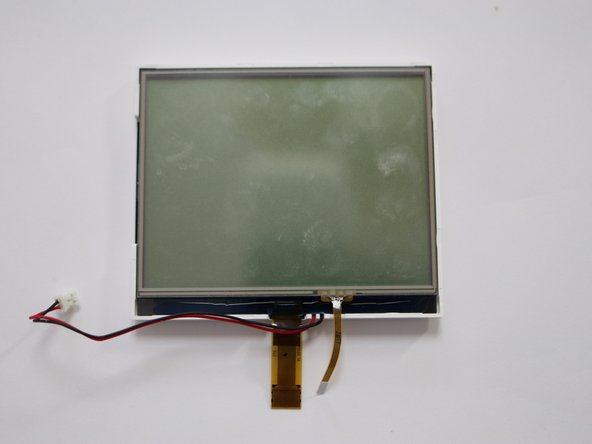
    • The screen has 3 cables (the wide one is for the LCD, the skinny one if for the digitizer, and the simple, red and black one is for the backlighting.

    Frag FixBot

    Kommentar hinzufügen

  6. Lennox Y0349 Thermostat Teardown, Open the Display: Schritt 6, Bild 1 von 1
    • The screen and be opened to expose the LCD and the backlighting

    Frag FixBot

    Kommentar hinzufügen

    • You've opened the Lennox Y049 Thermostat (or another similar model).

    Frag FixBot

    Kommentar hinzufügen

0 Kommentare zur Anleitung

Kommentar hinzufügen

Seitenaufrufe:

Letzte 24 Stunden: 0

Letzte 7 Tage: 7

Letzte 30 Tage: 37

Insgesamt: 4,024