Einleitung
In this tutorial we will show you a breakdown of the Panazonic EB TX320. By using this guide, a user will be able to properly take apart their phone and replace any broken components.
Was du brauchst
-
-
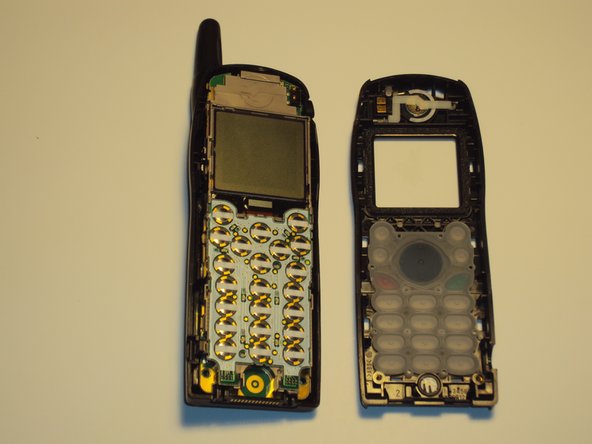
To remove the faceplate, pry the top of faceplate away from the phone. Follow snaps down, until faceplate is completely popped off.
-
-
-
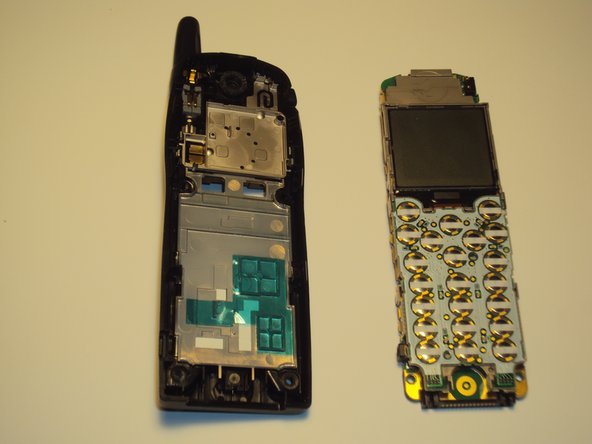
To separate front of phone from the back; start prying from bottom and work up the side. The phone should then pop apart.
-
-
-
-
To remove keypad, turn front of phone over and let keypad fall out. All keys are connected by one rubber section.
-
If a button had been ripped off your keypad, you can replace the entire rubber keypad at this step and reassemble phone.
-
-
-
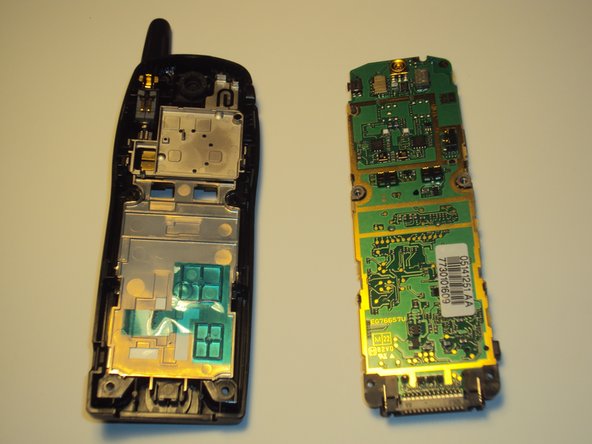
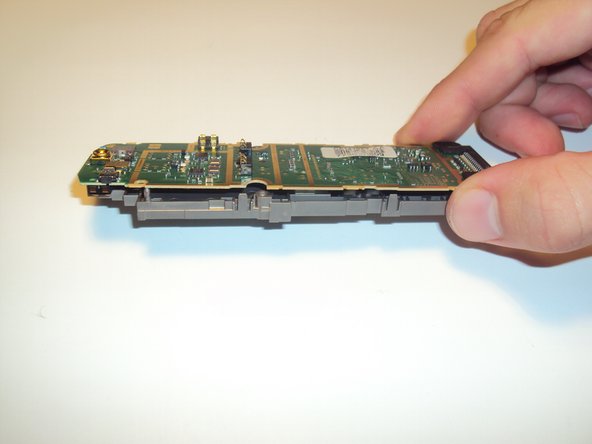
To remove main-board from phone grab side of phone and pry upwards. Board should snap out.
-
-
-
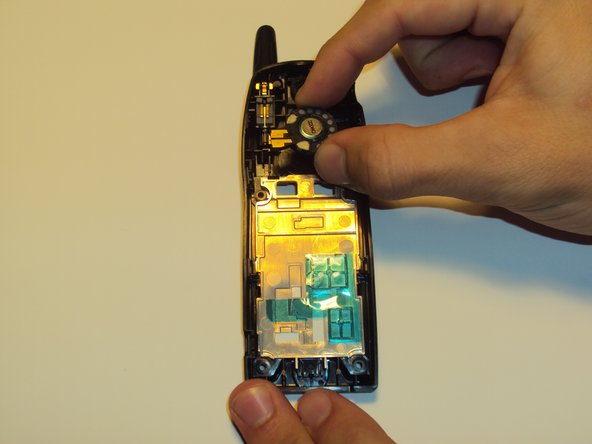
After silver plate is removed, power button sits freely. Speaker can be removed by pulling up on it.
-
If your speaker went out it can easily be replaced in this step with a new one, then reassemble phone after this step.
-
-
-
To remove keyboard circuit press on the middle and slide down. The board will pop up allowing for removal.
-
-
-
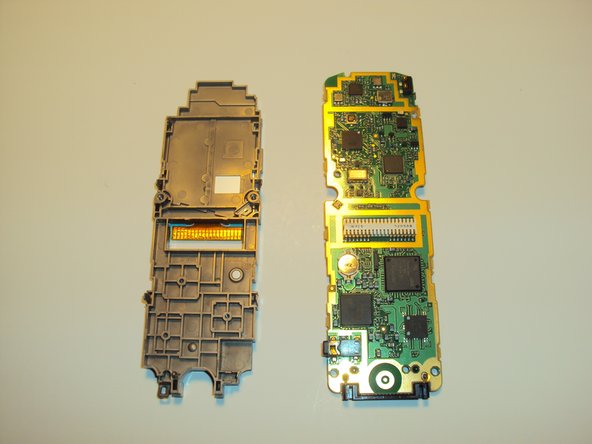
To remove main-board from bracket, gently apply pressure to the four small clips. Board will pop out freely.
-
-
-
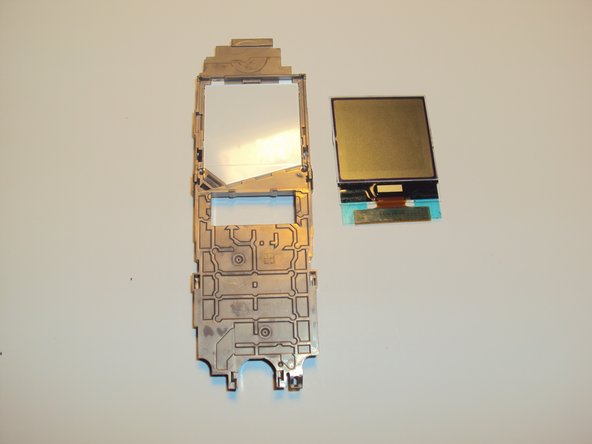
To remove LCD screen pry back on highlighted clip and pull screen out. The screen will then pull up and out.
-
If the LCD screen went out, or was cracked somehow, replace with a new LCD screen and then reassemble phone from this step.
-


Team

UW Stout, Team 5-2, Zhou Fall 2011 Mitglied von UW Stout, Team 5-2, Zhou Fall 2011
UWSTOUT-ZHOU-F11S5G2
2 Mitglieder
1 Anleitung geschrieben