Zum Hauptinhalt wechseln

Was du brauchst

Dieser Teardown ist keine Reparaturanleitung. Um dein Samsung DVD-P231 DVD Player Progressive Scan Digital Video zu reparieren, verwende unsere Fehlerbehebungsseite.

  1. Samsung DVD-P231 DVD Player Progressive Scan Digital Video Teardown, Samsung DVD-P231 DVD Player Progressive Scan Digital Video Teardown: Schritt 1, Bild 1 von 2 Samsung DVD-P231 DVD Player Progressive Scan Digital Video Teardown, Samsung DVD-P231 DVD Player Progressive Scan Digital Video Teardown: Schritt 1, Bild 2 von 2
    • First make sure that the DVD player can actually turn on, this is a deconstruct but we want to make sure there are no major issues

    • ENSURE YOUR SAFETY BY UNPLUGGING THE DEVICE BEFORE BEGINNING

  2. Samsung DVD-P231 DVD Player Progressive Scan Digital Video Teardown: Schritt 2, Bild 1 von 2 Samsung DVD-P231 DVD Player Progressive Scan Digital Video Teardown: Schritt 2, Bild 2 von 2
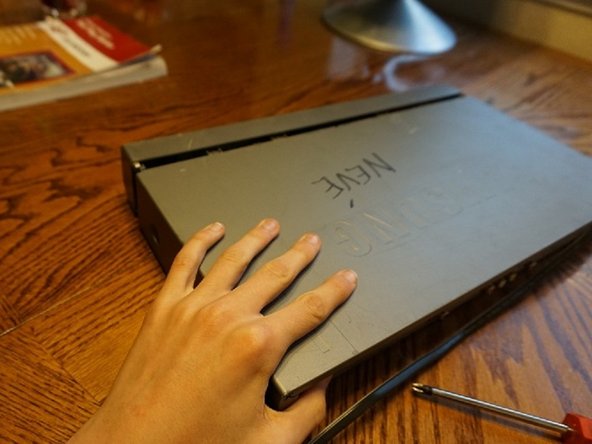
    • Remove the screws on the outside edge of the top covering with the bottom of the DVD Player down

    • There will be 3 Screws, two on either side and 1 in the center top of the back side of the DVD Player

  3. Samsung DVD-P231 DVD Player Progressive Scan Digital Video Teardown: Schritt 3, Bild 1 von 2 Samsung DVD-P231 DVD Player Progressive Scan Digital Video Teardown: Schritt 3, Bild 2 von 2
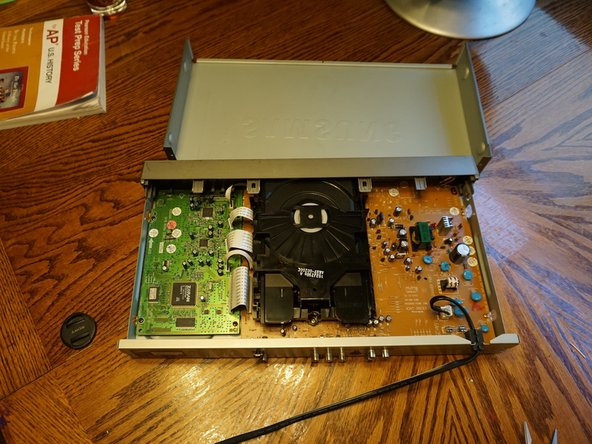
    • Gently cleave open the top case from the bottom case using your hands

    • The inside should appear as the second photo

  4. Samsung DVD-P231 DVD Player Progressive Scan Digital Video Teardown: Schritt 4, Bild 1 von 2 Samsung DVD-P231 DVD Player Progressive Scan Digital Video Teardown: Schritt 4, Bild 2 von 2
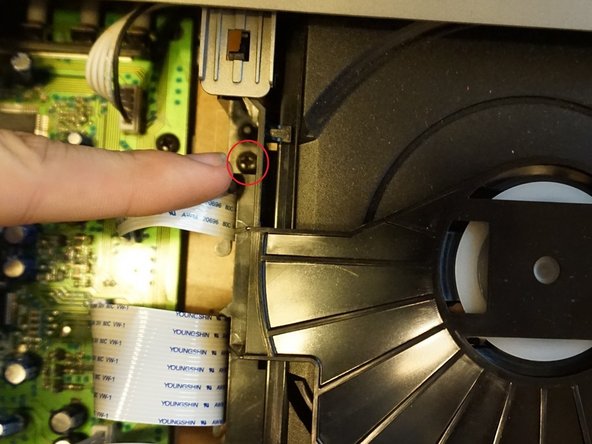
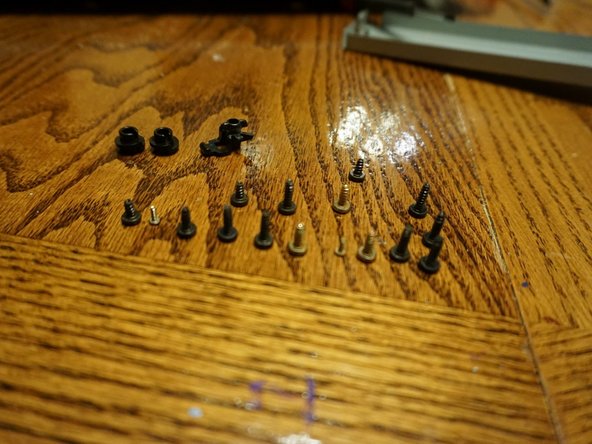
    • Remove the 3 screws, the two upper screws swill require a smaller screwdriver

    • The second images two screws will require the larger screwdriver, make sure to not strip these

  5. Samsung DVD-P231 DVD Player Progressive Scan Digital Video Teardown: Schritt 5, Bild 1 von 1
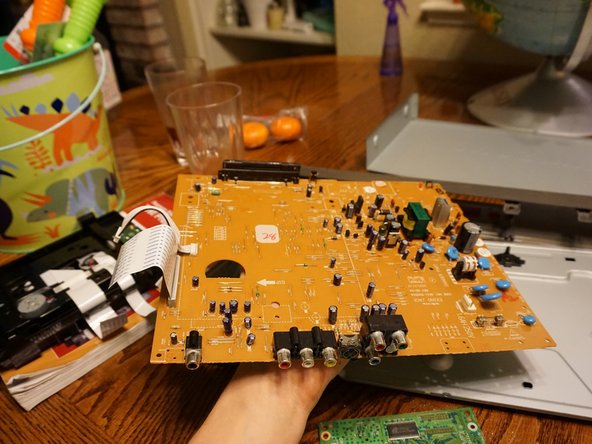
    • Remove all ribbons with great care gently wiggling side to side while applying force perpendicular to the circuit board

  6. Samsung DVD-P231 DVD Player Progressive Scan Digital Video Teardown: Schritt 6, Bild 1 von 3 Samsung DVD-P231 DVD Player Progressive Scan Digital Video Teardown: Schritt 6, Bild 2 von 3 Samsung DVD-P231 DVD Player Progressive Scan Digital Video Teardown: Schritt 6, Bild 3 von 3
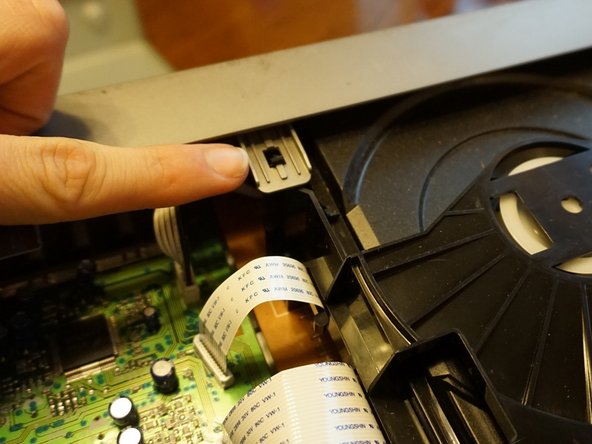
    • Remove the clips around the edge of the front face, there may very well be more than I show in these pictures, but make sure to do this before you proceed

    • There are two on the bottom that you press together to unclip the DVD reader

  7. Samsung DVD-P231 DVD Player Progressive Scan Digital Video Teardown: Schritt 7, Bild 1 von 2 Samsung DVD-P231 DVD Player Progressive Scan Digital Video Teardown: Schritt 7, Bild 2 von 2
    • Gently tug Upwards using the front face of the DVD Player as a pivot, make sure that no clips are still connected

    • If you were successful you will notice the lip cover for the DVD tray has been removed and can be downward slid back on

  8. Samsung DVD-P231 DVD Player Progressive Scan Digital Video Teardown: Schritt 8, Bild 1 von 1
    • Gently tilt up the board making sure to check the ribbon connections twice

  9. Samsung DVD-P231 DVD Player Progressive Scan Digital Video Teardown: Schritt 9, Bild 1 von 3 Samsung DVD-P231 DVD Player Progressive Scan Digital Video Teardown: Schritt 9, Bild 2 von 3 Samsung DVD-P231 DVD Player Progressive Scan Digital Video Teardown: Schritt 9, Bild 3 von 3
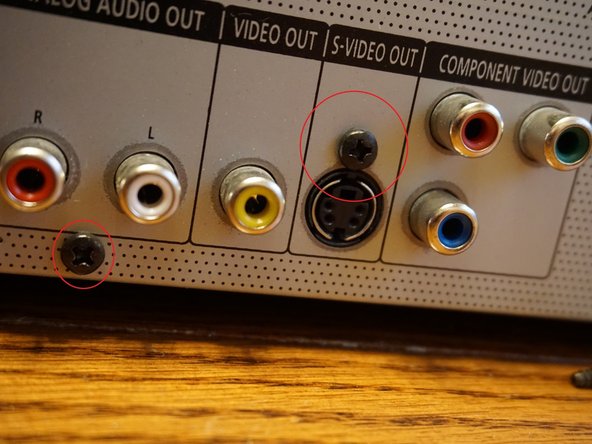
    • Remove the screws on the back plate(side with all the ports)

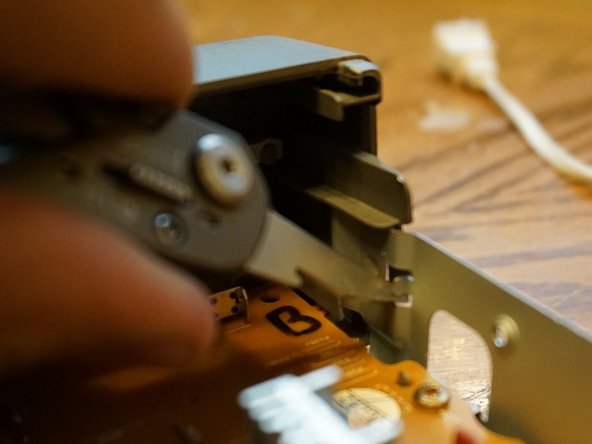
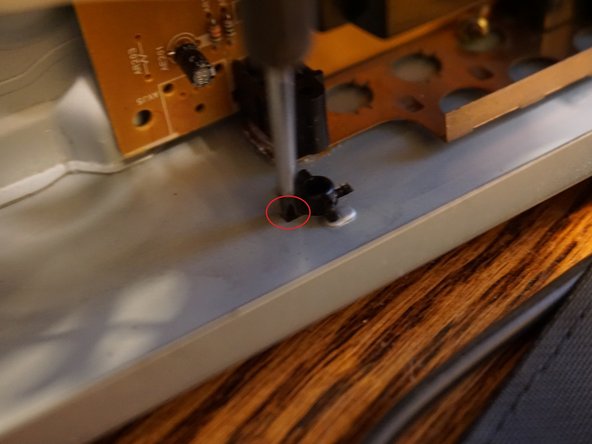
    • Press in the very small and fragile tabs(image 2) with a flathead, nail, or other small tipped objects

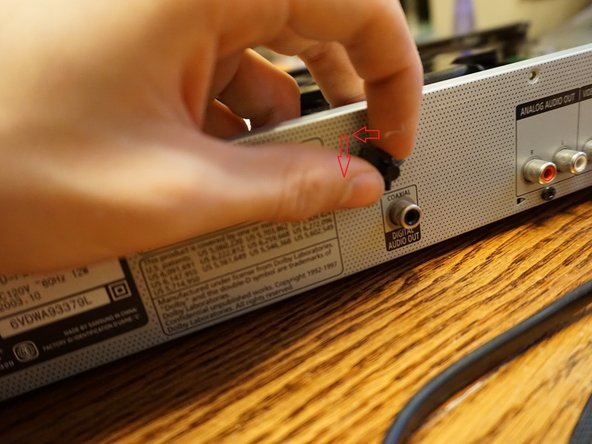
    • turn the knob as seen in the third picture to align the hole in the case with the knob wings

  10. Samsung DVD-P231 DVD Player Progressive Scan Digital Video Teardown: Schritt 10, Bild 1 von 3 Samsung DVD-P231 DVD Player Progressive Scan Digital Video Teardown: Schritt 10, Bild 2 von 3 Samsung DVD-P231 DVD Player Progressive Scan Digital Video Teardown: Schritt 10, Bild 3 von 3
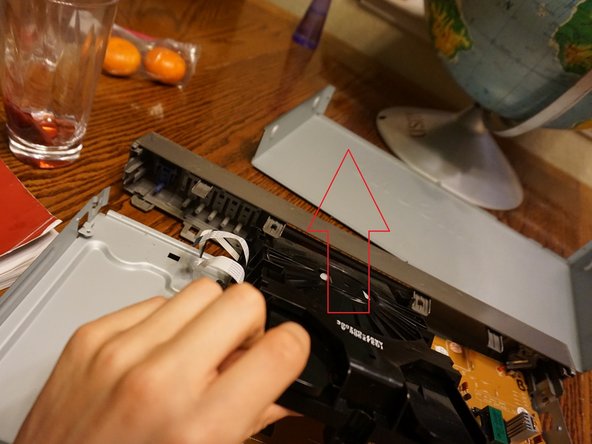
    • Unplug the power cable from the circuit board, pay attention to the tab on the side, press it down and pull

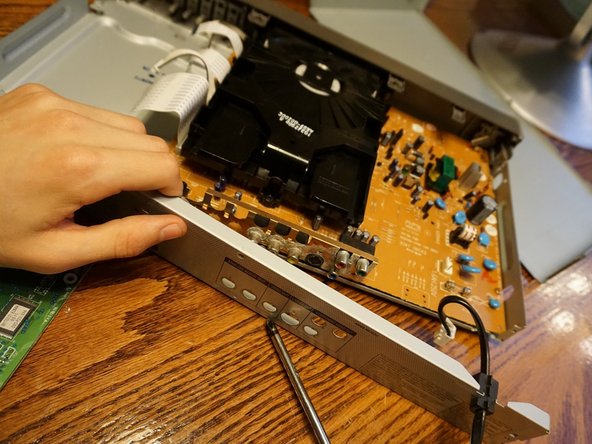
    • Pull back the two tabs on either side of the back case and pull away

  11. Samsung DVD-P231 DVD Player Progressive Scan Digital Video Teardown: Schritt 11, Bild 1 von 3 Samsung DVD-P231 DVD Player Progressive Scan Digital Video Teardown: Schritt 11, Bild 2 von 3 Samsung DVD-P231 DVD Player Progressive Scan Digital Video Teardown: Schritt 11, Bild 3 von 3
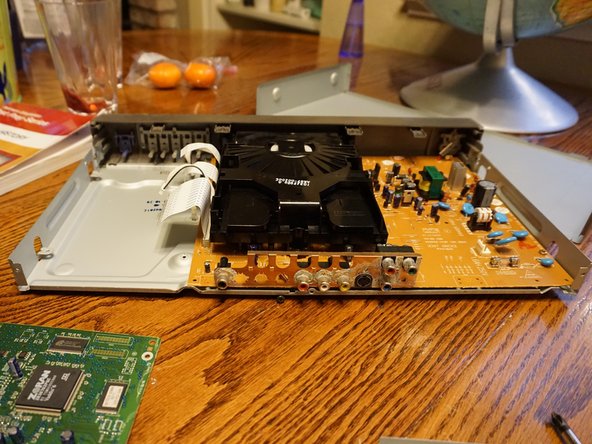
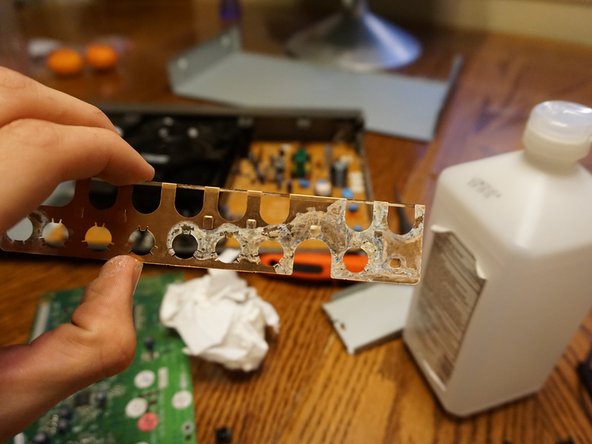
    • Gently slide off the copper slip around the ports if there is evidence of corrosion

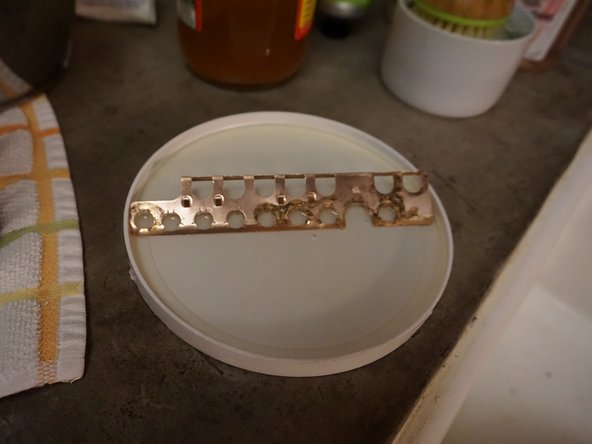
    • Place in vinegar(preferably apple cider) for 30 minutes to an hour to remove the corrosion from the copper slip

  12. Samsung DVD-P231 DVD Player Progressive Scan Digital Video Teardown: Schritt 12, Bild 1 von 3 Samsung DVD-P231 DVD Player Progressive Scan Digital Video Teardown: Schritt 12, Bild 2 von 3 Samsung DVD-P231 DVD Player Progressive Scan Digital Video Teardown: Schritt 12, Bild 3 von 3
    • Check to make sure that you have everything if you plan to reassemble this project

    • Wash you hands before any activity after this project

Owen Preece

Mitglied seit: 04/10/18

643 Reputation

3 Anleitungen geschrieben

Ein Kommentar

Kommentar hinzufügen

Seitenaufrufe:

Letzte 24 Stunden: 0

Letzte 7 Tage: 0

Letzte 30 Tage: 2

Insgesamt: 514