Zum Hauptinhalt wechseln

Was du brauchst

Dieser Teardown ist keine Reparaturanleitung. Um dein Samsung Galaxy Pocket (GT-S5300) zu reparieren, verwende unsere Fehlerbehebungsseite.

  1. Samsung Galaxy Pocket (GT-S5300) Teardown, Samsung Galaxy Pocket (GT-S5300) Teardown: Schritt 1, Bild 1 von 3 Samsung Galaxy Pocket (GT-S5300) Teardown, Samsung Galaxy Pocket (GT-S5300) Teardown: Schritt 1, Bild 2 von 3 Samsung Galaxy Pocket (GT-S5300) Teardown, Samsung Galaxy Pocket (GT-S5300) Teardown: Schritt 1, Bild 3 von 3
    • Remove the battery cover

    • Then remove the battery

  2. Samsung Galaxy Pocket (GT-S5300) Teardown: Schritt 2, Bild 1 von 2 Samsung Galaxy Pocket (GT-S5300) Teardown: Schritt 2, Bild 2 von 2
    • Remove all 4 screws

  3. Samsung Galaxy Pocket (GT-S5300) Teardown: Schritt 3, Bild 1 von 2 Samsung Galaxy Pocket (GT-S5300) Teardown: Schritt 3, Bild 2 von 2
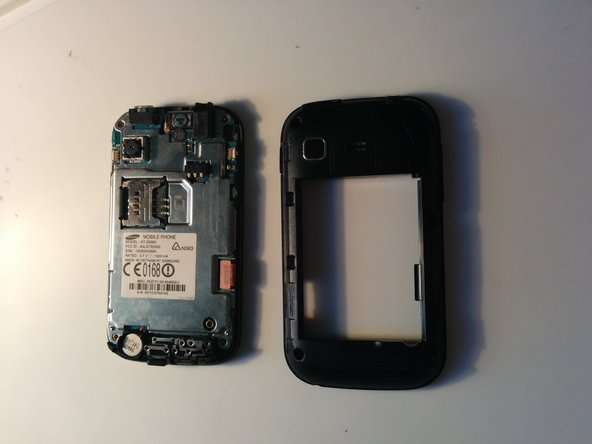
    • Slide a guitar pick between the sliver bezel and the rear of the phone

    • Slide it all the way around until the rear is loosened from the logic board and screen

  4. Samsung Galaxy Pocket (GT-S5300) Teardown: Schritt 4, Bild 1 von 2 Samsung Galaxy Pocket (GT-S5300) Teardown: Schritt 4, Bild 2 von 2
    • Remove LCD connector

  5. Samsung Galaxy Pocket (GT-S5300) Teardown: Schritt 5, Bild 1 von 1
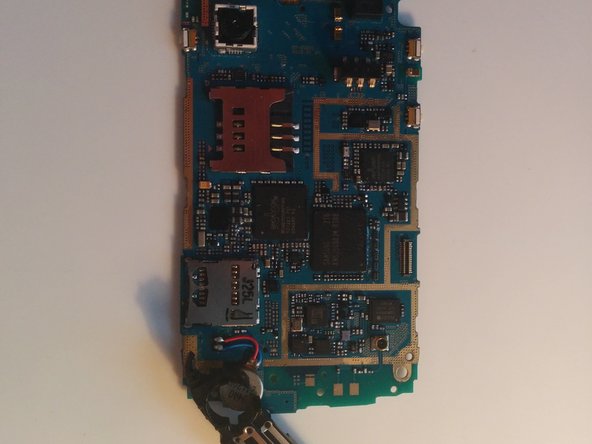
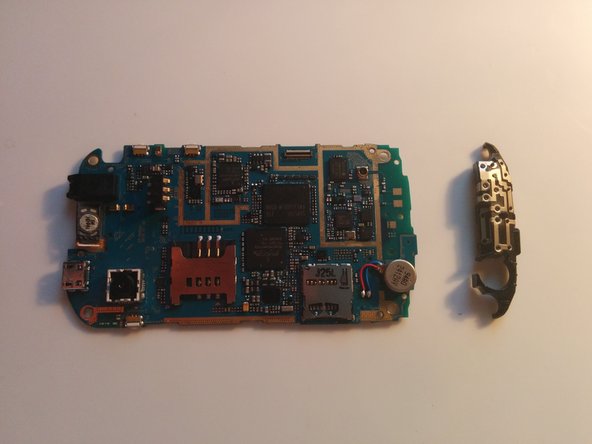
    • Remove logic board from screen by lifting the logic board up and removing the digitizer connector

  6. Samsung Galaxy Pocket (GT-S5300) Teardown: Schritt 6, Bild 1 von 2 Samsung Galaxy Pocket (GT-S5300) Teardown: Schritt 6, Bild 2 von 2
    • Remove the 5 screws to remove the shield

  7. Samsung Galaxy Pocket (GT-S5300) Teardown: Schritt 7, Bild 1 von 3 Samsung Galaxy Pocket (GT-S5300) Teardown: Schritt 7, Bild 2 von 3 Samsung Galaxy Pocket (GT-S5300) Teardown: Schritt 7, Bild 3 von 3
    • Remove what seems to be the antenna from the logic board

  8. Samsung Galaxy Pocket (GT-S5300) Teardown: Schritt 8, Bild 1 von 2 Samsung Galaxy Pocket (GT-S5300) Teardown: Schritt 8, Bild 2 von 2
    • Slide guitar pick between the digitizer and lcd

    • Make sure not to get under the black adhesive on the back be the digitizer

    • At the top of the digitizer there is a circuit be careful up there

  9. Samsung Galaxy Pocket (GT-S5300) Teardown: Schritt 9, Bild 1 von 1
    • Então essa é a minha desmontagem para o bolso da galáxia Samsung (GT-S5300)

Ryan

Mitglied seit: 02/08/14

370 Reputation

1 Anleitung geschrieben

Ein Kommentar

Parabéns excelente trabalho…

marciel.d.avila - Antwort

Kommentar hinzufügen

Seitenaufrufe:

Letzte 24 Stunden: 0

Letzte 7 Tage: 9

Letzte 30 Tage: 18

Insgesamt: 13,227