Was du brauchst
-
Dieser Schritt ist noch nicht übersetzt. Hilf mit, ihn zu übersetzen!
-
The 4.3-inch super Amoled Plus display is simply gorgeous!
-
-
Dieser Schritt ist noch nicht übersetzt. Hilf mit, ihn zu übersetzen!
-
Look at how slim the phone is! Only 8.49mm thin!
-
Back cover is flexible but don't worry it will not break. It also has a nice texture to it.
-
-
Dieser Schritt ist noch nicht übersetzt. Hilf mit, ihn zu übersetzen!
-
Look at how compact everything is inside!
-
Remove the seven visible screws.
-
Then unclip the back panel starting on the left next to the audio jack. Go slowly.
-
-
Dieser Schritt ist noch nicht übersetzt. Hilf mit, ihn zu übersetzen!
-
Removing the back panel gives you an impressive and sophisticated view of the internals.
-
-
Dieser Schritt ist noch nicht übersetzt. Hilf mit, ihn zu übersetzen!
-
Removing the motherboard is as simple as it looks !
-
Unclip the 5 ribbon connectors and the antenna cable.
-
Then remove the 2 small black screws.
-
Don't forget to unglue the volume flex and power flex, they are attached to the motherboard. Otherwise the motherboard won't come out easily like it should.
-
-
-
Dieser Schritt ist noch nicht übersetzt. Hilf mit, ihn zu übersetzen!
-
The board with removed EMI shields.
-
The front.
-
..and the back.
-
The front panel without the logic board.
-
The front facing camera part, the cinch-vibrator-1.mic part and the usb connection-2.mic-antenna board.
-
-
Dieser Schritt ist noch nicht übersetzt. Hilf mit, ihn zu übersetzen!
-
The camera connector is at the upper left corner in the second picture.
-
The power and volume buttons are soldered to the logic board.
-
-
Dieser Schritt ist noch nicht übersetzt. Hilf mit, ihn zu übersetzen!
-
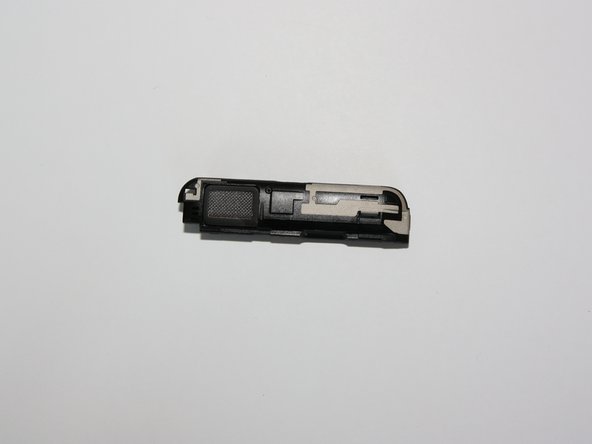
This EMI shield is nearly a heat sink.
-
Should be useful with a 1.2GHz dual core under it!
-
-
Dieser Schritt ist noch nicht übersetzt. Hilf mit, ihn zu übersetzen!
-
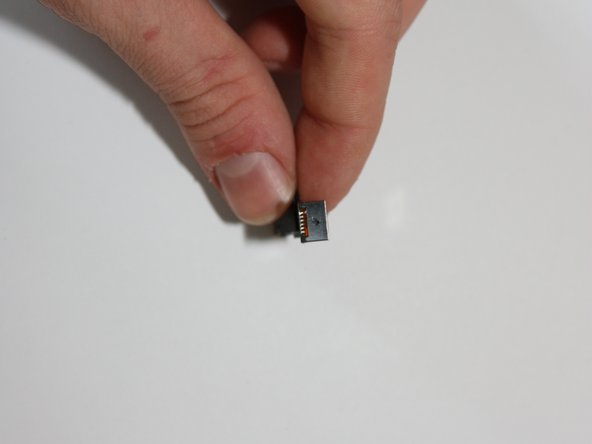
The (tiny) 8MP camera.
-
It's smaller than an iPhone 4 camera.
-
-
Dieser Schritt ist noch nicht übersetzt. Hilf mit, ihn zu übersetzen!
-
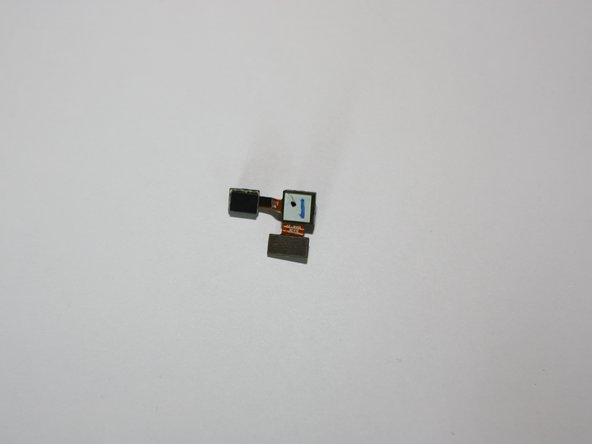
The front-facing camera and the light sensor are a single part.
-
The front-facing camera is 2MP, which is better than the iPhone 4's VGA camera.
-
-
Dieser Schritt ist noch nicht übersetzt. Hilf mit, ihn zu übersetzen!
-
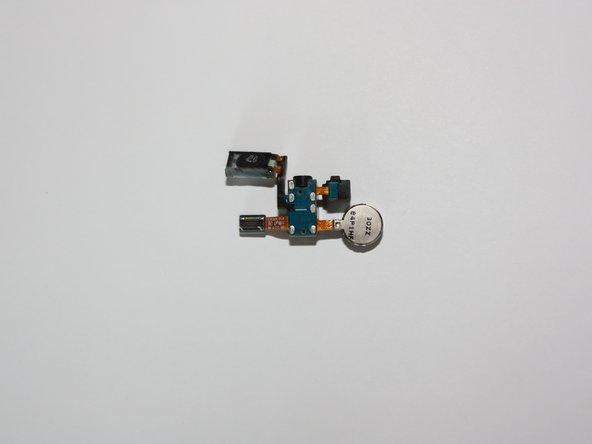
The vibrator, first mic (did you know there are two?), cinch plug and the earspeaker.
-
-
Dieser Schritt ist noch nicht übersetzt. Hilf mit, ihn zu übersetzen!
-
The USB-connection and 2 x mic board.
-
It's stuck with glue to the front panel.
-
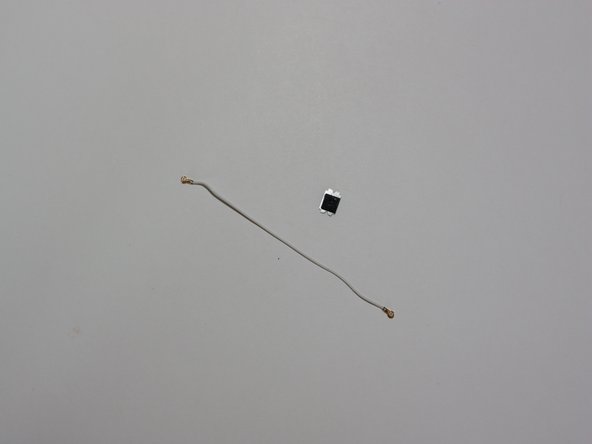
The (only) antenna cable and a metal shield holding the light sensor in place.
-
-
Dieser Schritt ist noch nicht übersetzt. Hilf mit, ihn zu übersetzen!
-
This is it.
-
It still works after reassembly!
-


19 Kommentare
Why not show the great display? =\
Do you see the NFC module ? (the phone come frome England?)
Beacause there is a big disscution between ethier the NFC is not implemented on phone, maybe the chip is on ?
no, it should be from germany, I bought it there ;)
lon -
I'll change it for you ;)
lon -
Where can I purchase any mobile NFC chip and solder on to Galaxy S2 International version (I9100)?
Tai Li -