Was du brauchst
-
Dieser Schritt ist noch nicht übersetzt. Hilf mit, ihn zu übersetzen!
-
Use the plastic opening tool to remove the 4 buttons on each corner of the Sidekick.
-
Gently pry open button and remove button.
-
Do this for each of the 3 buttons remaining.
-
-
Dieser Schritt ist noch nicht übersetzt. Hilf mit, ihn zu übersetzen!
-
The bumpers on the top and bottom of the phone can be removed by simply "peeling" them off.
-
-
Dieser Schritt ist noch nicht übersetzt. Hilf mit, ihn zu übersetzen!
-
Use the T6 Torx Screwdriver to remove the 4 screws that are underneath the 4 buttons you removed in step one.
-
-
Dieser Schritt ist noch nicht übersetzt. Hilf mit, ihn zu übersetzen!
-
Flip the screen up halfway (90 degrees), to reveal the 2 screws above the right side of the keyboard.
-
Use the Torx 6 screwdriver to remove these 2 screws.
-
-
Dieser Schritt ist noch nicht übersetzt. Hilf mit, ihn zu übersetzen!
-
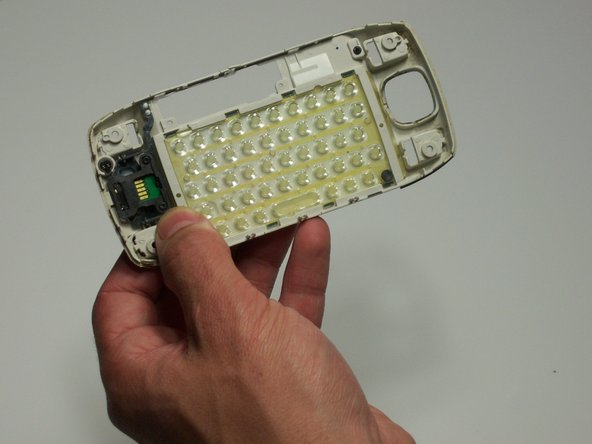
After removing the 6 screws and both bumpers, the phone will be easy to separate into the two main bodies.
-
You can use your hands to simply pull apart the top casing from the bottom casing.
-
-
-
Dieser Schritt ist noch nicht übersetzt. Hilf mit, ihn zu übersetzen!
-
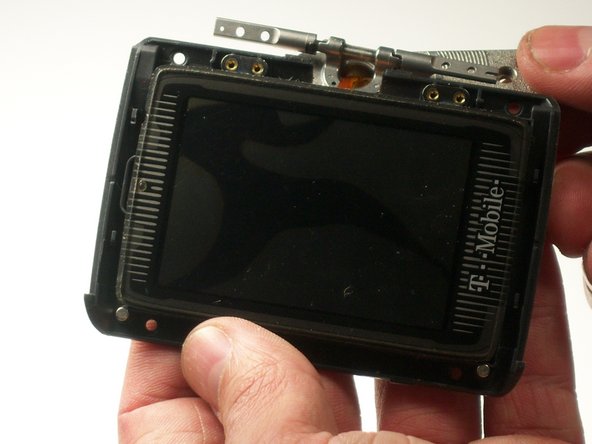
Remove 4 screws from back of screen using Torx 6 Screwdriver.
-
Pry screen out of casing using fingers.
-
-
Dieser Schritt ist noch nicht übersetzt. Hilf mit, ihn zu übersetzen!
-
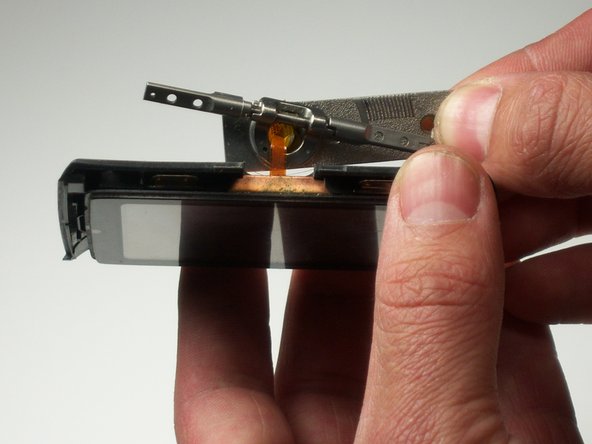
Remove 4 screws from front of screen with Phillip screwdrivers.
-
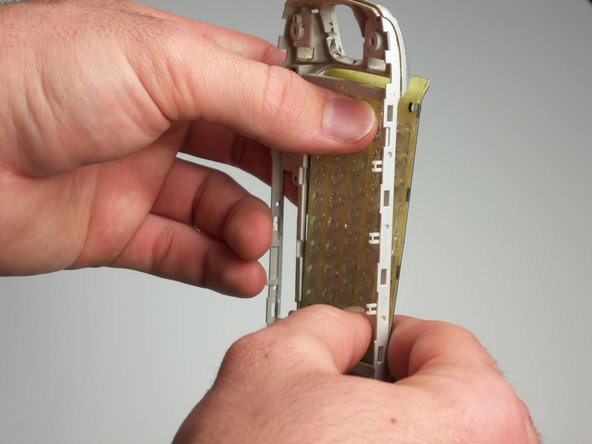
Peel off the metal covering on the back of the screen.
-
-
Dieser Schritt ist noch nicht übersetzt. Hilf mit, ihn zu übersetzen!
-
Remove the protective cover in front of the screen.
-
-
Dieser Schritt ist noch nicht übersetzt. Hilf mit, ihn zu übersetzen!
-
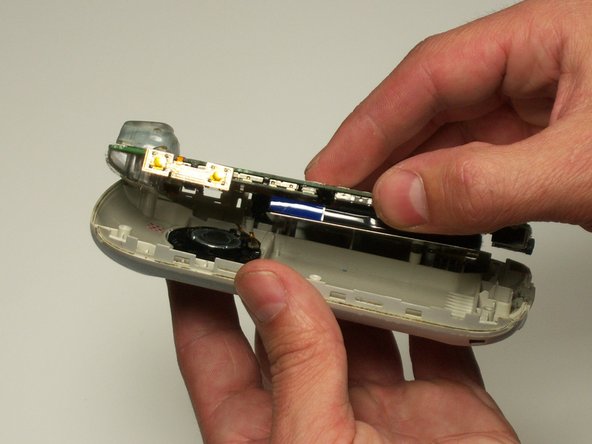
Take the screws out using the Torx 6 screwdriver.
-
Then lift the thumb wheel and housing off of the front panel.
-
-
Dieser Schritt ist noch nicht übersetzt. Hilf mit, ihn zu übersetzen!
-
Remove 2 black "rivets" from back of casing with the plastic opening tool.
-
-
Dieser Schritt ist noch nicht übersetzt. Hilf mit, ihn zu übersetzen!
-
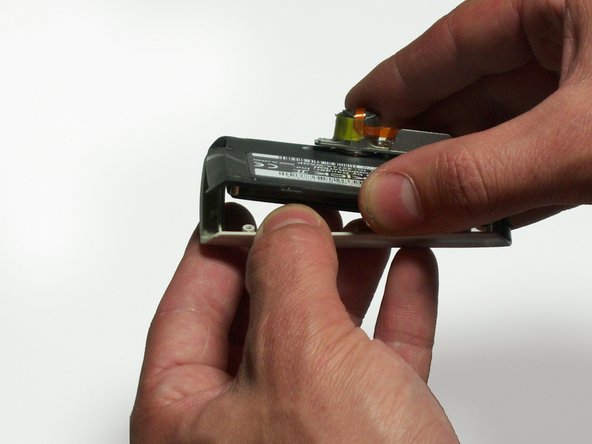
Remove the 5 black screws with a Phillips head screwdriver.
-
Lift the bottom of the control board from housing, and separate the two.
-
-
Dieser Schritt ist noch nicht übersetzt. Hilf mit, ihn zu übersetzen!
-
Carefully remove battery and back plate.
-
-
Dieser Schritt ist noch nicht übersetzt. Hilf mit, ihn zu übersetzen!
-
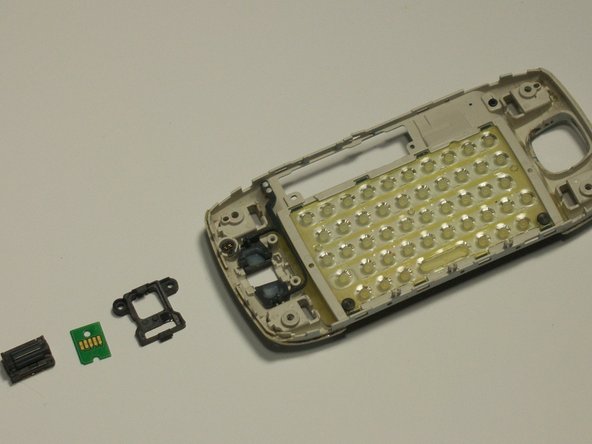
Here are all of the pieces that you have disassembled
-


Team

Cal Poly, Team 3-19, Maness Winter 2010 Mitglied von Cal Poly, Team 3-19, Maness Winter 2010
CPSU-MANESS-W10S3G19
4 Mitglieder
11 Anleitungen geschrieben