Zum Hauptinhalt wechseln

Was du brauchst

Dieser Teardown ist keine Reparaturanleitung. Um dein Gas and Smoke Detector zu reparieren, verwende unsere Fehlerbehebungsseite.

  1. Dieser Schritt ist noch nicht übersetzt. Hilf mit, ihn zu übersetzen!

    : Schritt 1, Bild 1 von 2 : Schritt 1, Bild 2 von 2
    • Use a screwdriver to pry open the plastic enclosure. It might be easier to push the buzzer through the hole, if you need extra leverage.

  2. Dieser Schritt ist noch nicht übersetzt. Hilf mit, ihn zu übersetzen!

    : Schritt 2, Bild 1 von 1
    • The buzzer is unhooked from the PCB board, by hands.

  3. Dieser Schritt ist noch nicht übersetzt. Hilf mit, ihn zu übersetzen!

    : Schritt 3, Bild 1 von 2 : Schritt 3, Bild 2 von 2
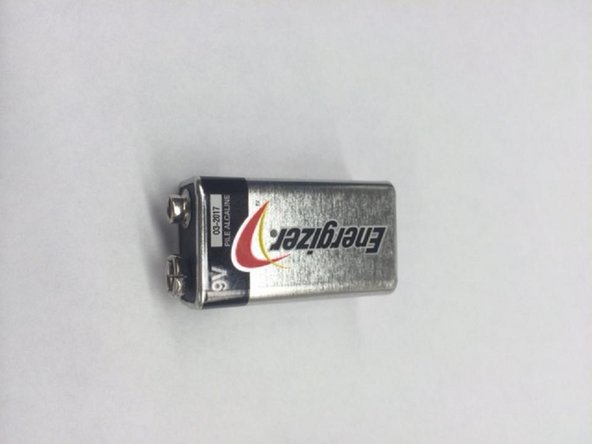
    • This is the circuit for the smoke detector. It is powered by a 9V battery. The 3 metal leafs are contacts for the buzzer and the bigger leaf is for the test button.

  4. Dieser Schritt ist noch nicht übersetzt. Hilf mit, ihn zu übersetzen!

    : Schritt 4, Bild 1 von 1
    • The metal cap is removed to reveal a, MC145017, driver chip and americium sensor. Do not remove americium from the sensor!

Ari Dubinsky

Mitglied seit: 03/04/14

253 Reputation

1 Anleitung geschrieben

Ein Kommentar

Thanks bro 👍

BrunostNoodles - Antwort

Kommentar hinzufügen

Seitenaufrufe:

Letzte 24 Stunden: 3

Letzte 7 Tage: 20

Letzte 30 Tage: 63

Insgesamt: 8,149