Einleitung
I will teach you how to deconstruct a DVD-ROM unit into it's base assembly and then show what many people use to build a burning laser.
Was du brauchst
-
-
Remove outside screws using a screwdriver that fits a M3x6 screw
-
-
-
Gently pry up the top casing with the model sticker facing down. Apply a wiggling motion side to side if necessary
-
-
-
Check for any remaining screws around the edge of the board, if there are none apparent double check the ribbons and the slide the board back until it slides free
-
-
-
-
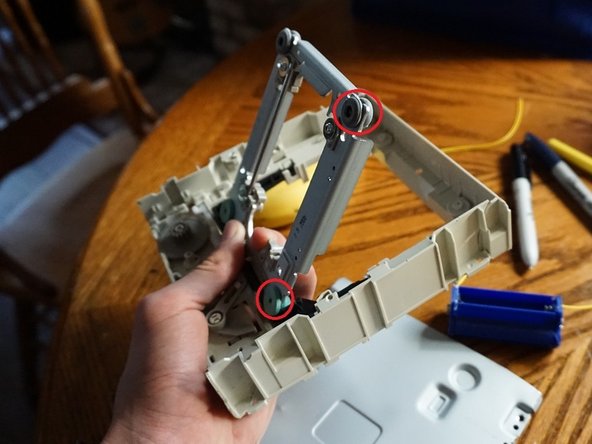
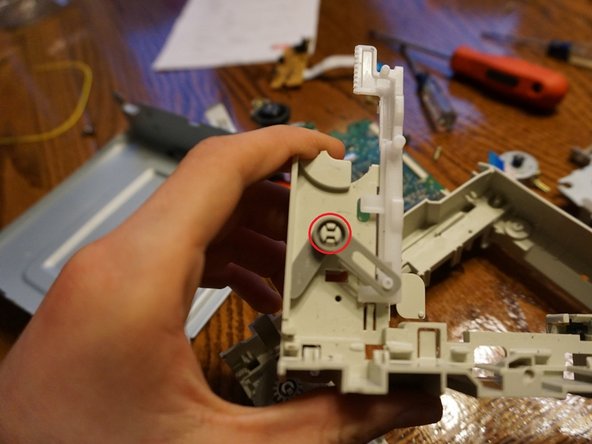
To remove the tan plastic, ensure all of the screws have been removed on the metal tabs shown in red
-
apply a teetering pull apply more lift to one side that the other
-
-
-
Now most inside components should be loose and removable
-
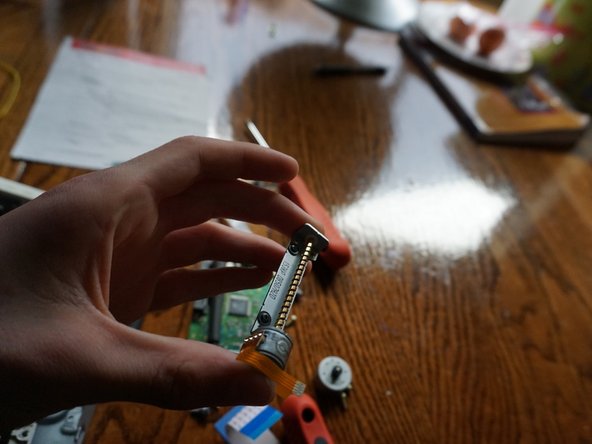
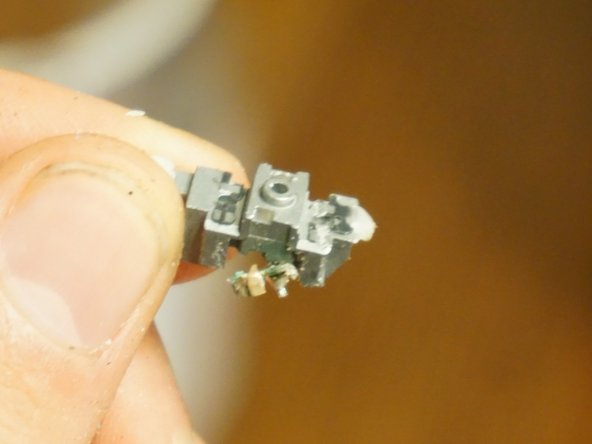
This is a picture of the removal process of the laser diode component(it is still encased in the moving and refraction related parts)
-
-
-
Remove the three screws surrounding the second component
-
Remove and check for removal of all ribbons on this component(note the orange is labeled "lead free")
-
-
-
Undo the screws on the side of the stepper component with A DIFFERENT SCREWDRIVER TO AVOID STRIPPING
-
The screwdriver will be smaller than the M3x6 fit
-
Gently extract after screw removal
-
-
-
flip the leftovers over and slide the peice of black plastic far forward to remove the screws holding the metal in place
-
Slide the disk tray back if you can not remove it completely and proceed to unscrew the final and 3rd screw.
-
-
-
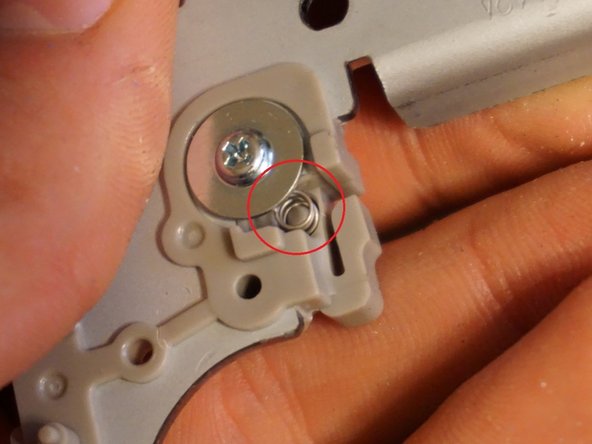
Gently remove any clips to allow the only holder to be the rubber wheels to be holding it(circled in red)
-
Gently apply pressure to pull away from the main casing
-
Un-clip the clips seen in photo 2
-
-
-
To remove the pole that was in the picture before it was removed, push down on the spring with a screw at one end removed the tilt one end up and remove
-
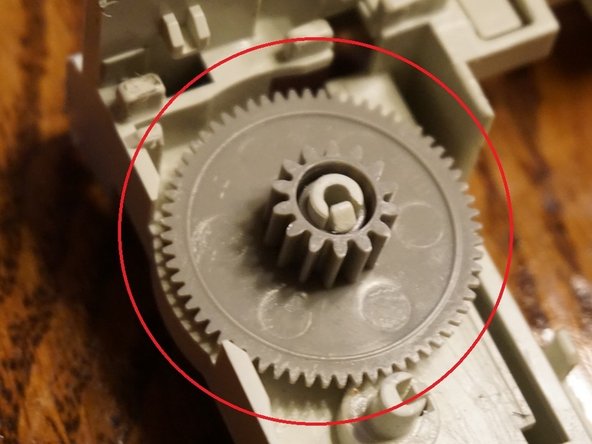
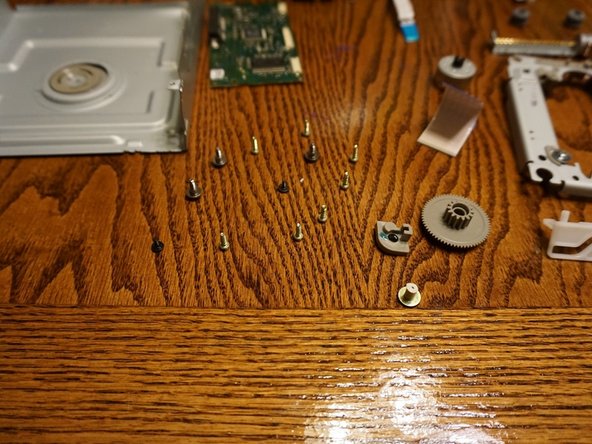
To remove toothed gears push the clip inside the spire in the middle of the gear, and maintaining pressure on the clip pull away the gear
-
Apply the same technique as in picture 2 but with the clip in picture 3
-