Zum Hauptinhalt wechseln

Dieser Teardown ist in Bearbeitung – Lade die Seite regelmäßig neu, um die neuesten Änderungen zu sehen!

Was du brauchst

  1. Sony Xperia U Teardown, Sony Xperia U Teardown: Schritt 1, Bild 1 von 1
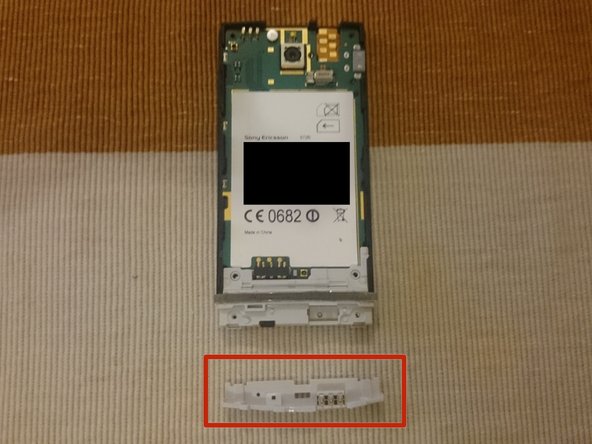
    • Remove the back cover and the bottom clip. And also remove the sim card and battery.

  2. Sony Xperia U Teardown: Schritt 2, Bild 1 von 1
    • Remove the 6 T5 screws

  3. Sony Xperia U Teardown: Schritt 3, Bild 1 von 1
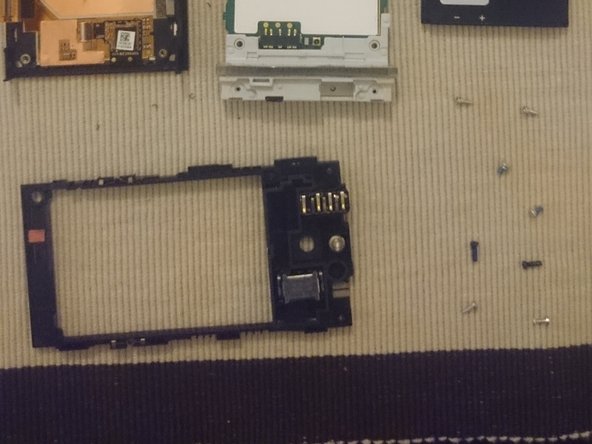
    • Remove the back piece, reveiling the headphone jack, speaker and the Liquid contact indicator.

    • Camera and flash

    • Vibrating motor

    • Headphone jack

    • Speaker

    • Liquid contact indicator

  4. Sony Xperia U Teardown: Schritt 4, Bild 1 von 2 Sony Xperia U Teardown: Schritt 4, Bild 2 von 2
    • Remove the 2 T5 screws.

    • Remove the lower antenna.

  5. Sony Xperia U Teardown: Schritt 5, Bild 1 von 2 Sony Xperia U Teardown: Schritt 5, Bild 2 von 2
    • Carefully remove the motherboard being aware on the lower left edge, there is the display connector.

    • Be aware of the display connector on the lower left.

  6. Sony Xperia U Teardown: Schritt 6, Bild 1 von 3 Sony Xperia U Teardown: Schritt 6, Bild 2 von 3 Sony Xperia U Teardown: Schritt 6, Bild 3 von 3
    • Removal back and bottom cap

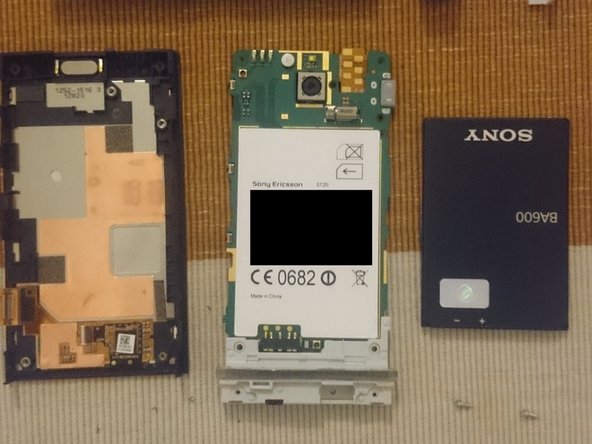
    • Screen + main case, motherboard + antenna, battery

    • Back casing holding the headphone jack, speaker and liquid contact indicator.

Anthony

Mitglied seit: 07/29/14

201 Reputation

1 Anleitung geschrieben

0 Kommentare

Kommentar hinzufügen

Seitenaufrufe:

Letzte 24 Stunden: 0

Letzte 7 Tage: 0

Letzte 30 Tage: 5

Insgesamt: 3,086