Zum Hauptinhalt wechseln

Was du brauchst

Dieser Teardown ist keine Reparaturanleitung. Um dein Sony Xperia Z4 zu reparieren, verwende unsere Fehlerbehebungsseite.

  1. Dieser Schritt ist noch nicht übersetzt. Hilf mit, ihn zu übersetzen!

    : Schritt 1, Bild 1 von 2 : Schritt 1, Bild 2 von 2
    • Remove back cover.

  2. Dieser Schritt ist noch nicht übersetzt. Hilf mit, ihn zu übersetzen!

    : Schritt 2, Bild 1 von 3 : Schritt 2, Bild 2 von 3 : Schritt 2, Bild 3 von 3
    • Remove battery.

  3. Dieser Schritt ist noch nicht übersetzt. Hilf mit, ihn zu übersetzen!

    : Schritt 3, Bild 1 von 2 : Schritt 3, Bild 2 von 2
    • Release all the connectors on board and remove the screws there.

  4. Dieser Schritt ist noch nicht übersetzt. Hilf mit, ihn zu übersetzen!

    : Schritt 4, Bild 1 von 2 : Schritt 4, Bild 2 von 2
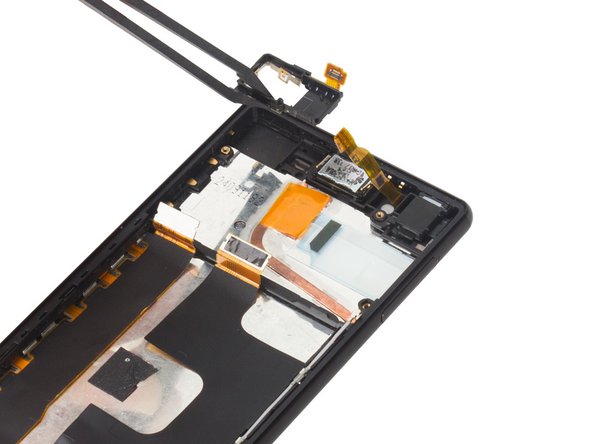
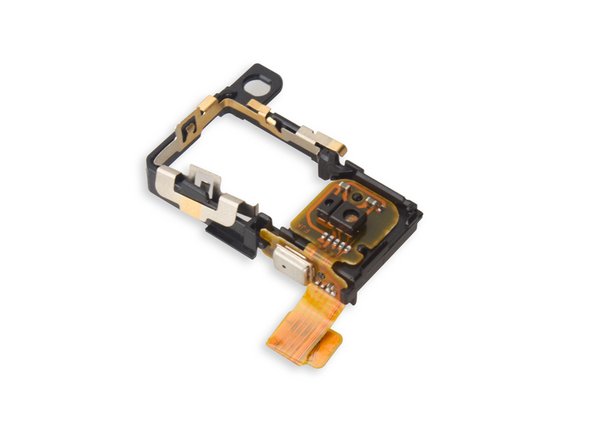
    • Remove that small securing bracket.

  5. Dieser Schritt ist noch nicht übersetzt. Hilf mit, ihn zu übersetzen!

    : Schritt 5, Bild 1 von 3 : Schritt 5, Bild 2 von 3 : Schritt 5, Bild 3 von 3
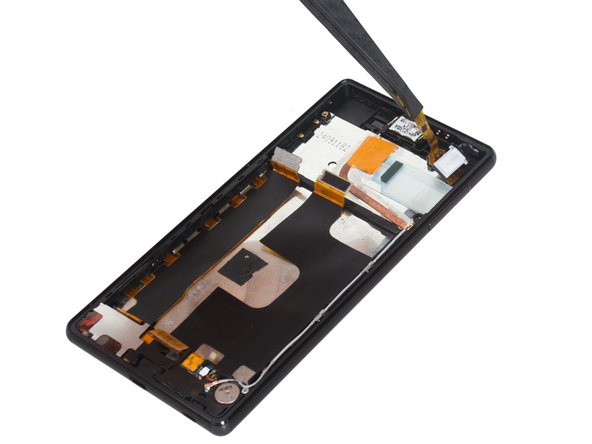
    • Remove rear camera and front camera.

  6. Dieser Schritt ist noch nicht übersetzt. Hilf mit, ihn zu übersetzen!

    : Schritt 6, Bild 1 von 2 : Schritt 6, Bild 2 von 2
    • Remove motherboard.

  7. Dieser Schritt ist noch nicht übersetzt. Hilf mit, ihn zu übersetzen!

    : Schritt 7, Bild 1 von 3 : Schritt 7, Bild 2 von 3 : Schritt 7, Bild 3 von 3
    • Remove sensor flex.

  8. Dieser Schritt ist noch nicht übersetzt. Hilf mit, ihn zu übersetzen!

    : Schritt 8, Bild 1 von 3 : Schritt 8, Bild 2 von 3 : Schritt 8, Bild 3 von 3
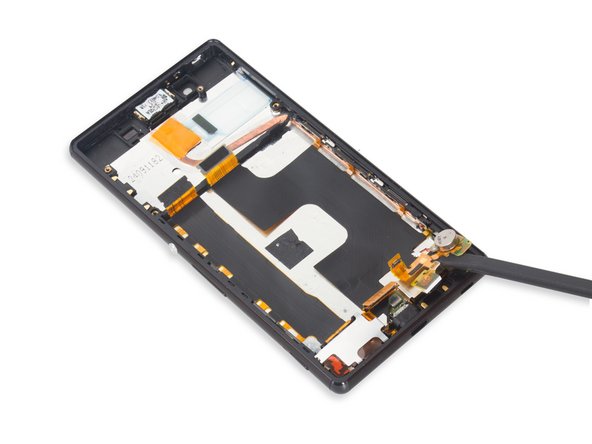
    • Remove two pieces of cover brackets on the audio jack.

  9. Dieser Schritt ist noch nicht übersetzt. Hilf mit, ihn zu übersetzen!

    : Schritt 9, Bild 1 von 2 : Schritt 9, Bild 2 von 2
    • Cut the adhesive on the top of the audio jack and remove the audio jack assembly.

  10. Dieser Schritt ist noch nicht übersetzt. Hilf mit, ihn zu übersetzen!

    : Schritt 10, Bild 1 von 1
    • Remove signal cable.

  11. Dieser Schritt ist noch nicht übersetzt. Hilf mit, ihn zu übersetzen!

    : Schritt 11, Bild 1 von 3 : Schritt 11, Bild 2 von 3 : Schritt 11, Bild 3 von 3
    • Release connectors connecting on the antenna logic board and finally remove it.

  12. Dieser Schritt ist noch nicht übersetzt. Hilf mit, ihn zu übersetzen!

    : Schritt 12, Bild 1 von 2 : Schritt 12, Bild 2 von 2
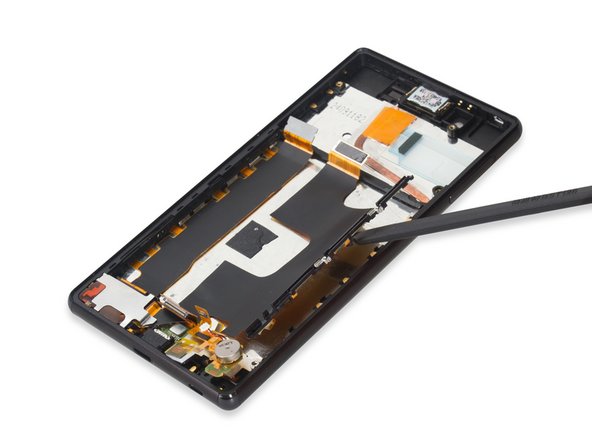
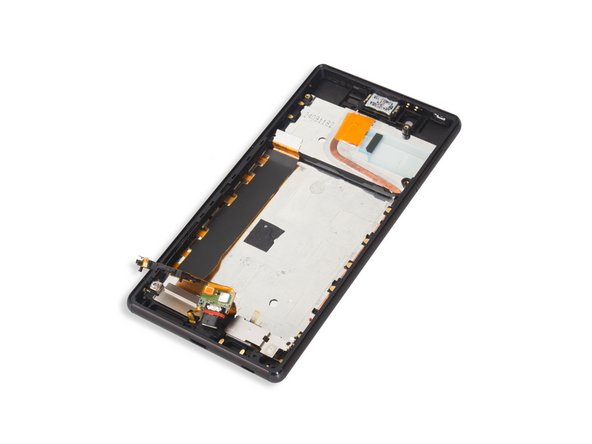
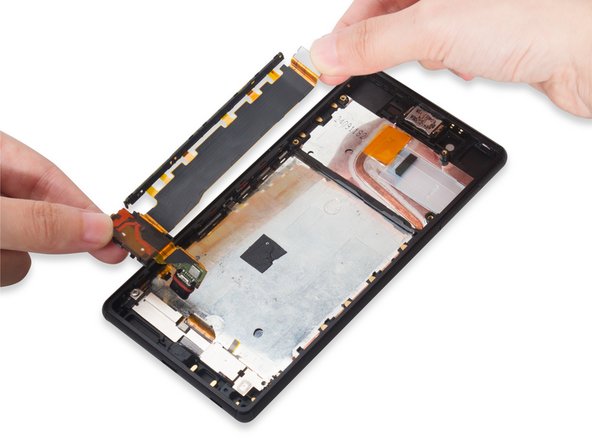
    • Release LCD connector there and loosen the bottom of the whole flex.

  13. Dieser Schritt ist noch nicht übersetzt. Hilf mit, ihn zu übersetzen!

    : Schritt 13, Bild 1 von 3 : Schritt 13, Bild 2 von 3 : Schritt 13, Bild 3 von 3
    • Remove main flex.

  14. Dieser Schritt ist noch nicht übersetzt. Hilf mit, ihn zu übersetzen!

    : Schritt 14, Bild 1 von 2 : Schritt 14, Bild 2 von 2
    • Remove loudspeaker securing bracket.

  15. Dieser Schritt ist noch nicht übersetzt. Hilf mit, ihn zu übersetzen!

    : Schritt 15, Bild 1 von 2 : Schritt 15, Bild 2 von 2
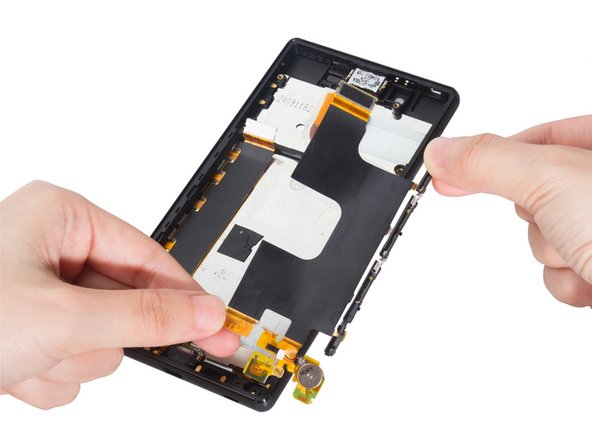
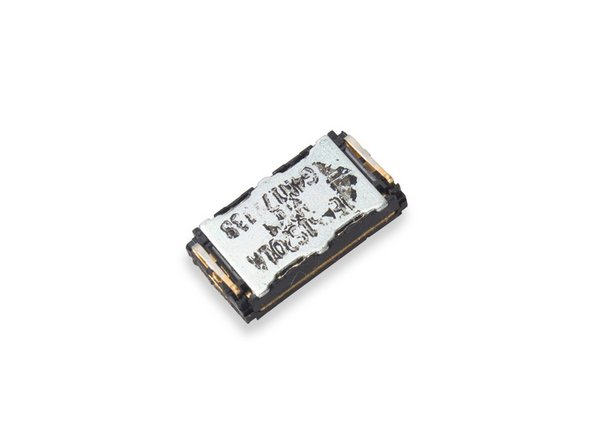
    • Remove loudspeaker hidden under the flex.

  16. Dieser Schritt ist noch nicht übersetzt. Hilf mit, ihn zu übersetzen!

    : Schritt 16, Bild 1 von 2 : Schritt 16, Bild 2 von 2
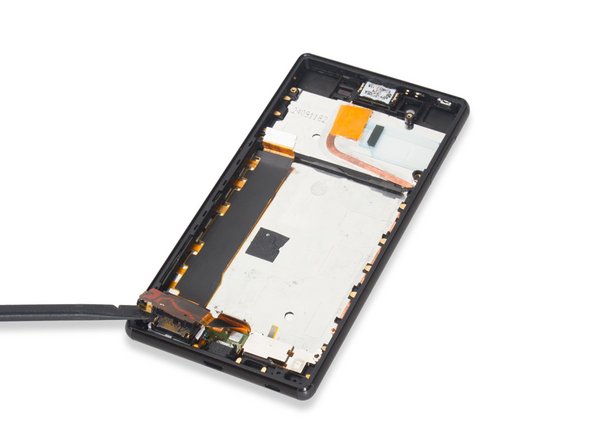
    • Push the USB port out of the slot.

  17. Dieser Schritt ist noch nicht übersetzt. Hilf mit, ihn zu übersetzen!

    : Schritt 17, Bild 1 von 2 : Schritt 17, Bild 2 von 2
    • Remove USB charging flex assembly.

  18. Dieser Schritt ist noch nicht übersetzt. Hilf mit, ihn zu übersetzen!

    : Schritt 18, Bild 1 von 2 : Schritt 18, Bild 2 von 2
    • Remove earpiece speaker.

  19. Dieser Schritt ist noch nicht übersetzt. Hilf mit, ihn zu übersetzen!

    : Schritt 19, Bild 1 von 2 : Schritt 19, Bild 2 von 2
    • Remove the metal bracket covering on the screen flex.

  20. Dieser Schritt ist noch nicht übersetzt. Hilf mit, ihn zu übersetzen!

    : Schritt 20, Bild 1 von 3 : Schritt 20, Bild 2 von 3 : Schritt 20, Bild 3 von 3
    • Remove LCD screen carefully.

  21. Dieser Schritt ist noch nicht übersetzt. Hilf mit, ihn zu übersetzen!

    : Schritt 21, Bild 1 von 1
    • Done.

Sophia

Mitglied seit: 03/25/14

43.810 Reputation

62 Anleitungen geschrieben

2 Kommentare

Is it possible to replace the nylon corners? I've heard it was possible in the previous xperia z devices like z2 and z3. Unfortunately I couldn't find the replacement corners for z3+ or z4 anywhere. Anyone has any idea about it?

Sanket - Antwort

Late answer, but it seems like there’s replacement parts for the corners now. I don’t know how to replace them, though.

Farie Indriawan -

Kommentar hinzufügen

Seitenaufrufe:

Letzte 24 Stunden: 2

Letzte 7 Tage: 14

Letzte 30 Tage: 80

Insgesamt: 35,863