Einleitung
Learn how to take apart your calculator and replace any of its parts. You will also learn how to put a rechargeable lithium ion battery in it.
Was du brauchst
-
-
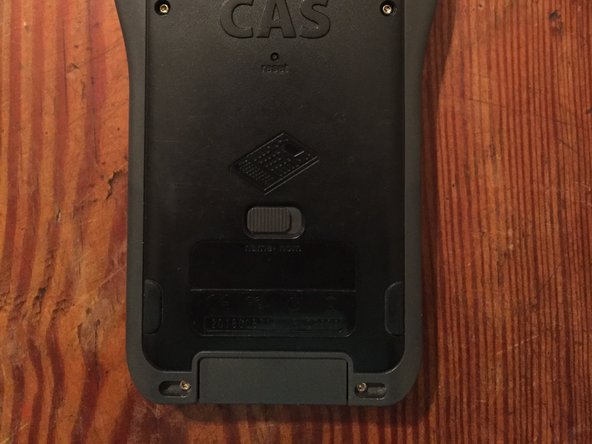
Turn your calculator over and flip the spring loaded switch to the right. The keypad on the front should pop down. Lift the keypad off and take out the 4 AAA batteries.
-
-
-
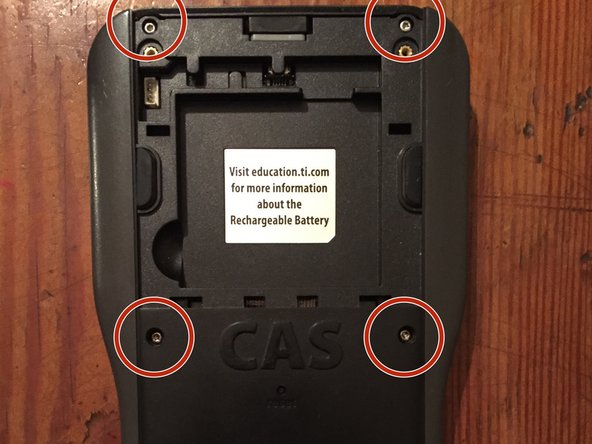
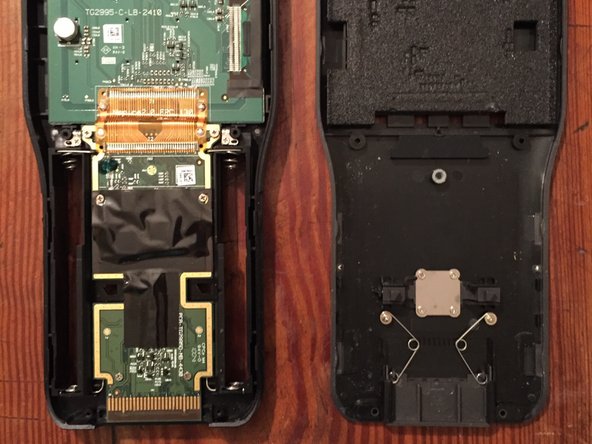
Unscrew the 2 screws on the top of the back of the calculator. Use a Phillips PH00 screwdriver. If your calculator has a lithium ion battery, unplug the cable and gently lift the battery out from the bottom left.
-
-
-
-
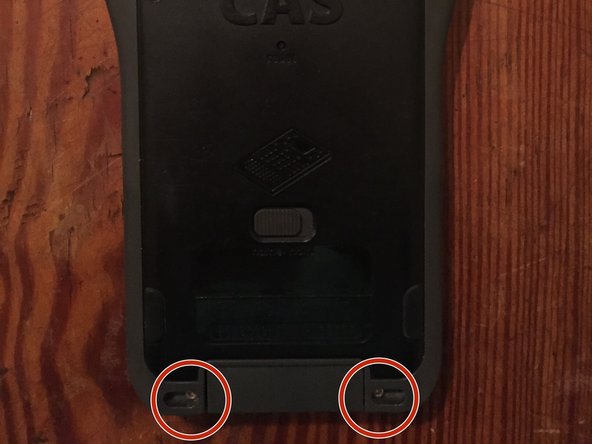
Use your Torx T6 screwdriver to take out the 6 identical screws. After you take out the screws gently pop off the back plate.
-
-
-
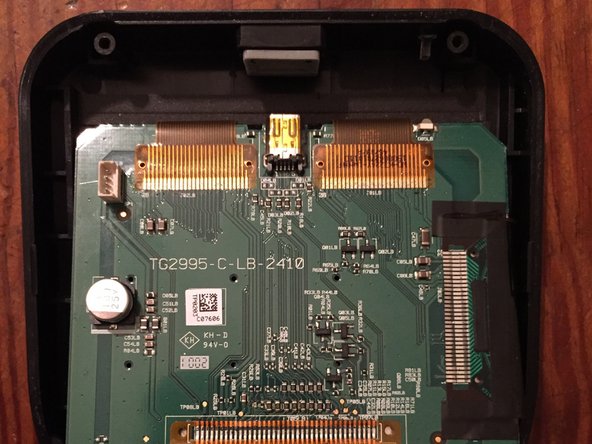
Once you have taken the back plate completely off, unscrew 6 phillips head screws. Remember, these screws are different so keep them separate. After taking the screws out, carefully lift the bottom of the screen up and then the screen and board out.
-
-
-
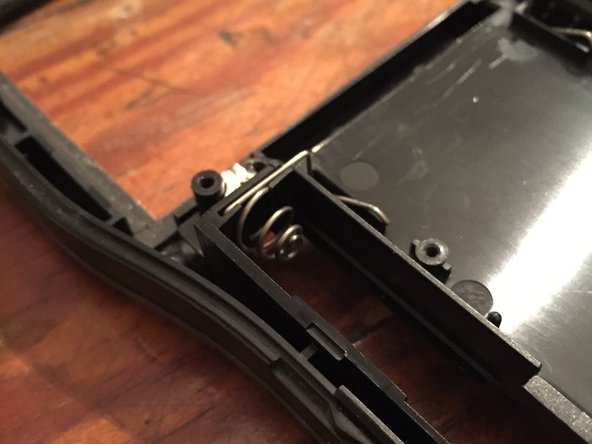
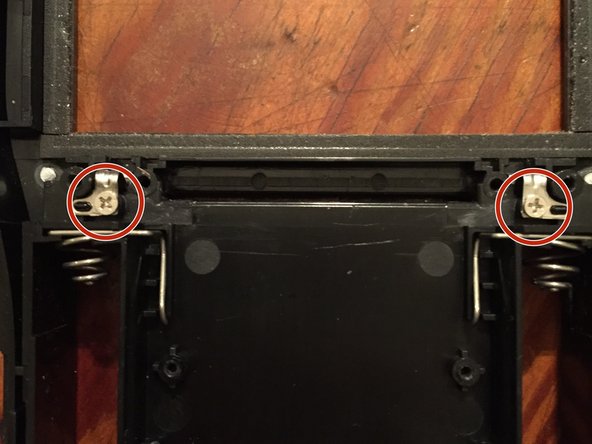
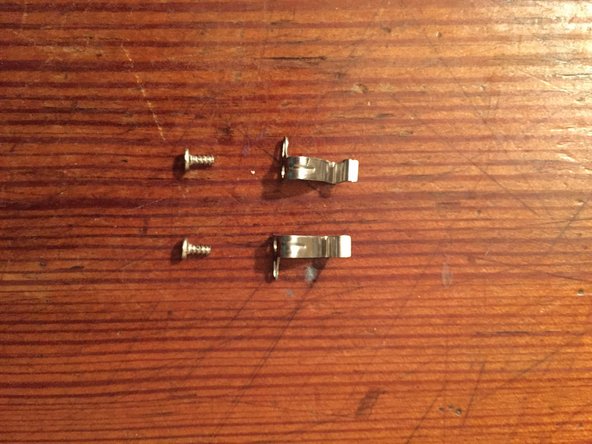
If you need to, you can pull the battery terminals up and out, but if you don't need to you shouldn't. Next, unscrew 2 screws and take out the 2 brackets.
-


Rückgängig: Ich habe diese Anleitung nicht absolviert.
Ein:e weitere:r Nutzer:in hat diese Anleitung absolviert.