Zum Hauptinhalt wechseln

2012 Kawasaki Ninja Chain Tightening Replacement

Englisch
Deutsch
Schritt 4
2012 Kawasaki Ninja Chain Tightening Replacement: Schritt 0, Bild 1 von 3 2012 Kawasaki Ninja Chain Tightening Replacement: Schritt 0, Bild 2 von 3 2012 Kawasaki Ninja Chain Tightening Replacement: Schritt 0, Bild 3 von 3
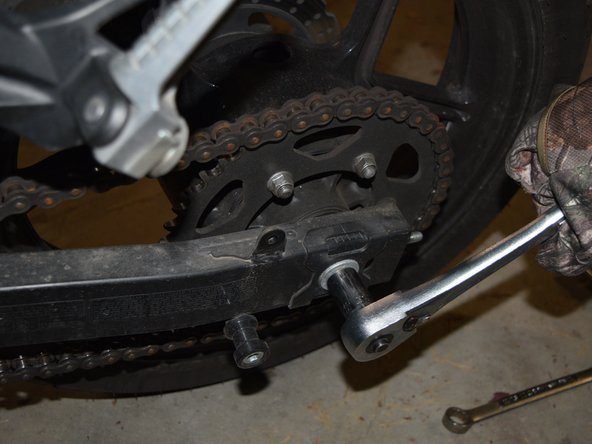
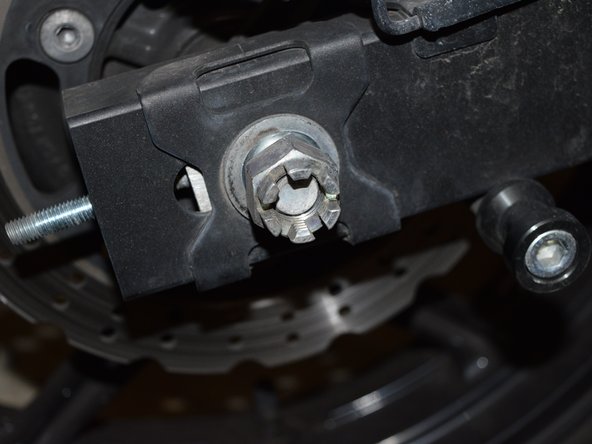
  • Remove the locking pin

  • Place your 17mm socket on the bolt side and the 1 inch side over the nut

  • This is where the breaker bar would help as it could be very tight

  • Loosen the bolt to about half way

  • Do not take the bolt out or the nut off

Hier Übersetzung einfügen

Hier Übersetzung einfügen

Hier Übersetzung einfügen

Hier Übersetzung einfügen

Hier Übersetzung einfügen

Deine Beiträge sind lizenziert unter der Open-Source Creative Commons Lizenz.