Zum Hauptinhalt wechseln

iPod Touch 5. Generation Frontpanel tauschen

Hinweis: Du bearbeitest gerade eine grundständige Anleitung, die Teil der Anleitung ist, die du eben angeschaut hast. Alle Änderungen, die du vornimmst, betreffen alle 21 Anleitungen, die diese grundständige Anleitung beinhalten.

Englisch
Deutsch
Schritt 5
iPod Touch 5th Generation Front Panel Replacement: Schritt 0, Bild 1 von 3 iPod Touch 5th Generation Front Panel Replacement: Schritt 0, Bild 2 von 3 iPod Touch 5th Generation Front Panel Replacement: Schritt 0, Bild 3 von 3
  • In the following steps, you will be loosening and freeing the plastic frame that surrounds the screen. It is connected to the rear case with several clips.

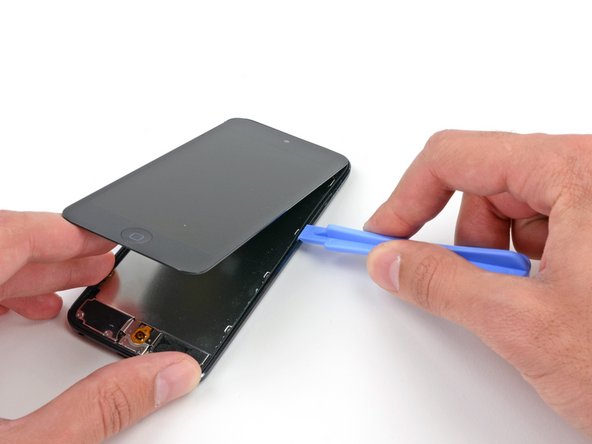
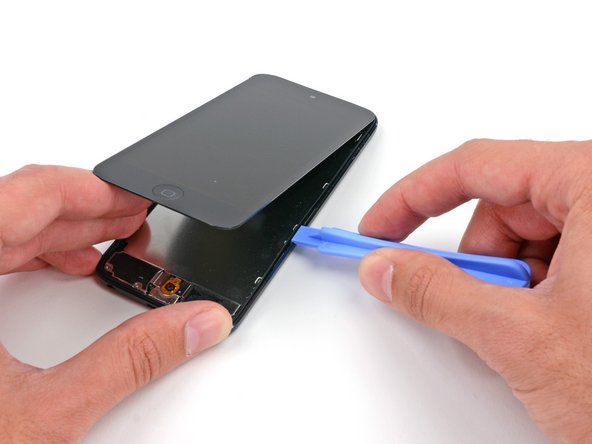
  • Starting at the top right of the device, insert a plastic opening tool into the gap between the plastic frame and the aluminum rear case.

  • Slide the tool down this crack, loosening the frame from the case.

In den folgenden Schritten wird der Kunststoffrahmen, der das Display umgibt, abgelöst. Er ist mit mehreren Clips am Rückgehäuse befestigt.

Fange oben rechts am Gerät an und setze dort ein Kunststoff-Öffnungswerkzeug in den Spalt zwischen Kunststoffrahmen und Aluminium-Rückgehäuse ein.

Schiebe das Werkzeug in diesem Spalt nach unten und löse den Rahmen vom Gehäuse.

Deine Beiträge sind lizenziert unter der Open-Source Creative Commons Lizenz.