Hinweis: Du bearbeitest eine grundständige Anleitung. Alle Änderungen, die du vornimmst, betreffen auch die Anleitung, die diese beinhaltet.
Schritt 3 übersetzen
Schritt 3


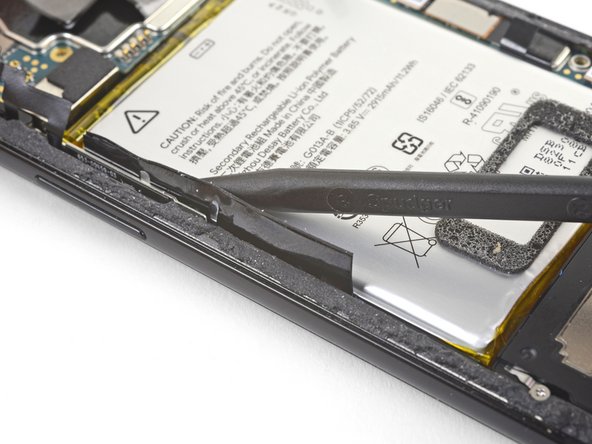


Loosen the pull tab
-
Insert the point of a spudger underneath the black battery pull tab on the left edge of the phone.
-
Slide the spudger upwards along the edge to loosen the pull tab from the battery.
Deine Beiträge sind lizenziert unter der Open-Source Creative Commons Lizenz.