Schritt 11 übersetzen
Schritt 11

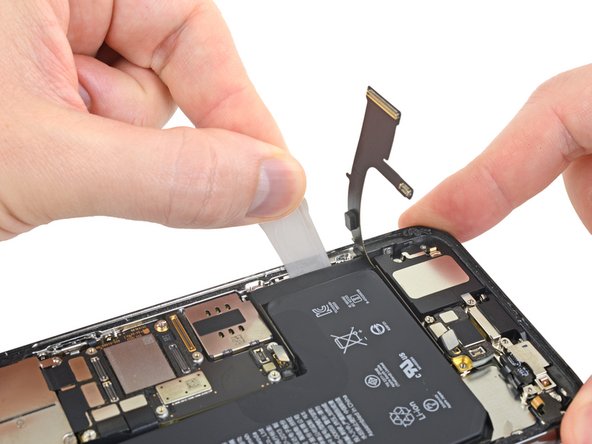
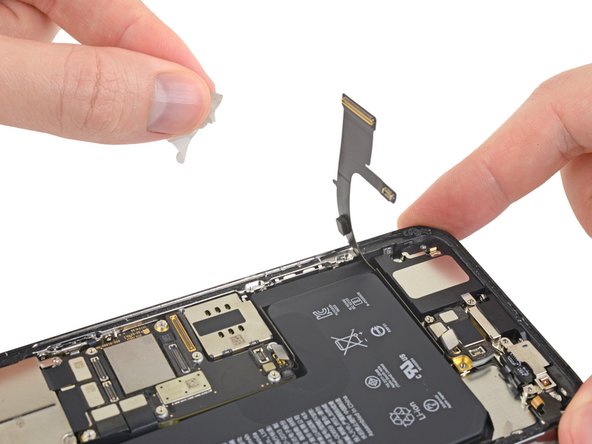


Remove the side adhesive strip
-
Using the same procedure as before, pull both tabs at the same time to stretch and remove the remaining adhesive strip holding the battery in place. Try not to snag the adhesive on the edge of the iPhone.
-
If you removed all the adhesive strips successfully, skip the next step.
-
Otherwise, continue with the next step below.
Deine Beiträge sind lizenziert unter der Open-Source Creative Commons Lizenz.