Zum Hauptinhalt wechseln

HP Pavilion x360 14m-ba114dx Screen Assembly Replacement

Englisch
Deutsch
Schritt 5
HP Pavilion x360 14m-ba114dx Screen Assembly Replacement: Schritt 0, Bild 1 von 3 HP Pavilion x360 14m-ba114dx Screen Assembly Replacement: Schritt 0, Bild 2 von 3 HP Pavilion x360 14m-ba114dx Screen Assembly Replacement: Schritt 0, Bild 3 von 3
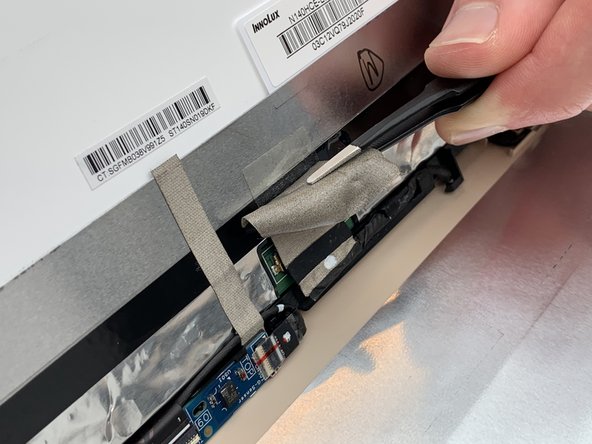
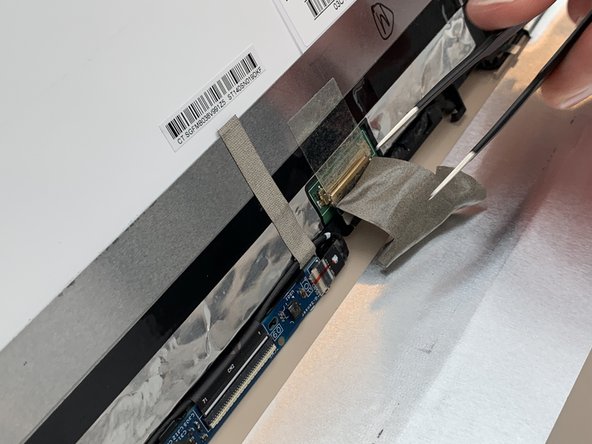
  • Using the Blunt Tweezers, remove the large piece of gray tape over the LCD Display connector.

  • This tape is located on the back of the screen assembly, on the bottom and near the hinges.

Hier Übersetzung einfügen

Hier Übersetzung einfügen

Deine Beiträge sind lizenziert unter der Open-Source Creative Commons Lizenz.