Zum Hauptinhalt wechseln

Öffnungsvorgang

Hinweis: Du bearbeitest eine grundständige Anleitung. Alle Änderungen, die du vornimmst, betreffen auch die Anleitung, die diese beinhaltet.

Englisch
Deutsch
Schritt 6
Opening Procedure: Schritt 0, Bild 1 von 3 Opening Procedure: Schritt 0, Bild 2 von 3 Opening Procedure: Schritt 0, Bild 3 von 3
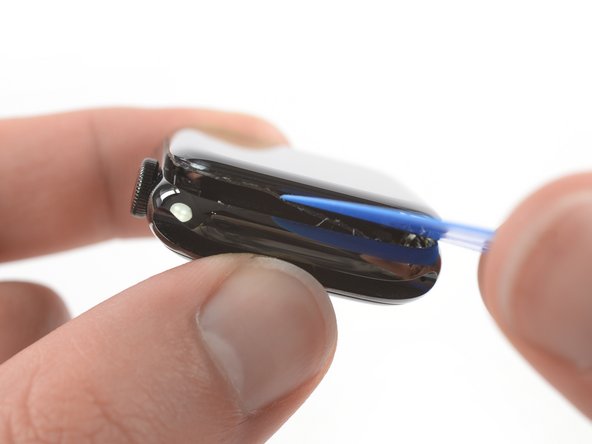
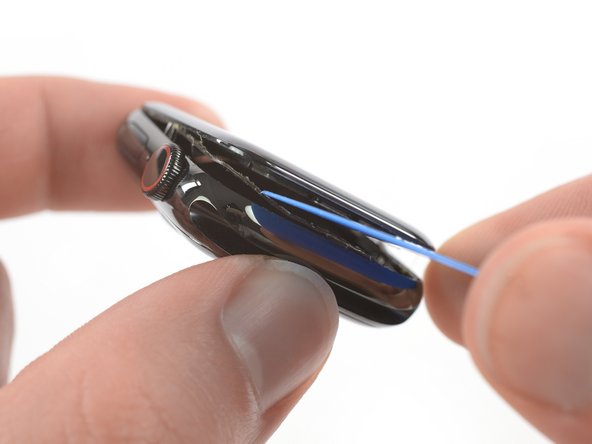
  • It's likely that the force touch sensor will stick to the display frame instead to the watch's body. In this case, insert an opening pick under the display and carefully separate the Force Touch gasket from the display.

  • To preserve the Force Touch gasket, pry carefully under the edge of the display. If the Force Touch gasket splits when lifting the display, or if you separate the gasket layers, you'll also need to replace the Force Touch gasket itself.

  • Slide the pick around the display to separate the adhesive between the Force Touch gasket and the display.

  • Don't insert the opening pick deeper than 1/16th of an inch (~2 mm) to avoid damaging other components.

Wahrscheinlich bleibt der Force Touch Sensor eher am Display als an der restlichen Uhr hängen. Setze in diesem Fall ein Plektrum unter das Display und löse die Force Touch Dichtung vorsichtig vom Display ab.

Um die Force Touch Dichtung nicht zu beschädigen, heble vorsichtig unter der Kante des Displays. Falls die Force Touch Dichtung reißt, wenn du das Display anhebst, oder wenn du die einzelnen Schichten der Dichtung voneinander löst, musst du auch die Force Touch Dichtung selbst ersetzen.

Schiebe das Plektrum um das Display herum und trenne den Kleber zwischen Force Touch Dichtung und Display auf.

Setze das Plektrum nicht tiefer als 2 mm ein, um zu vermeiden, dass andere Komponenten beschädigt werden.

Deine Beiträge sind lizenziert unter der Open-Source Creative Commons Lizenz.