Hinweis: Du bearbeitest eine grundständige Anleitung. Alle Änderungen, die du vornimmst, betreffen alle 2 Anleitungen, die diese beinhalten.
Schritt 16 übersetzen
Schritt 16

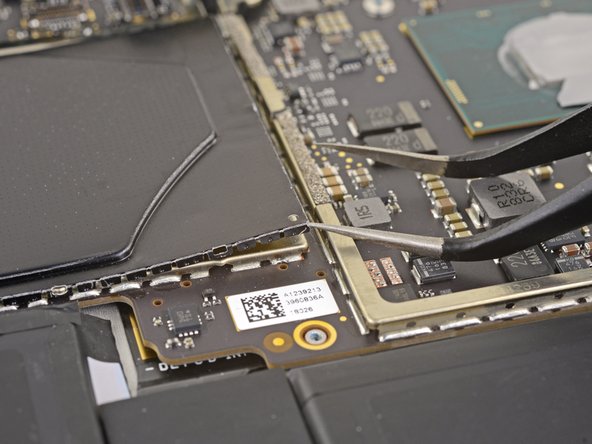
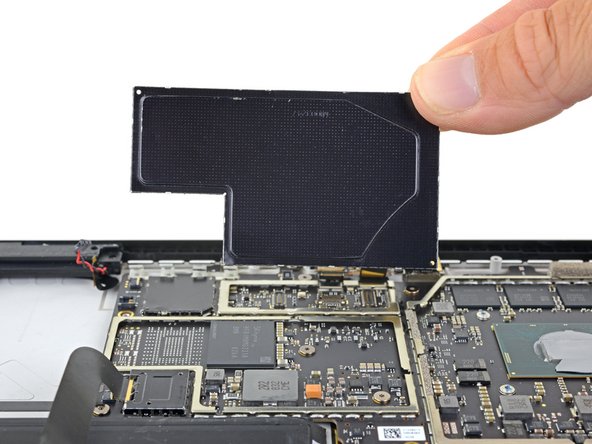


Remove the two large EMI shields
-
Insert one point of a pair of pointed tweezers into a gap in the corner of the left-most of the remaining large EMI shields.
-
Use the tweezers to pry the EMI shield away from the motherboard as much as you can without bending it.
-
Repeat this procedure at different points around the shield until it is free. Remove the shield.
Deine Beiträge sind lizenziert unter der Open-Source Creative Commons Lizenz.