Schritt 10 übersetzen


-
Disconnect the IDE Cable and Power Cables from any hard drives.
-
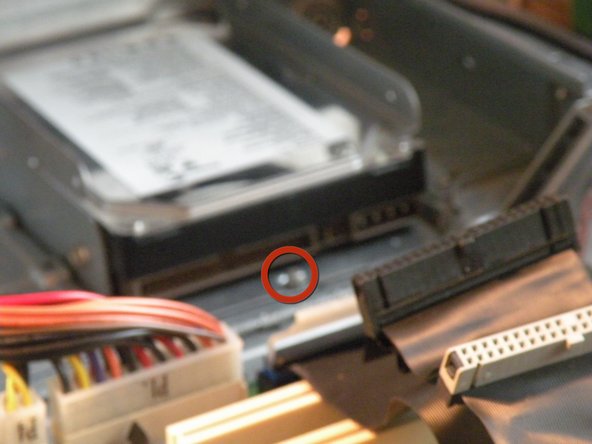
Remove this screw if present.
-
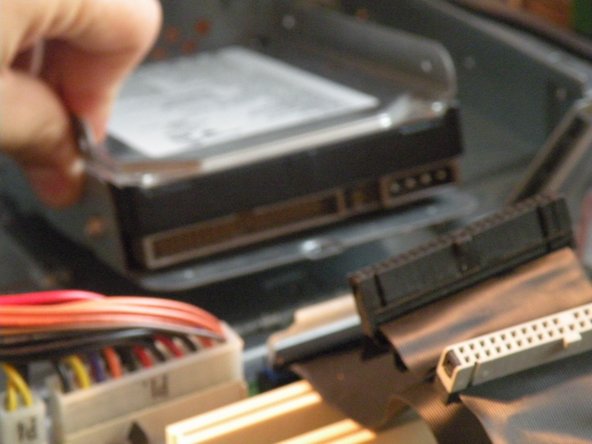
Slide the caddy out, then set it aside.
-
Many Apple Computers Including earlier versions of this one had a 128GB Limit on hard drives, only Quicksilvers made in 2002 and later will support hard drives larger than 128GB, but to bypass this, simply partition your hard drive in to multiple partitions under 128GB in Disk Utility.
-
This computer uses standard IDE hard disks, and originally shipped with 40GB or 80GB.
-
It will support up to 4 IDE drives, 2 Hard Disks, one Optical Drive, and one ZIP Drive.(You can put an IDE Hard Disk in the the ZIP Drive Slot if you wish, allowing for 3 Hard Drives).
Deine Beiträge sind lizenziert unter der Open-Source Creative Commons Lizenz.