Zum Hauptinhalt wechseln

iPhone 13 Pro Max Vervanging van de batterij

Englisch
Niederländisch
Schritt 6
iPhone 13 Pro Max Battery Replacement: Schritt 0, Bild 1 von 3 iPhone 13 Pro Max Battery Replacement: Schritt 0, Bild 2 von 3 iPhone 13 Pro Max Battery Replacement: Schritt 0, Bild 3 von 3
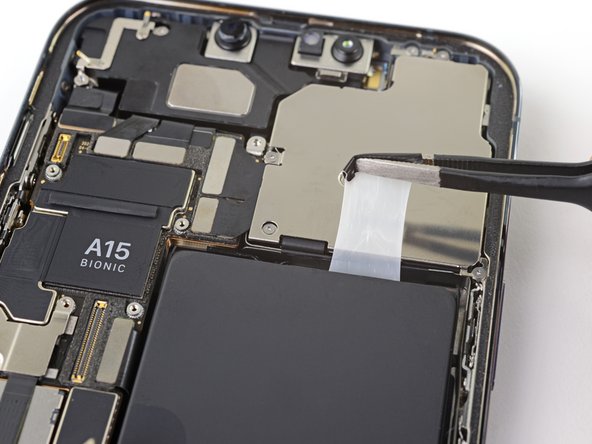
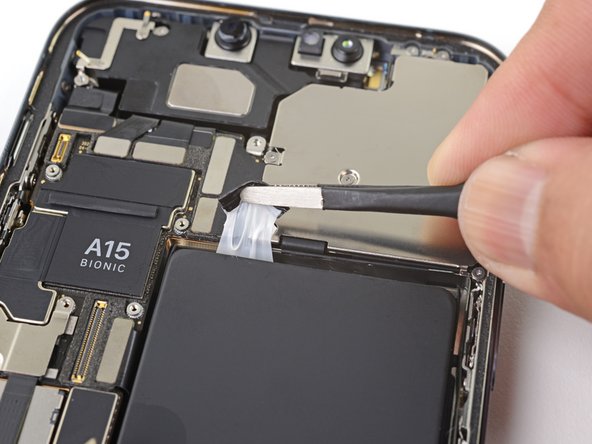
  • Using the same procedure as before, pull the remaining two tabs, one at a time, to stretch and remove the remaining adhesive strips holding the battery in place. Try not to snag the adhesive on anything.

  • Be careful not to fling the battery from the iPhone as the final adhesive strip comes out.

  • If you removed all the adhesive strips successfully, skip the next step.

  • Otherwise, continue with the next step below.

Trek de twee resterende kleefstrips, op eenzelfde manier als de eerste twee strips, een voor een onder de batterij vandaan om ze uit te rekken en te verwijderen. Voorkom dat je strip ergens achter blijft hangen.

Ga voorzichtig te werk en voorkom dat de batterij uit het toestel vliegt bij het lostrekken van de laatste kleefstrip.

Als je alle kleefstrips met succes hebt weten te verwijderen, kun je de volgende stap overslaan.

Als er een strip is afgebroken, ga je verder met de volgende stap.

Deine Beiträge sind lizenziert unter der Open-Source Creative Commons Lizenz.