Hinweis: Du bearbeitest eine grundständige Anleitung. Alle Änderungen, die du vornimmst, betreffen alle 2 Anleitungen, die diese beinhalten.
Schritt 3 übersetzen
Schritt 3


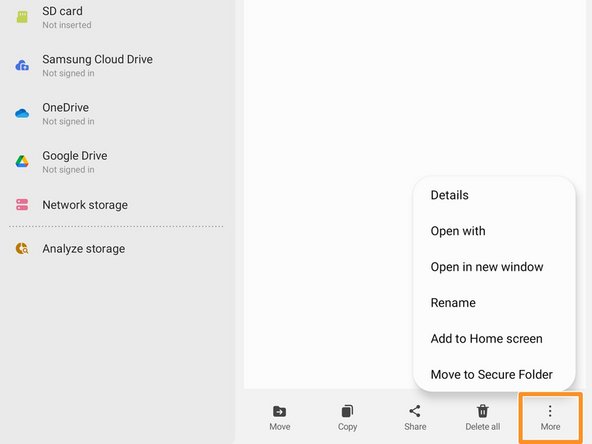


Rename the app
-
Navigate to the "Downloads" tab on the left side of the screen.
-
Long press the download file until an orange checkmark appears to the left of it.
-
Navigate to the bottom of the screen and select the "More" option.
Deine Beiträge sind lizenziert unter der Open-Source Creative Commons Lizenz.