Zum Hauptinhalt wechseln

iPhone 14 Pro Max Akku tauschen

Englisch
Deutsch
Schritt 4
iPhone 14 Pro Max Battery Replacement: Schritt 0, Bild 1 von 3 iPhone 14 Pro Max Battery Replacement: Schritt 0, Bild 2 von 3 iPhone 14 Pro Max Battery Replacement: Schritt 0, Bild 3 von 3
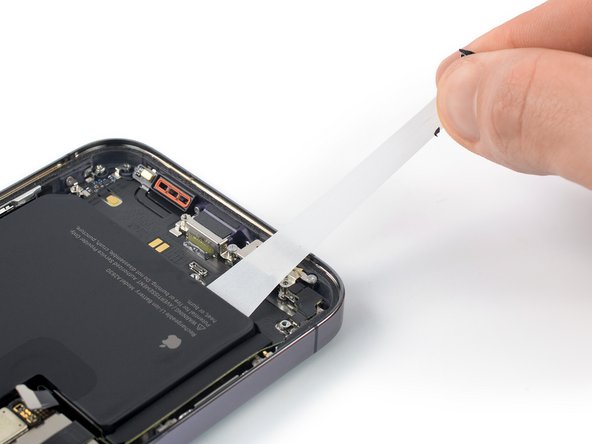
  • Grab the second pull-tab with your fingers or the center of a spudger and pull it away from the battery, toward the bottom of the iPhone.

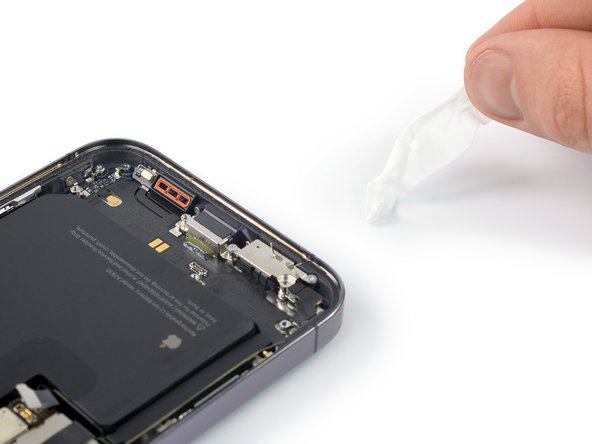
  • Follow the same procedure as with the previous strip: don't press down on the battery, keep the strip flat and unwrinkled, and pull at a low angle.

  • If the adhesive strip breaks off, try to retrieve it using your fingers or blunt tweezers, and continue pulling—but do not pry under the battery.

  • If the adhesive breaks off underneath the battery and can't be retrieved, continue with the next step.

Greife die zweite Zuglasche mit den Fingern oder wickle sie um einen Spudger und ziehe sie langsam vom Akku weg in Richtung der Unterkante des iPhones.

Wiederhole den gleichen Vorgang wie beim ersten Klebestreifen: drücke nicht auf den Akku, halte den Klebestreifen flach und gerade und ziehe in einem flachen Winkel.

Wenn der Klebesstreifen reißt, versuche, ihn mit den Finger oder einer stumpfen Pinzette wieder zu fassen und ziehe weiter - aber heble auf keinen Fall unter dem Akku.

Wenn einer der Klebestreifen unter dem Akku reißt und du ihn nicht mehr fassen kannst, fahre mit dem nächsten Schritt fort.

Deine Beiträge sind lizenziert unter der Open-Source Creative Commons Lizenz.