Schritt 9 übersetzen
Schritt 9

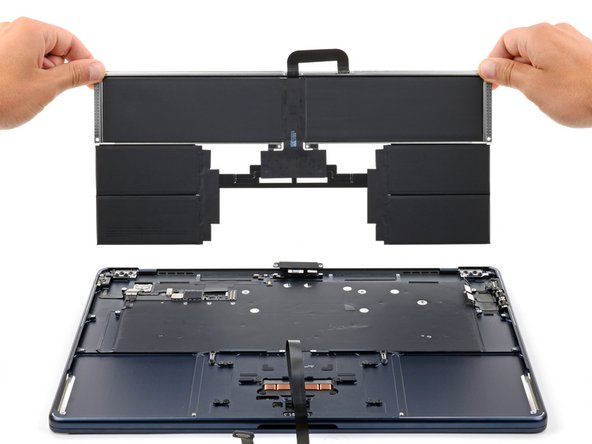


Remove the battery
-
Remove the battery.
-
Remove any remaining adhesive strips with tweezers or your fingers.
-
Clean up the adhesive residue with a few drops of isopropyl alcohol and a lint-free or microfiber cloth.
-
Before removing any adhesive liners, place the battery in its recess and make sure it fits.
-
If your replacement battery comes with adhesive, remove the plastic liners and firmly press each cell into place.
-
If your replacement battery doesn't come with adhesive, secure it with stretch-release adhesive.
Deine Beiträge sind lizenziert unter der Open-Source Creative Commons Lizenz.