Hinweis: Du bearbeitest gerade eine grundständige Anleitung, die Teil der Anleitung ist, die du eben angeschaut hast. Alle Änderungen, die du vornimmst, betreffen auch die Anleitung, die die grundständige Anleitung beinhaltet.
Schritt 6 übersetzen
Schritt 6

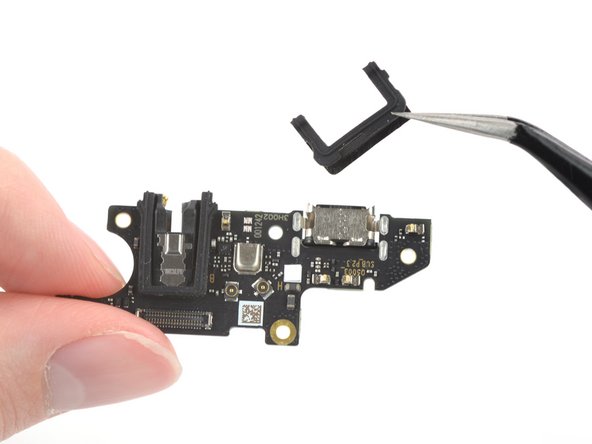


Remove the rubber gaskets
-
Use a pair of tweezers to remove the two black U-shaped rubber gaskets from the charging port and the headphone jack.
-
Only the charging port assembly remains.
| [title] Remove the rubber gaskets | |
| [* black] Use a pair of tweezers to remove the two black U-shaped rubber gaskets from the charging port and the headphone jack. | |
| + | [* black] Only the charging port assembly remains. |
| [* icon_reminder] During reassembly, transfer the rubber gaskets to the replacement board before securing it back into the frame. | |
| - | [* black] Only the charging port assembly remains. |
Deine Beiträge sind lizenziert unter der Open-Source Creative Commons Lizenz.