Schritt 5 übersetzen
Schritt 5

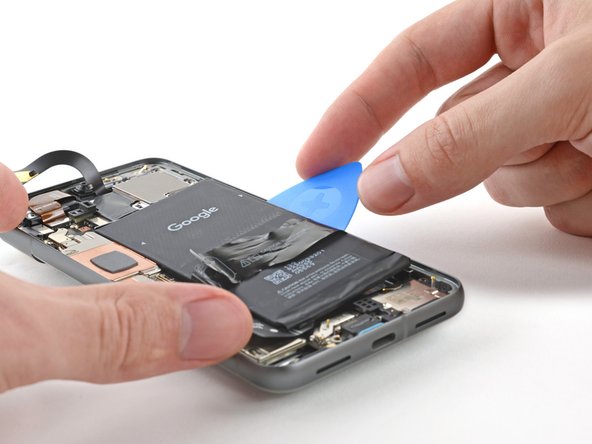


Separate the battery adhesive
-
Firmly secure your phone with one hand.
-
With your free hand, pry the battery up with the pick. Maintain constant pressure on the pick until the battery separates from the frame.
Deine Beiträge sind lizenziert unter der Open-Source Creative Commons Lizenz.