Schritt 7 übersetzen
Schritt 7


3rd Best Option: Evo 4G Lens Replacement
-
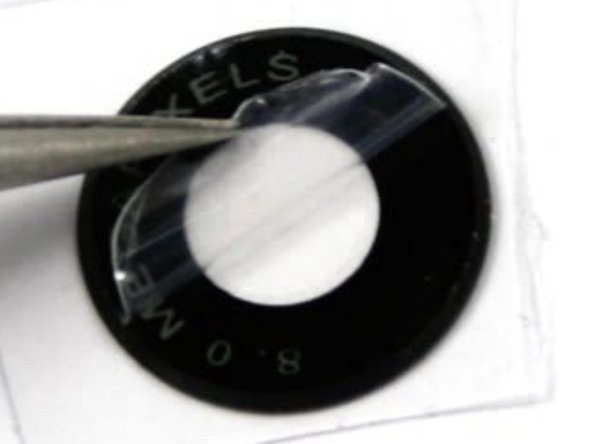
The third best option. The Evo 4G lens replacement has a foam adhesive on one side. Remove the release liner from this side to expose the adhesive.
-
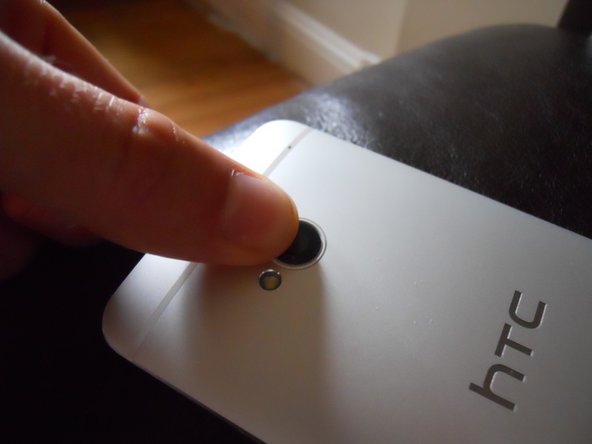
Place the lens replacement over the camera hole. The foam adhesive will be facing down against the body of the phone and the "8 Megapixel" writing will be facing outward. Push gently against the lens replacement to make sure it adheres well to the body.
-
Remove the plastic film on the outside "8 Megapixels" side.
-
The adhesive sticks really well in my experience, it can be removed and put back in place multiple times if you dont like how it was placed originally.
Deine Beiträge sind lizenziert unter der Open-Source Creative Commons Lizenz.