Hinweis: Du bearbeitest eine grundständige Anleitung. Alle Änderungen, die du vornimmst, betreffen alle 32 Anleitungen, die diese beinhalten.
Schritt 10 übersetzen
Schritt 10


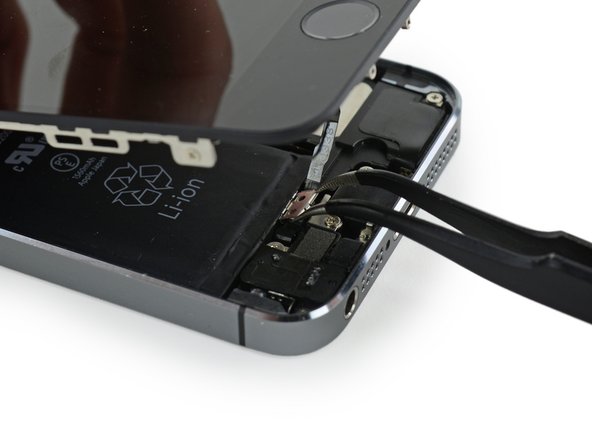
| [* icon_reminder] During reassembly, you will need to reinstall the Touch ID cable bracket. The top of the bracket needs to slide between the battery and Touch ID cable connector, in front of the metal tab. The bottom must latch down over the connector. | |
| [* icon_reminder] Slide the top of the bracket over the Touch ID cable connector from left to right. | |
| + | [* icon_note] Alternatively, lay the bracket directly over the connector. The edge with the "leg" will prop the bracket up at a slight angle, and the opposite edge must be between the cable connector and the metal tab near the battery. With the edge of a spudger flat against the bracket, apply gentle downward pressure to snap in the back and front clasps. |
Deine Beiträge sind lizenziert unter der Open-Source Creative Commons Lizenz.