Schritt 6 übersetzen
Schritt 6


-
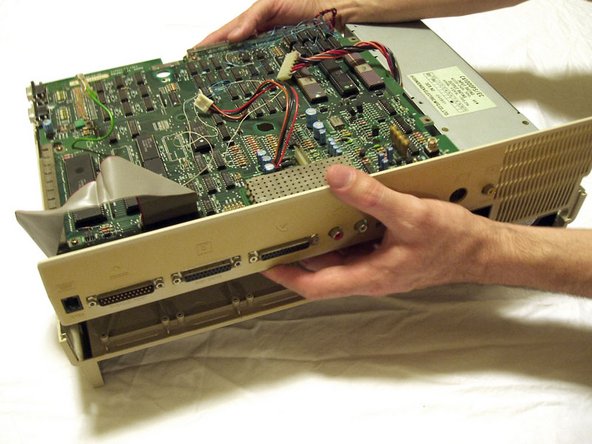
With the power supply disconnected from the main board and all screws removed it is time to lift the board from the bottom casing.
-
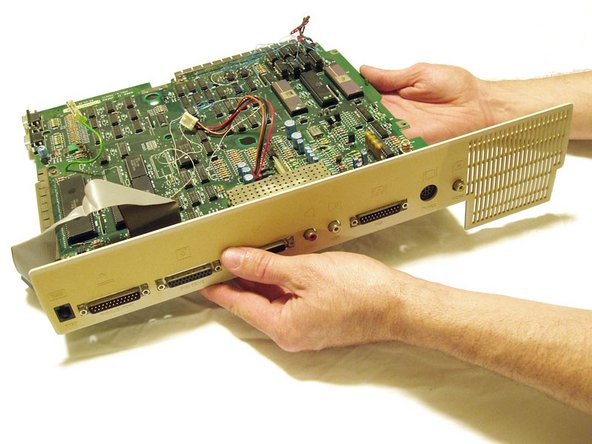
The rear panel lifts up with the board.
-
You can then separate the rear panel and main board.
Deine Beiträge sind lizenziert unter der Open-Source Creative Commons Lizenz.