Zum Hauptinhalt wechseln

Gateway SA1 Outer Casing Replacement

Englisch
Deutsch
Schritt 6
Gateway SA1 Outer Casing Replacement: Schritt 0, Bild 1 von 3 Gateway SA1 Outer Casing Replacement: Schritt 0, Bild 2 von 3 Gateway SA1 Outer Casing Replacement: Schritt 0, Bild 3 von 3
  • Carefully lift the keyboard off from the laptop. It is still attached as shown.

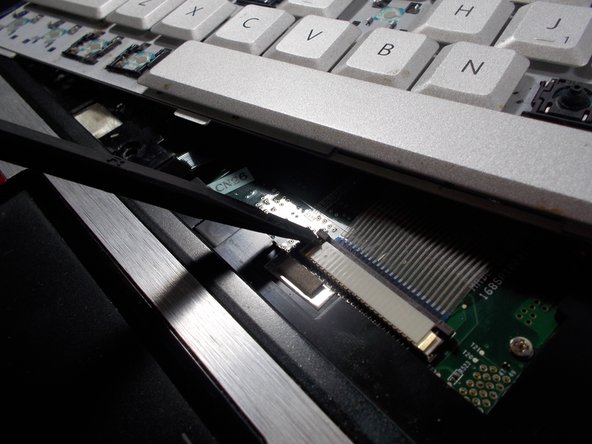
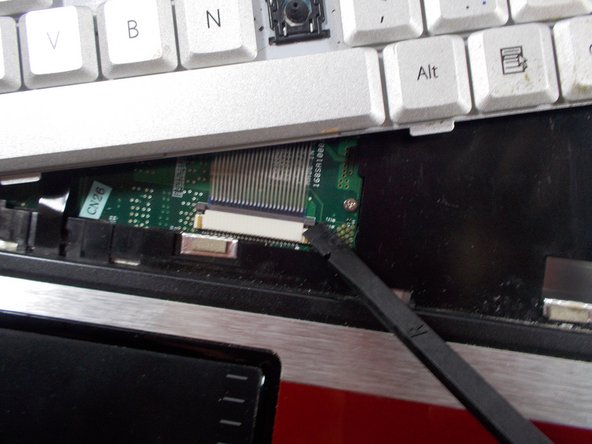
  • Using the spudger, detach the connector by pushing two tabs away from the white connector and then gently pulling the connector away.

  • The brown colored component with the tabs does not come out with the connector.

Hier Übersetzung einfügen

Hier Übersetzung einfügen

Hier Übersetzung einfügen

Deine Beiträge sind lizenziert unter der Open-Source Creative Commons Lizenz.