Zum Hauptinhalt wechseln

MacBook Pro 15" Retina Display Late 2013 Upper Case Assembly Replacement

Hinweis: Du bearbeitest eine grundständige Anleitung. Alle Änderungen, die du vornimmst, betreffen auch die Anleitung, die diese beinhaltet.

Englisch
Spanisch

Schritt 1 übersetzen

Schritt 1
MacBook Pro 15" Retina Display Late 2013 Upper Case Assembly Replacement: Schritt 0, Bild 1 von 3 MacBook Pro 15" Retina Display Late 2013 Upper Case Assembly Replacement: Schritt 0, Bild 2 von 3 MacBook Pro 15" Retina Display Late 2013 Upper Case Assembly Replacement: Schritt 0, Bild 3 von 3
  • Remove the single 2.6 mm T5 Torx screw securing the left rubber hinge cover in place.

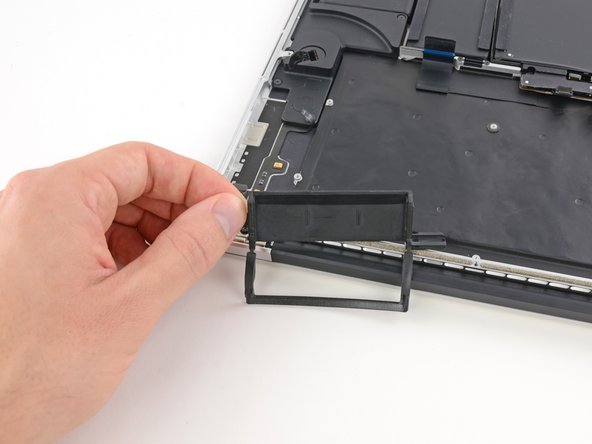
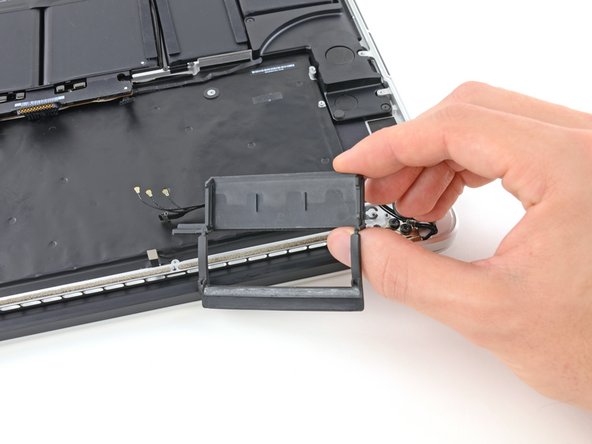
  • Slide the hinge cover out of its bezel, then lift it up and out of the device.

  • The screw in the right hinge cover should already have been removed.

  • Slide the right cover out of its bezel, then lift it out of the device.

Hier Übersetzung einfügen

Hier Übersetzung einfügen

Hier Übersetzung einfügen

Hier Übersetzung einfügen

Deine Beiträge sind lizenziert unter der Open-Source Creative Commons Lizenz.