Zum Hauptinhalt wechseln

Fairphone 2 Teardown

Englisch
Deutsch
Schritt 6
Fairphone 2 Teardown: Schritt 0, Bild 1 von 2 Fairphone 2 Teardown: Schritt 0, Bild 2 von 2
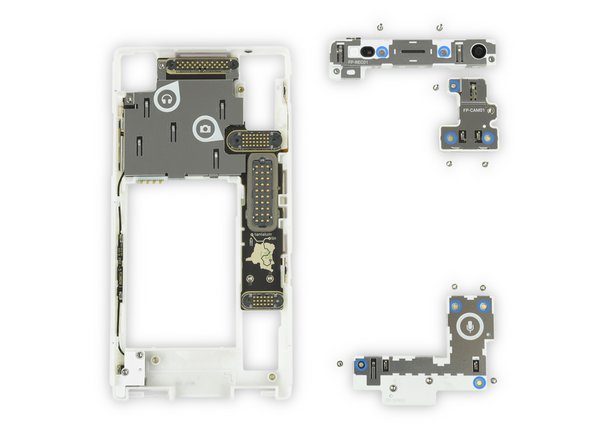
  • It's time to get down to brass tacks screws and see just how repairable the Fairphone 2 really is.

  • We grab our trusty Phillips #0 screwdriver and easily remove all three modules.

  • Beneath them we find another level of spring contacts—not a flex cable or press connector in sight.

  • All these Phillips screws are created equal. Don't worry if you mix them up, they are all 5.5 mm.

Es ist an der Zeit, Nägel mit Köpfen zu machen Schrauben zu lösen und die wirkliche Reparierbarkeit des Fairphone 2 zu testen.

Wir schnappen unseren zuverlässigen Kreuzschlitz #0 Schraubendreher und entfernen im Handumdrehen alle drei Module.

Darunter finden wir erneut Federkontakte – keine Flexkabel oder Druckkontakte in Sicht.

All diese Kreuzschlitzschrauben sind gleich geschaffen. Kein Problem, wenn du sie vermischst, alle sind 5,5 mm lang.

Deine Beiträge sind lizenziert unter der Open-Source Creative Commons Lizenz.