Schritt 5 übersetzen
Schritt 5


-
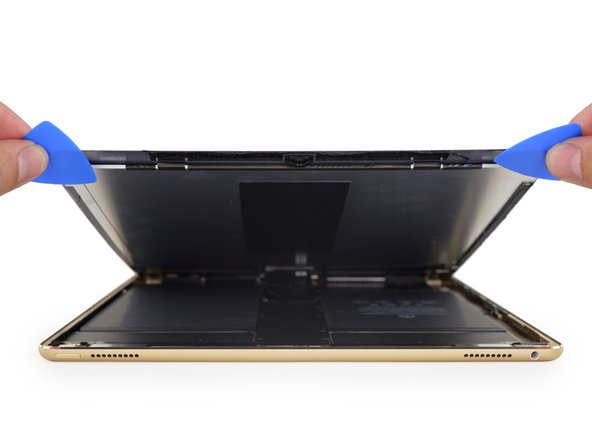
After a little heat-to-heat with our iOpener, we bring in our opening picks and heavy duty suction cup to open up the conversation.
-
The Pro's display is packing the same adhesive as its smaller counterparts—it's tough and there's way too much—but it's still no match for our seasoned teardown hands.
-
With the adhesive finally out of the way, we get our first glimpse of the Pro's interior.
| - | [* black] After a little heat-to-heat with our iOpener, we bring in our opening picks and heavy duty suction cup to open up the conversation. |
|---|---|
| + | [* black] After a little heat-to-heat with our [product|IF145-198|iOpener], we bring in our opening picks and [product|IF145-023|heavy duty suction] cup to open up the conversation. |
| [* black] The Pro's display is packing the same adhesive as its smaller counterparts—it's tough and there's way too much—but it's still no match for our seasoned teardown hands. | |
| [* black] With the adhesive finally out of the way, we get our first glimpse of the Pro's interior. |
Deine Beiträge sind lizenziert unter der Open-Source Creative Commons Lizenz.