Hinweis: Du bearbeitest eine grundständige Anleitung. Alle Änderungen, die du vornimmst, betreffen alle 4 Anleitungen, die diese beinhalten.
Schritt 4 übersetzen
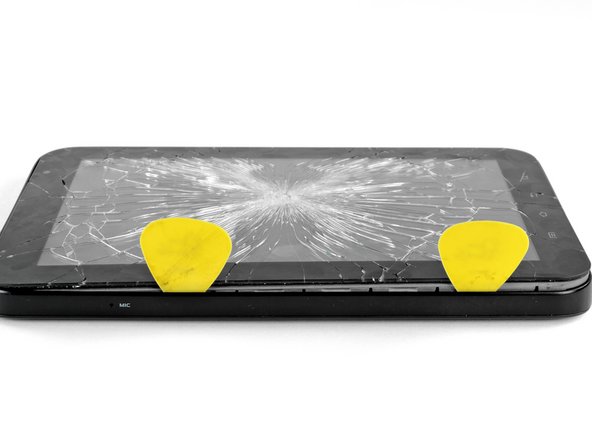
Schritt 4


-
Insert a plastic opening tool near the bottom left edge of the rear case.
-
Use your plastic opening tool to gently create a small gap between the front panel and the rear panel near the bottom left edge.
-
Run the plastic opening tool along the left side of the perimeter to create a bigger gap between the front panel and the rear panel.
-
Insert two guitar picks into the small gap created by the plastic opening tool.
Deine Beiträge sind lizenziert unter der Open-Source Creative Commons Lizenz.